
Maintaining a clean home or office in Singapore can be a full-time task. Many people now turn to professional cleaners to save time and energy. But not all cleaning services are the same. Some get the job done. Others go the extra mile.
So what really makes a professional cleaner stand out in Singapore? Read on to find out more.
1. Reliability and Punctuality
Time is valuable amidst the hustle and bustle of Singapore. A professional cleaner respects your schedule. They show up on time and finish within the agreed hours. If they’re running late or need to reschedule, they inform you in advance.
Consistency is also important. A reliable cleaner won’t skip tasks or rush through the job. They maintain a high standard every visi.
What to look for:
- Strong reviews about punctuality
- Confirmed booking and arrival times
- No last-minute cancellations
2. Proper Training and Skills
Top cleaning companies invest in training. Their staff know how to handle different materials and surfaces. Marble floors, parquet, and delicate countertops all need specific care. A trained cleaner uses the right methods without damaging anything.
They’re also familiar with various cleaning products. Some homes may prefer eco-friendly options. Others need stronger disinfectants. A professional cleaner adjusts accordingly.
In Singapore, many part-time maids and cleaners are employed through agencies. Choose one that clearly outlines their training process.
What to look for:
- Knowledge of surface-safe cleaners
- Efficient cleaning techniques
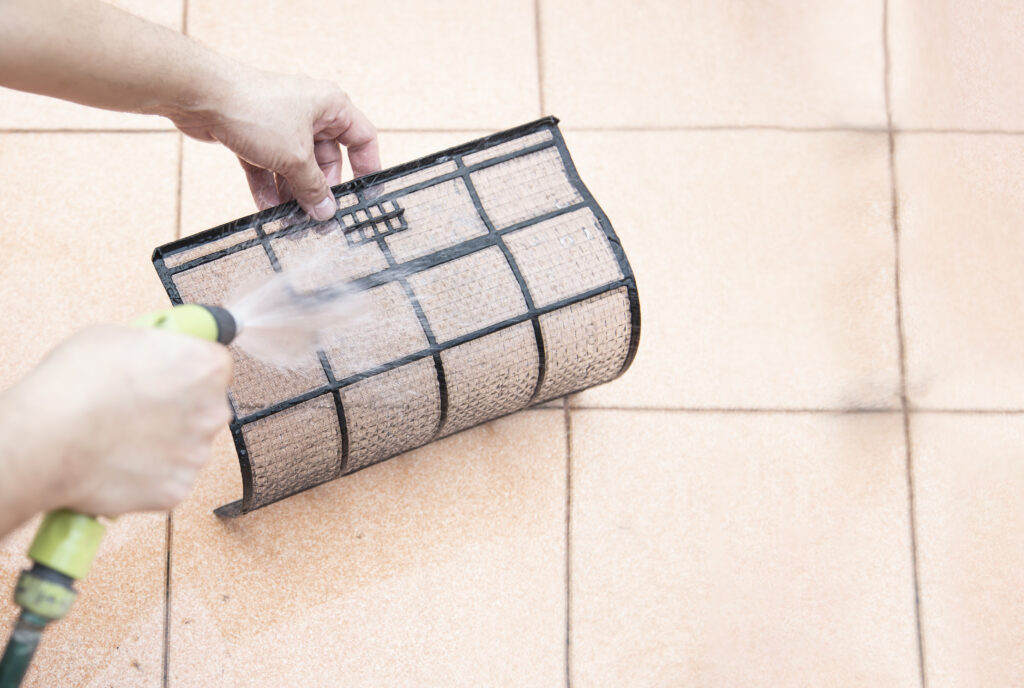
- Ability to clean tough areas like grout lines or greasy hoods
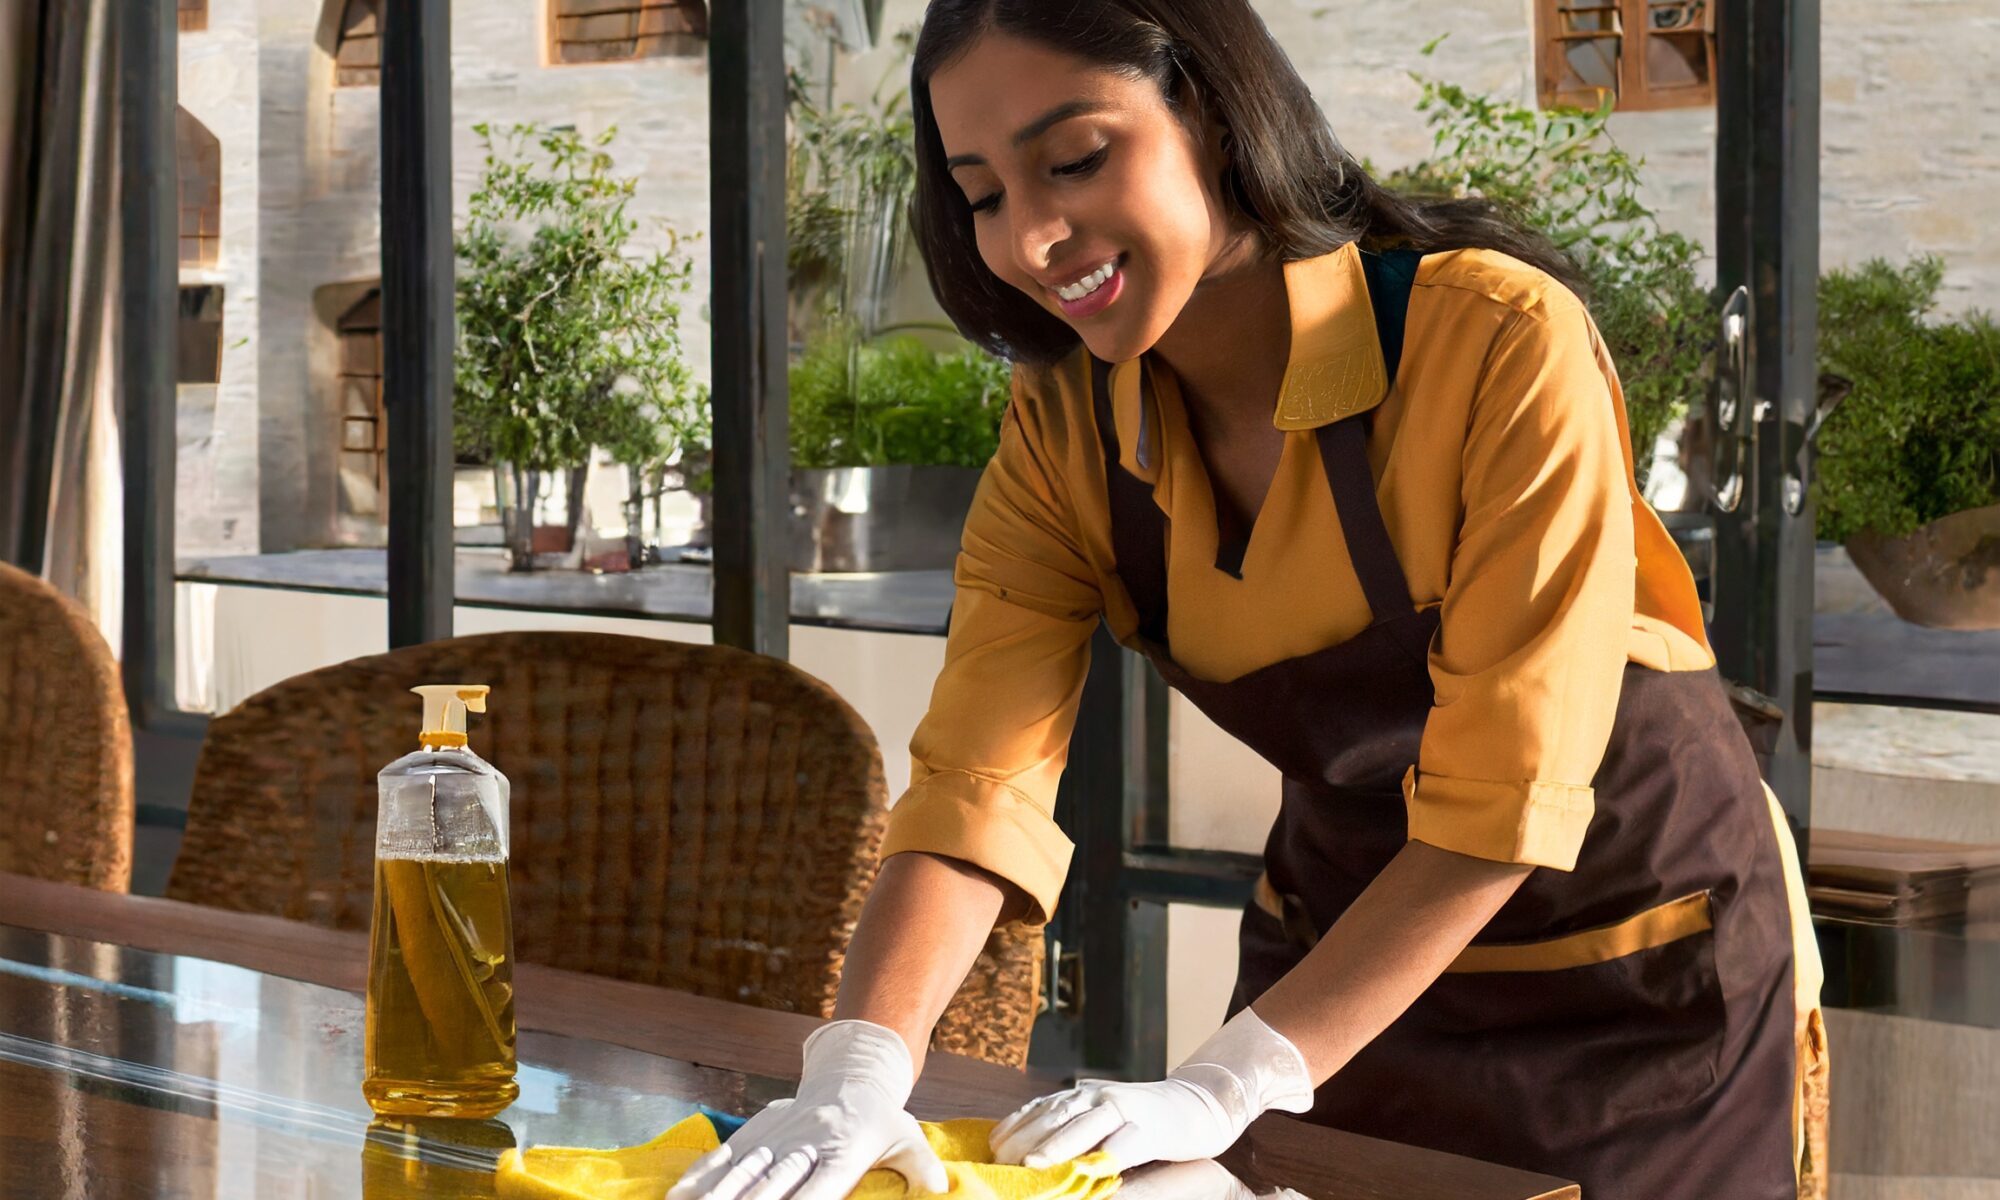
3. Attention to Detail
Wiping surfaces isn’t enough. A standout cleaner notices the details that most people miss. They clean under furniture, dust off ceiling fans, wipe window sills, and polish taps. They don’t just make the place look clean; they make it feel clean.
This kind of care is what many clients in Singapore appreciate, especially in high-end condos or offices where small details matter.
What to look for:
- No missed spots like door frames or baseboards
- Items put back neatly
- Feedback from past customers praising thoroughness
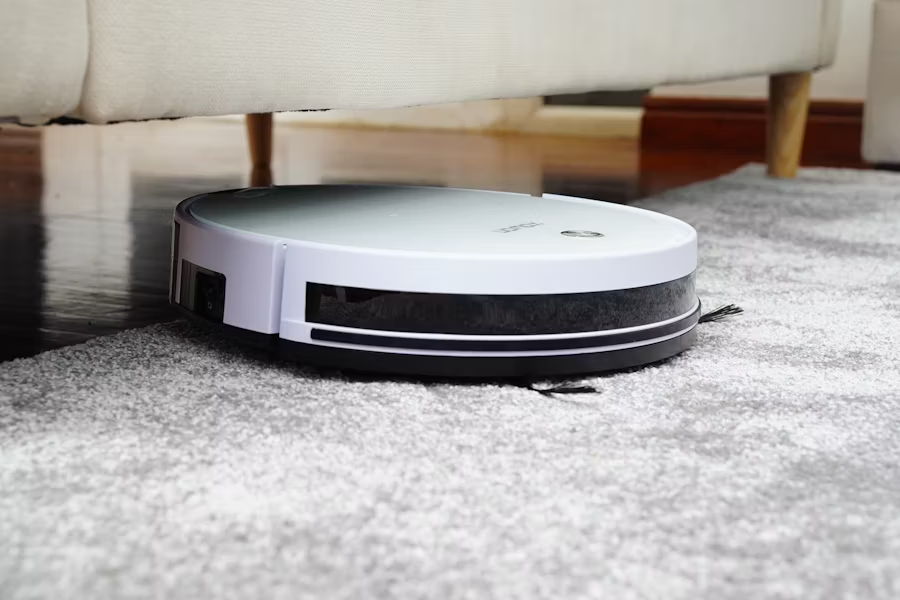
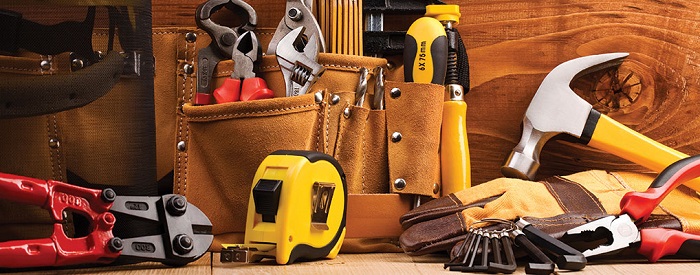
4. Professional Tools and Supplies
Many freelance cleaners may ask you to provide the tools. That’s fine for basic cleaning. But a true professional often comes with their gear. High-powered vacuums, steam cleaners, and microfiber cloths improve the results.
In Singapore, homes with pets, children, or individuals with allergies may also require specialised cleaning methods. For instance, HEPA vacuums reduce airborne dust. Steam mops sanitise floors without chemicals.
What to look for:
- Bring their equipment
- Uses high-quality, non-abrasive tools
- Has products suitable for your home needs (eco, pet-safe, anti-mould)
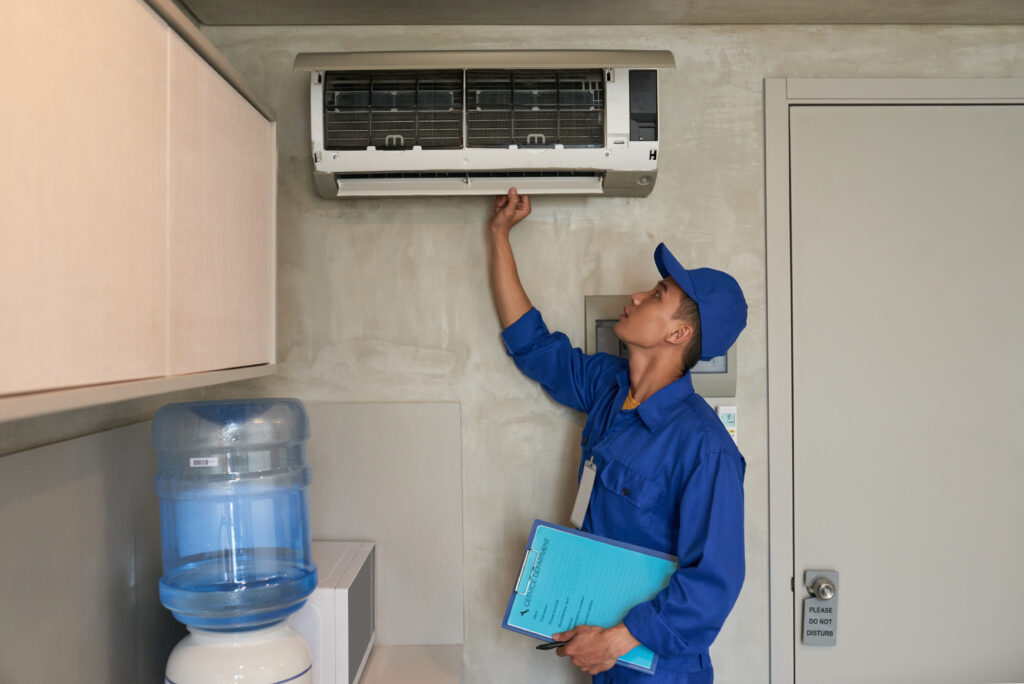
5. Trustworthiness and Background Checks
You’re letting someone into your private space. Trust is key. Reputable agencies in Singapore conduct background checks before hiring staff. This offers peace of mind.
If you’re hiring a freelance cleaner directly, always ask for references. It’s better to pay slightly more for someone reliable and trustworthy than deal with broken items or worse.
Some homeowners install home CCTV as a precaution, not because they suspect wrongdoing, but for accountability.
What to look for:
- Agency cleaners with vetted profiles
- Cleaners with multiple good reviews
- Open and respectful communication

6. Flexibility and Customisation
Every home is different. A cleaner who listens to your requests and adapts their cleaning method is gold. Maybe you have a toddler who naps from 2 to 4pm. Or you need help folding laundry on alternate weeks. A flexible cleaner adjusts without complaint.
In Singapore, homes can range from HDB flats to landed properties. A professional knows how to handle different layouts, staircases, outdoor spaces, and kitchen setups.
What to look for:
- Willingness to adjust schedules
- Open to feedback
- Understands how to clean specific home types or spaces
7. Good Communication
A standout cleaner communicates clearly. Whether it’s confirming a schedule, inquiring about your preferences, or clarifying something during the cleaning, they keep you informed.
This is especially helpful for expats or elderly clients who may have specific needs. Some top cleaning companies even offer customer support through WhatsApp or email to streamline communication.
What to look for:
- Speaks clearly and professionally
- Shares updates when needed
- Responds to feedback politely
8. Fair and Transparent Pricing
In Singapore, cleaning prices can vary. Some part-time cleaners charge between $20 and $30 per hour. Others offer packages at a flat rate. While budget is a factor, don’t always go for the cheapest option.
A good professional cleaner is worth the price. They are efficient, do a better job, and leave you with fewer headaches.
Make sure the service has no hidden fees. Ask if the quoted price includes cleaning tools, travel time, and GST.
What to look for:
- Transparent pricing breakdown
- Fair rates based on service quality
- No extra charges without notice
9. Consistent Results Over Time
It’s easy to make a good impression on the first visit. The real mark of a pro is consistency. You’ll know they’re good when you don’t feel the need to double-check after they leave. They remember your preferences. They don’t miss steps. They clean your home as if it were theirs.
Some companies in Singapore assign the same cleaner for every visit to maintain consistency. That builds familiarity and trust.
What to look for:
- Same cleaner assigned to your home
- Steady performance from month to month
- A clear feedback system to raise issues
10. Goes the Extra Mile
You’ll know a cleaner stands out when they do more than expected. Maybe they organise your shoes, neatly arrange the books on your shelf, or leave a note saying a lightbulb is out.
It’s these small touches that elevate the experience. You feel seen and cared for—not just like another job on their list.
What to look for:
- Proactive observations
- Careful with your personal items
- Adds small, thoughtful gestures
Final Thoughts
Over here, the demand for cleaning services remains consistently high. But it’s not just about finding someone who mops the floor. A professional cleaner adds real value to your home life, saving you time, reducing stress, and giving you peace of mind.
When hiring a cleaning service in Singapore, don’t just ask about the price. Ask what makes their cleaner different. The answer could save you hours every week, and keep your home feeling like home.


You must be logged in to post a comment.