

Whether you need a quick fix or a major home repair, scheduling and managing handyman appointments effectively can save you time, money, and stress. Poor planning often leads to delays, miscommunication, and unsatisfactory results.
By adopting the right practices, you can ensure that every visit from a handyman is productive and hassle-free. This guide explains how to plan, book, and manage appointments while getting the most out of the service.
- 1. Identify the Scope of Work Before Booking
- 2. Choose the Right Handyman for the Job
- 3. Book in Advance, Especially During Peak Periods
- 4. Communicate Clearly About Job Details
- 5. Confirm the Appointment in Writing
- 6. Prepare the Work Area Before the Appointment
- 7. Keep Communication Open During the Job
- 8. Confirm Completion and Check the Work
- 9. Keep Records of the Work Done
- 10. Schedule Preventive Maintenance
- 11. Use Digital Tools for Scheduling
- 12. Be Flexible When Necessary
- 13. Understand Payment Terms Beforehand
- 14. Ask About Warranties or Guarantees
- 15. Build a Long-Term Relationship
1. Identify the Scope of Work Before Booking
Before you call or book online, define the exact tasks you need done. This helps the handyman prepare and bring the right tools and materials.
Tips for identifying scope:
- List every repair or installation you need.
- Take photos of the areas or items that need attention.
- Group small tasks together to save on call-out fees.
Clear descriptions reduce the chance of missed items or repeated visits.
2. Choose the Right Handyman for the Job
Not all handymen have the same skills. Some specialise in carpentry, others in electrical or plumbing work.
How to choose:
- Check their portfolio or service list.
- Read customer reviews to gauge reliability.
- Confirm they have the required licence for regulated work, such as electrical or plumbing.
Hiring the right professional ensures quality and avoids potential safety hazards.
3. Book in Advance, Especially During Peak Periods
Handymen can be in high demand during weekends, public holidays, and festive seasons. If your job is time-sensitive, book at least a week ahead.
For urgent work, be prepared to pay a premium. Flexible scheduling — such as choosing weekday mornings — can also help you secure an earlier slot.
4. Communicate Clearly About Job Details
Provide as much information as possible when booking. This avoids last-minute changes that can delay the work.
Include:
- The type of work
- Measurements or dimensions
- Brand and model of any fixtures or appliances involved
- Your availability and preferred times
The more details you share, the smoother the process will be.
5. Confirm the Appointment in Writing
Always get confirmation via email, SMS, or a booking platform. This protects both you and the handyman from scheduling errors.
Written confirmations should include:
- Date and time of the appointment
- Description of the job
- Estimated cost or rate
- Any additional terms (e.g., payment on completion)
If changes occur, update the confirmation immediately.
6. Prepare the Work Area Before the Appointment
A cluttered workspace can hinder productivity. Clear the area of furniture, personal items, and obstacles.
If the work involves plumbing or electricity, ensure that the main valves or switches are easily accessible. For larger jobs, consider covering nearby furniture or flooring to prevent dust and damage.
7. Keep Communication Open During the Job
Be available to answer questions while the handyman is working. This ensures they can get approvals for any unexpected adjustments without wasting time.
However, avoid hovering. Give them space to work while remaining contactable.
8. Confirm Completion and Check the Work
Before the handyman leaves, inspect the completed work to ensure it meets your expectations. Check for:
- Proper function of installed items
- Cleanliness of the area
- No visible defects or loose fittings
If you notice any issues, address them immediately instead of waiting to call later.
9. Keep Records of the Work Done
Maintain a record of all repairs, installations, and maintenance performed. This can help in future repairs or warranty claims.
Your record should include:
- Date of service
- Name of the handyman or company
- Details of the work done
- Cost and receipt
Keeping a history of home maintenance also makes it easier to schedule recurring tasks.
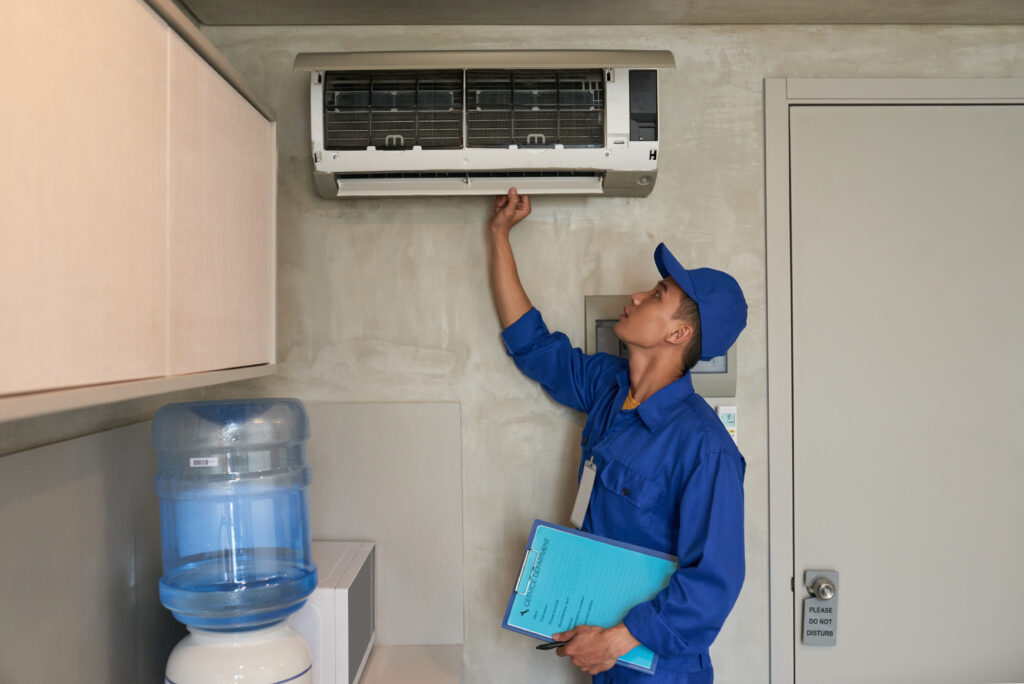
10. Schedule Preventive Maintenance
Don’t wait for things to break. Some tasks, such as aircon servicing, plumbing inspections, or gutter cleaning, should be done regularly to prevent costly repairs.
Book follow-up appointments during your current visit. Many handymen offer discounts for recurring maintenance.
11. Use Digital Tools for Scheduling
Many handyman services offer online booking systems or mobile apps. These tools let you:
- Select specific time slots
- Track appointment status
- Receive reminders
- Make secure payments
Digital scheduling reduces the likelihood of missed appointments and keeps all records in one centralised location.
12. Be Flexible When Necessary
Emergencies and delays can happen. If your handyman is delayed due to traffic or an urgent job, having some flexibility in your schedule can prevent frustration.
Maintaining a good relationship with a reliable handyman often pays off in the form of priority service later.
13. Understand Payment Terms Beforehand
Clarify how and when payment is expected. Some handymen require a deposit for larger jobs, while others accept full payment only after completion.
If you are hiring through a company, check whether they accept online transfers, PayNow, or cash.
14. Ask About Warranties or Guarantees
A warranty on workmanship can provide peace of mind. Many reputable handymen offer guarantees ranging from a week to several months, depending on the job.
Ensure that the warranty terms are in writing.
15. Build a Long-Term Relationship
If you find a handyman who is skilled, punctual, and trustworthy, keep their contact information handy. A long-term relationship can lead to better rates, priority service, and personalised advice.
Final Thoughts
Managing handyman appointments well is about more than just picking a date. It involves preparation, clear communication, proper documentation, and ongoing follow-up.
By applying these best practices, you can minimise delays, reduce costs, and ensure high-quality artistry for every home repair or maintenance task.


You must be logged in to post a comment.