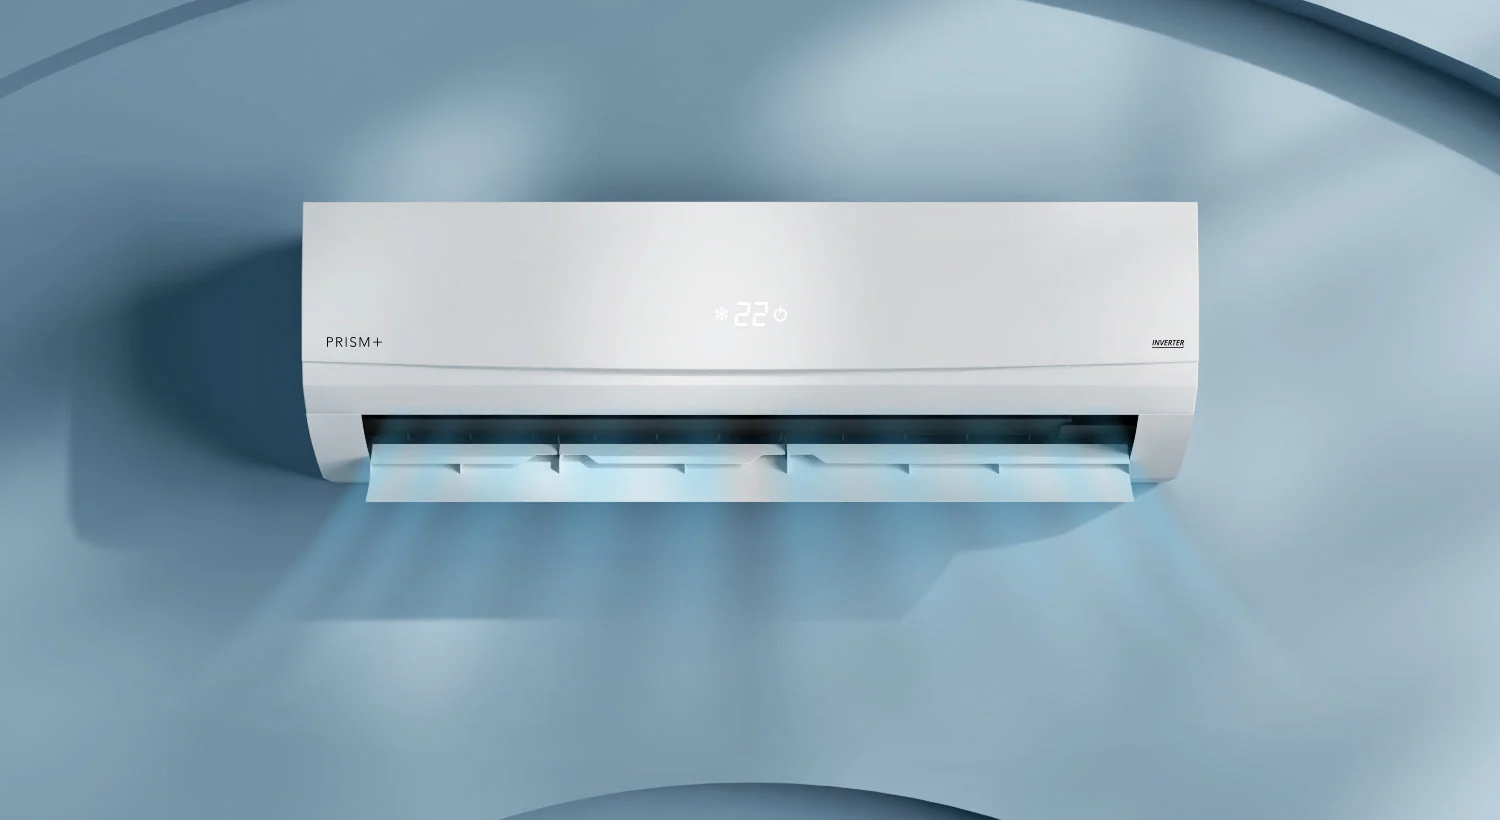
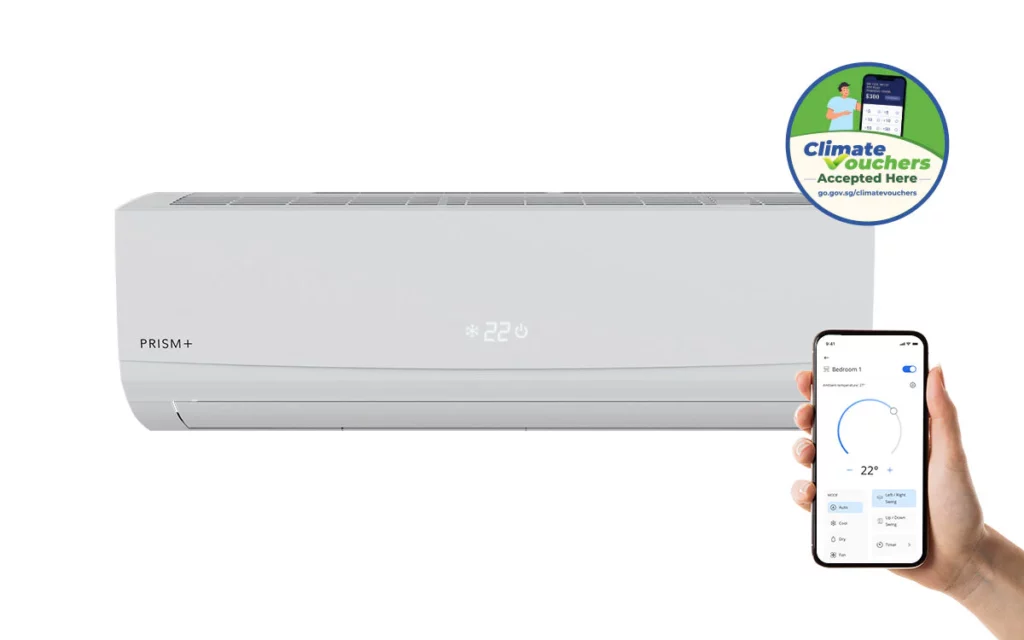
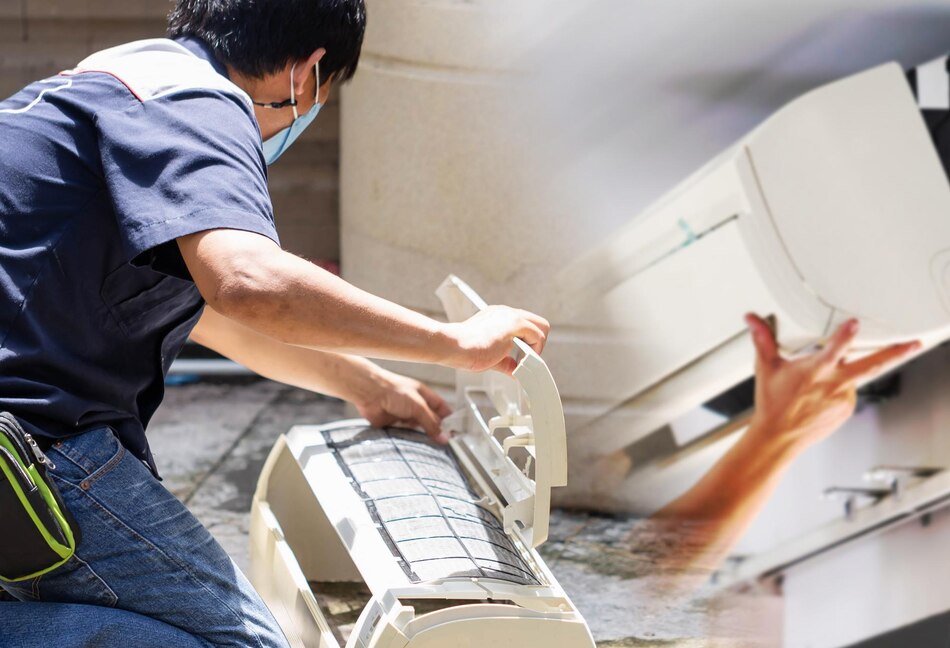
Professional PRISM+ Aircon Servicing in Singapore

prism+-aircon brand

Looking for reliable PRISM+ aircon servicing in Singapore? At StringsSG, we specialize in comprehensive PRISM+ aircon maintenance, repair, and cleaning to keep your cooling system running efficiently. Our team of skilled and certified technicians is experienced in handling all models of PRISM+ air conditioners, ensuring optimal performance, energy efficiency, and long-term durability.

Whether you need a general aircon servicing, chemical wash, or urgent aircon repair, we provide prompt and professional solutions tailored to Singapore’s climate and housing needs. Book your PRISM+ aircon service easily online and enjoy cool comfort with peace of mind.

prism+ aircon servicing Singapore

General Aircon Service Pricing

StringsSG offers the most affordable and transparent aircon servicing pricing in Singapore.

No. of AirconsPricing
1 AC unitSGD 43.24
2 AC unitSGD 51.34
3 AC unitSGD 65.50
4 AC unitSGD 79.67
5 AC unitSGD 89.24
more than 5Open a request
No. of Aircons4 times/year3 times/year
1 UnitsSGD 167.77SGD 125.83
2 UnitsSGD 197.13SGD 147.85
3 UnitsSGD 248.92SGD 186.69
4 UnitsSGD 299.57SGD 224.68
5 UnitsSGD 331.97SGD 248.98
more than 5Open a requestOpen a request
Gas TypePrice (SGD)
R22SGD S$40 – S$100
R410ASGD S$90 – S$150
R32SGD S$120 – S$220

Aircon Chemical Wash Pricing

Ensure your air conditioner is clean and germ-free with our annual chemical wash. Learn more about Basic Chemical Wash & Overhaul

No. of AirconsPricing
1 AC unitSGD 77.28
2 AC unitSGD 150.70
3 AC unitSGD 206.72
4 AC unitSGD 262.75
5 AC unitSGD 318.78
more than 5Open a request
No. of AirconsPricing
1 AC unitSGD 145.36
2 AC unitSGD 283.45
3 AC unitSGD 388.84
4 AC unitSGD 494.22
5 AC unitSGD 599.61
more than 5Open a request

Our 6-Step Aircon Servicing Process

At StringsSG, we follow a proven 6-step approach to general aircon servicing in Singapore — ensuring your unit runs efficiently and reliably.

1. Air Filter & Front Panel/Cover Cleaning

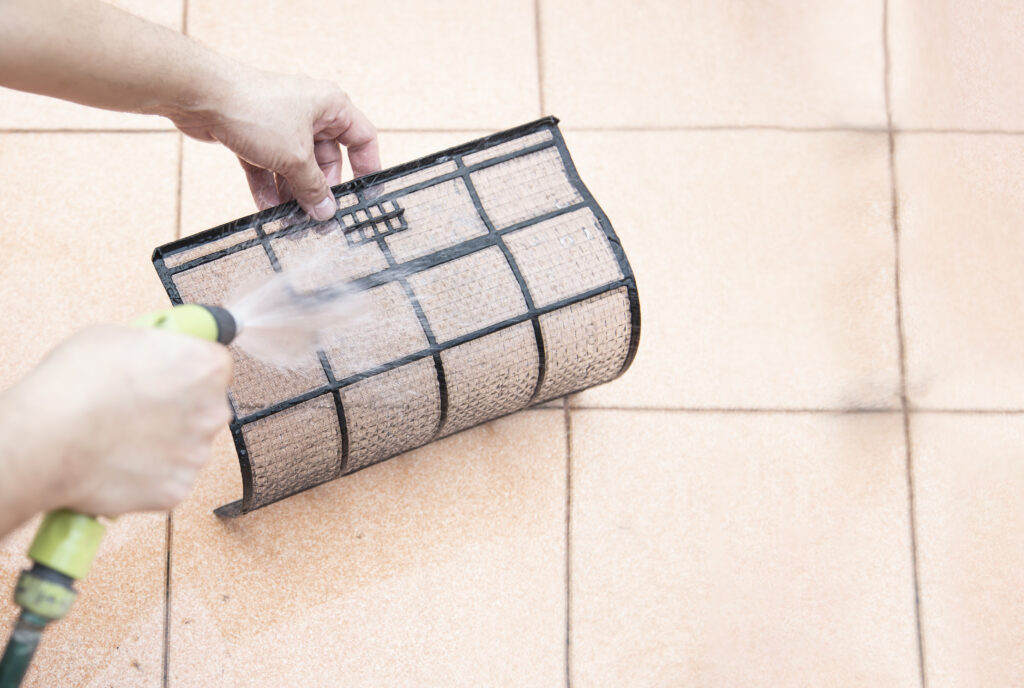
Dirty air filters can block airflow and strain the aircon. Technicians clean or jet-wash filters to restore optimal airflow.

2. Cleaning of Evaporator Coil

The evaporator coil can collect dirt, reducing efficiency. The technician cleans it using a soft brush or vacuum.

3. Drain Pan or Tray Cleaning

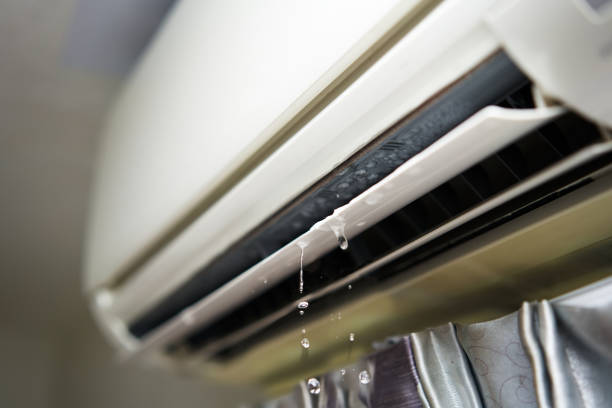
Clogged drain pans may lead to leaks. Technicians clean out debris from the pan to ensure proper drainage.

4. Vacuuming of Drainage Pipe

To prevent water backup, the drainage pipe is vacuumed to remove blockages that may disrupt water flow.

5. Outdoor Condenser Check

Technicians assess the outdoor unit’s performance and recommend cleaning if necessary, based on inspection or customer request (extra charges may apply).

6. Monitor Refrigerant Gas Level

Technicians check the refrigerant gas level if poor cooling is observed or upon client request, and may recommend top-up if needed.

Watch the Step-by-Step Servicing Video

Service Warranty

Enjoy comprehensive workmanship warranty coverage with every Prism+ aircon service. We’re committed to quality and stand behind our work, so you can stay cool and worry-free.

General Servicing

Includes air filter cleaning and performance check-up for your Prism+ unit.

30 Days Workmanship Warranty

Chemical Cleaning

Deep cleaning to remove mold, dust, and buildup from Prism+ indoor and outdoor units.

60 Days Workmanship Warranty

General Servicing

Top-up of Prism+ aircon refrigerant gas (R22 / R410A / R32) for optimal cooling efficiency.

90 Days Workmanship Warranty

Latest Prism+ Aircon Models in Singapore

While PRISM+ air conditioners are built with cutting-edge technology for reliable cooling and energy efficiency, occasional error codes can occur due to environmental or operational factors. Understanding these common error codes can help users troubleshoot minor issues or know when to book a service.

Here are some of the most frequently encountered PRISM+ aircon error codes and their meanings:

  • E1 – Indoor Unit Fault
    This usually points to issues with the indoor unit’s sensors or PCB (Printed Circuit Board). A quick reset may help, but persistent errors should be inspected by a professional.
  • E5 – Communication Error
    This code signals a disruption between the indoor and outdoor units. Loose wiring or PCB faults are common causes and require technical diagnosis.
  • F0 – Low Refrigerant or Refrigerant Leak
    When your PRISM+ aircon displays F0, it often indicates a refrigerant-related issue. This affects cooling efficiency and should be addressed promptly.
  • H3 – Compressor Overload
    Caused by high temperatures, dirty filters, or power supply issues, this error protects the compressor from damage. Routine servicing helps prevent this.
  • U8 – Indoor Unit and Outdoor Unit Connection Error
    Often due to voltage fluctuations or installation issues. This code may appear during startup and usually requires a service check.

Why These Codes Matter
Ignoring error codes can lead to higher energy bills, poor cooling performance, and even long-term damage. PRISM+ recommends periodic maintenance to ensure smooth operation and to catch potential issues early.

Need Help with an Error Code?
Our experienced PRISM+ servicing team in Singapore is equipped to diagnose and resolve all system alerts efficiently. Whether it’s a simple reset or a component replacement, we’ll restore your aircon’s performance quickly and affordably.

9 Steps In The Professional Aircon Chemical Overhaul Process

aircon chemical overhaul process

An aircon chemical overhaul is a more intensive version of chemical cleaning, designed for heavily clogged or underperforming units. It involves complete dismantling of the system and deep-cleaning each component individually using specialized chemicals.

Here are the 9 essential steps followed by professionals during a chemical overhaul:

1. Inspection and Preparation

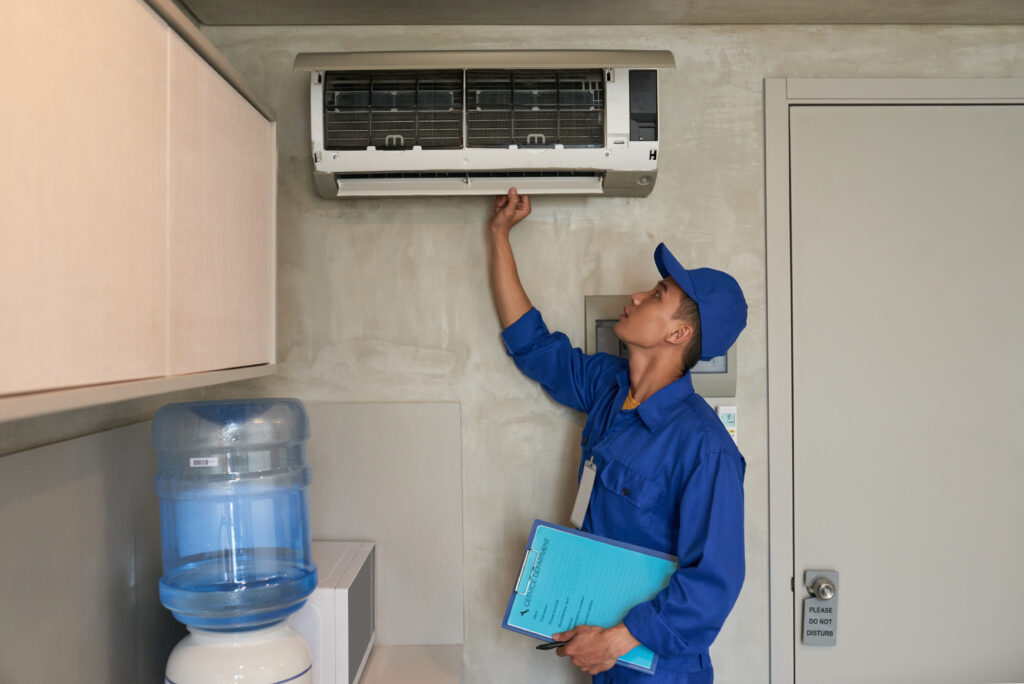
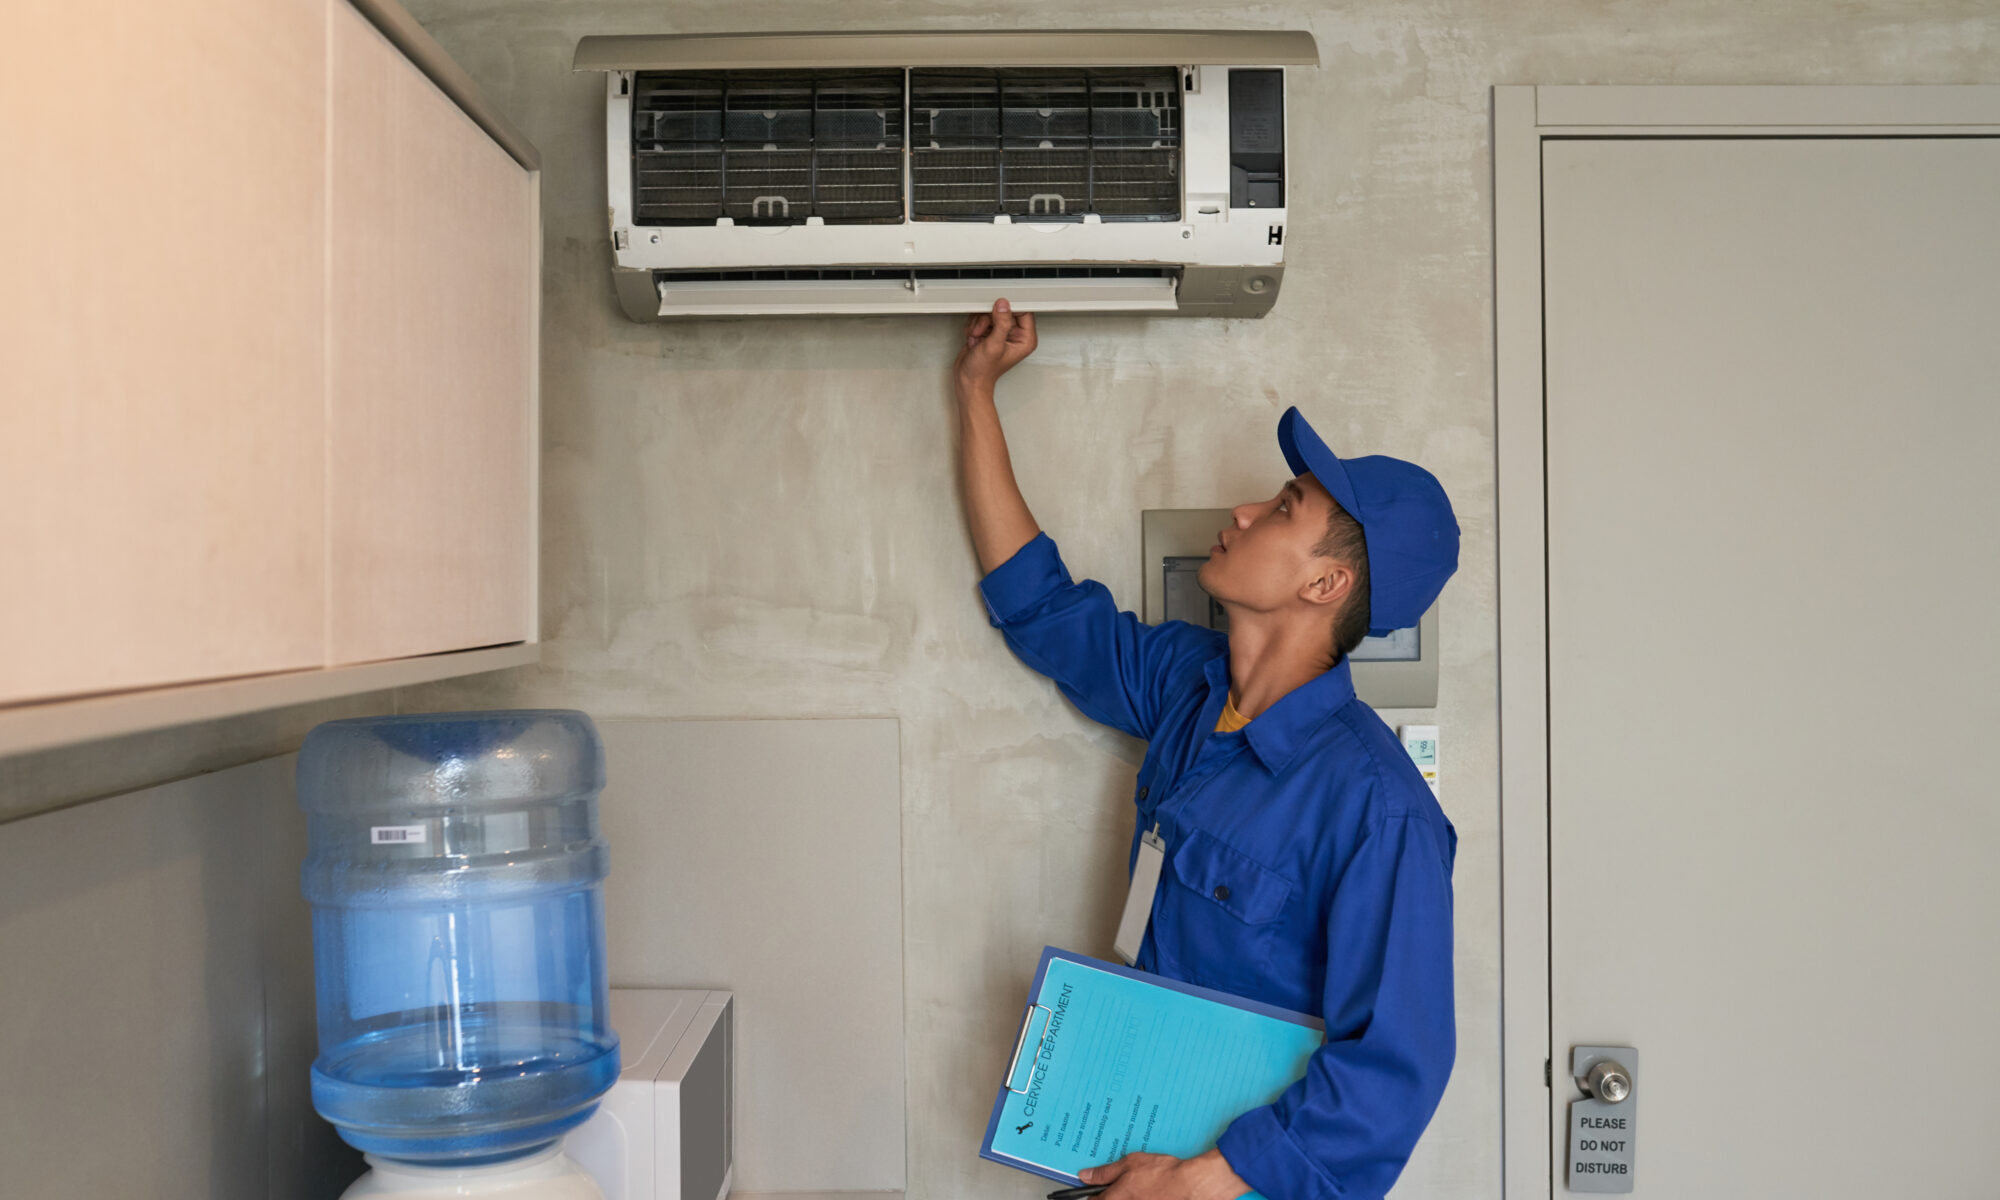
The process begins with a careful inspection of the aircon unit:

  • The technician checks the cooling efficiency, noise levels, airflow, and visible dirt accumulation.
  • Protective sheets are laid out to cover your flooring and nearby furniture to prevent any water or chemical splashes during the overhaul.
  • The electrical power to the unit is safely turned off.
technician inspecting aircon before service

2. Full Dismantling of the Aircon Unit

In a chemical overhaul, the entire fan coil unit (FCU) is removed from the wall:

  • The technician disconnects the electrical connections and drainage pipe.
  • The aircon casing, fan blower, and evaporator coil are separated completely from the indoor wall.
  • This allows complete access to internal components that are usually unreachable during a standard wash.

🛠️ This step requires experience and should only be done by trained professionals to avoid damage.

technician dismantling aircon unit

3. Disassembly of Components

With the unit taken down, all internal parts are carefully dismantled for separate cleaning:

  • Evaporator coil (cools the air)
  • Blower wheel (circulates air)
  • Drain pan (collects condensation)
  • Fan motor and casing

Delicate components such as the PCB (circuit board) are safely covered or removed before chemical treatment.

4. Intensive Chemical Cleaning

Each part is soaked or sprayed with a high-strength chemical solution designed to:

  • Break down grease, mold, and hardened dirt
  • Eliminate bacteria, dust mites, and allergens
  • Restore original airflow and cooling performance

Components are then rinsed thoroughly with water to remove chemical residues and allowed to dry completely.

5. Drainage System Flushing

A clogged drainage pipe is a leading cause of water leakage:

  • The technician flushes the drainage system using a pressure pump or manual method to remove clogs.
  • Algae, slime, and mineral buildup are cleared, ensuring smooth water flow during operation.

⚠️ Severely blocked pipes may require additional service and charges.

6. Outdoor Condenser Servicing

The outdoor unit, often neglected, is thoroughly cleaned:

  • Fins and coils are brushed or vacuumed to remove leaves, dirt, and dust.
  • A light water jet may be used to clean the fan and exterior.
  • Condenser cleaning improves heat dissipation and reduces the compressor’s workload.

7. Lubrication of Fan Bearings

After cleaning, fan bearings and motor components are lubricated to ensure smooth rotation and reduce friction:

  • This helps eliminate humming or squeaky noises.
  • Prevents premature wear and tear of moving parts.

8. Refrigerant Gas Level Check

Using pressure gauges, the technician checks the refrigerant gas level:

  • If it’s too low, your aircon won’t cool effectively.
  • If a leak is suspected, further testing may be required.
  • Gas top-up is usually charged separately and done only if needed.
gas refill done by aircon technician

9. Reinstallation and Performance Testing

Once all parts are cleaned and dried:

  • The unit is reassembled and securely mounted back on the wall.
  • All electrical and drainage connections are reattached.
  • A final test is conducted to ensure:
    • Cold air is blowing properly
    • Drainage is smooth
    • The unit is quiet and vibration-free

You’ll immediately notice improved cooling, reduced noise, and cleaner-smelling air.

Why Opt for a Chemical Overhaul Over Regular Servicing?

Chemical WashChemical Overhaul
Partial cleaningFull disassembly
Keeps unit cleanRestores like-new performance
Less time-consumingLonger duration (60–90 mins)
For light-to-moderate dirtFor heavily clogged or old units

7 Steps in the Professional Aircon Chemical Wash Process

Technician Doing Regular Aircon Servicing

Aircon chemical washing is a deep-cleaning procedure performed by experienced technicians to restore cooling efficiency, prevent system breakdowns, and extend the lifespan of your unit. Below is a step-by-step guide to how professionals carry out this intensive cleaning service:

1. Inspection and Preparation

Before starting, the technician inspects the aircon unit to assess the cleaning requirements. This helps identify visible dirt buildup, mold presence, and signs of leakage or inefficiency.

Power to the unit is turned off to ensure safety during the procedure.

Furniture, walls, and flooring around the aircon are carefully covered with protective sheets.

technician inspecting aircon before service

2. Disassembly of Components

The technician carefully dismantles key components of the aircon system to gain access to the internal parts that need cleaning:

  • Front panel
  • Air filters
  • Fan coil unit (FCU) cover
  • Drain pan

This allows a thorough reach into all areas where dirt and grime accumulate.

3. Chemical Application on Internal Components

A specially formulated chemical solution is applied to dissolve accumulated contaminants such as:

  • Mold and mildew
  • Dust and dirt
  • Bacteria and allergens
aircon undergoing professional chemical wash

These chemicals are safe when handled by professionals and are rinsed off completely to avoid residue.

4. Cleaning the Drainage System

Clogged drainage pipes are a common cause of leaking aircons. The technician will:

  • Flush and clean the drainage system
  • Remove slime, algae, and debris
  • Ensure smooth water flow to prevent future blockages

⚠️ Note: Drainage cleaning may incur additional charges depending on the condition.

5. Outdoor Condenser Cleaning (extra charges may apply)

The outdoor condenser unit, which supports the cooling process, is often overlooked in basic servicing.

  • A brush and vacuum are used to clear debris and dust from the condenser fins and fan.
  • In some cases, a jet spray is used.
  • A clean condenser improves efficiency and reduces power consumption.

6. Monitor and Top-Up Refrigerant Gas (If Needed)

The technician checks the refrigerant gas level to ensure optimal cooling performance:

  • If the gas is low, it may cause weak or no cooling.
  • A pressure gauge or manifold set is used for accurate readings.
  • You will be advised if a gas top-up is necessary.
aircon technician checking refrigerant gas level

7. Reassembly and Functional Testing

Once cleaning is complete:

  • The unit is reassembled with all parts securely fixed.
  • A new or cleaned filter is installed.
  • The aircon is powered on and tested for:
    • Cooling performance
    • Unusual noise or vibration
    • Proper airflow and drainage

🌬️ Why Choose a Professional Aircon Chemical Wash?

Getting a chemical wash done by a professional ensures your aircon:

  • Runs more efficiently
  • Saves electricity
  • Improves indoor air quality
  • Lasts longer without major repairs

💡 Experts recommend a chemical wash every 6 to 12 months, depending on your usage and environment.

Quick 8 Steps To Perform Aircon Chemical Wash – DIY

germs inside of an aircon unit that is unseen to the human eye

In tropical climates like Singapore, air conditioners are essential for daily comfort. But over time, dust, mold, and grime can build up inside your unit, leading to reduced cooling performance and higher energy bills. A chemical wash is one of the most effective ways to restore your aircon’s efficiency and improve indoor air quality.

While a full chemical overhaul is best left to professionals, a careful DIY aircon chemical wash can help you maintain your unit in between servicing—saving you money and extending its lifespan.

Follow these 8 essential steps to perform your own aircon chemical wash safely and effectively:

professional washing the inside of an aircon unit

1. Safety Precautions

Before you begin, gear up for protection. Wear gloves, goggles, and a face mask to shield yourself from dust and cleaning chemicals. Make sure the area is well-ventilated and that you have all tools and cleaning solutions ready.

2. Turn Off the Power

Always switch off the power supply at the circuit breaker before working on your air conditioner. This is a critical step to prevent electrical shock or short-circuiting during cleaning.

3. Clean the Exterior

Start by wiping down the outer casing of your indoor unit using a damp cloth or sponge. Remove dust, grime, and any loose dirt. Be gentle around delicate fins and avoid pressing too hard on plastic covers or vents.

4. Remove and Clean the Filter

Open the front panel and remove the air filter.

  • For light cleaning: Rinse under water or use a handheld vacuum.
  • For deeper cleaning: Use a mild detergent or Biget spray (a popular cleaner) and rinse thoroughly in the bathroom.

5. Clean the Evaporator Coils

The evaporator coils inside your aircon absorb heat and are key to cooling. If they’re dirty, your system will struggle to cool effectively.

  • Carefully remove the front panel to access the coils.
  • Spray a chemical coil cleaner onto the coils and let it sit as instructed (usually 5–10 minutes).
  • Rinse off with clean water—avoid spraying directly on wires or electronic parts.

Note: If your evaporator coils are heavily caked with dirt, consider calling a technician for a full chemical overhaul.

6. Clean the Condenser Unit (Outdoor Unit)

Head outside to your condenser unit (usually located on the ledge, balcony, or rooftop).

  • Use a hose or low-pressure washer to gently clean the condenser coils and fins.
  • Remove any leaves, dust, or debris around the unit to maintain proper airflow.
  • Be careful not to bend the delicate aluminum fins.

7. Clear the Drainage System

A clogged drainage pipe can cause leaks or foul smells. Locate the drainpipe and use a brush, pipe cleaner, or a flush of warm water and mild bleach to clear any blockages. Ensure water flows freely out of the drain outlet.

8. Reassemble and Test

Once everything is clean and dry:

  • Reinstall the air filter and any panels you removed.
  • Restore the power at the breaker.
  • Turn on your aircon and let it run for 15–20 minutes.

Observe for strong airflow, no abnormal sounds, and steady cooling. If everything checks out—you’ve just completed a successful DIY chemical wash!

When To Call A Professional

image of aircon tech posing infront of a flurry of aircons

While DIY maintenance can go a long way, some issues require expert attention. Contact a professional if:

  • Cooling is still weak after cleaning
  • Persistent moldy or chemical odors remain
  • Your aircon leaks or makes strange noises
  • You haven’t serviced your unit in over a year
  • You’re unsure about handling internal components

Final Thoughts

Doing your own aircon chemical wash isn’t as intimidating as it sounds—with the right precautions and step-by-step approach, it’s a rewarding way to keep your unit running efficiently.

Regular maintenance like this can extend your aircon’s lifespan, improve indoor air quality, and help you avoid costly repairs. Just remember: when in doubt, get help from a certified technician.

Top 8 Chemicals That Are Used In Aircon Chemical Wash?

aircon chemical was by a professional technician

Aircon units are essential for maintaining a cool and comfortable environment, especially in tropical climates like Singapore. Over time, dust, mold, bacteria, and other contaminants accumulate inside the aircon, reducing its cooling efficiency and air quality. A chemical wash is one of the most effective ways to maintain your aircon.

Whether considering a DIY approach or hiring a professional, understanding the chemicals involved is crucial for proper aircon maintenance. We’re here to help you understand what which chemicals are used in an aircon chemical wash.

1. Alkaline-Based Cleaners

Alkaline-based cleaners are commonly used in aircon chemical washes to remove grease, oils, and organic matter. These cleaners are highly effective for breaking down and loosening dirt and grime that has built up over time.

alkaline aircon cleaner
Alkaline Aircon Cleaner

How they work:

The alkaline cleaner breaks down the oils and grease inside the aircon, making it easier to remove them during the wash. These cleaners are safe for most aircon components and effectively clean parts like the coils, fan blades, and filters.

Benefits:

  • Removes oils and grease effectively
  • Helps maintain cooling efficiency
  • Safe for aircon components like coils and filters

2. Acidic Cleaners

Acidic cleaners dissolve mineral deposits such as rust, limescale, and other hard water buildup that can accumulate on the coils and drain pans. These deposits can block airflow, reduce efficiency, and even damage the aircon system.

How they work:

The acidic properties of the cleaner break down mineral buildup, allowing for easy removal. They are often used on components like the evaporator coils and drain pans to restore proper functionality and prevent further buildup.

Benefits:

  • Removes stubborn mineral deposits
  • Prevents airflow blockages
  • Restores cooling efficiency

3. De-Scalers

De-scalers are specialized solutions designed to remove hardened mineral deposits—especially calcium and magnesium—that build up over time in aircon systems due to hard water exposure. These deposits can obstruct water flow, reduce heat exchange efficiency, and strain system components.

De-Scaler chemical solution for aircon

How they work:

De-scalers contain chemical agents that react with limescale and mineral buildup, breaking them down into soluble compounds that can be flushed out easily. They are typically applied to components such as condenser coils, heat exchangers, and internal piping where scale accumulation is most common.

Benefits:

  • Dissolves tough limescale and mineral buildup
  • Improves heat transfer and energy efficiency
  • Prevents corrosion and long-term system wear

4. Rust Inhibitors

Rust inhibitors are protective treatments designed to prevent the formation of rust and corrosion on metal components within the aircon system. Moisture, condensation, and chemical exposure can lead to rust over time, compromising both performance and durability.

Aircon Rust Inhibitor

How they work:

Rust inhibitors form a thin, invisible barrier on metal surfaces, shielding them from oxygen and moisture—the key ingredients for rust formation. They’re commonly applied to parts like coil fins, drain pans, and metal casings to extend the lifespan of the unit.

Benefits:

  • Prevents rust and corrosion on critical components
  • Prolongs the life of the aircon system
  • Reduces maintenance costs and premature part replacements

5. Biocides and Anti-Mold Chemicals

Mold and bacteria thrive in the moist environment inside your aircon unit, especially in tropical climates like Singapore. Biocides and anti-mold chemicals kill these harmful microorganisms, ensuring that your aircon delivers clean, safe air to your home.

How they work:

germs inside of an aircon unit that is unseen to the human eye

Biocides and anti-mold solutions target mold spores and bacteria inside the aircon. The aircon is disinfected using these chemicals, improving indoor air quality and preventing musty smells from circulating through your home.

Benefits:

  • It kills mold and bacteria
  • Improves air quality
  • Prevents foul odors from developing

6. Surfactants (Detergents)

Surfactants, or detergents, are chemicals that lower the surface tension of water, making it easier for water to spread across surfaces and penetrate deep into the dirt. These chemicals are beneficial for breaking down dirt and grime that may have accumulated in the aircon unit.

How they work:

By reducing the surface tension of water, surfactants allow the cleaning solution to break through layers of dirt and grime. They are often used in combination with other chemicals to enhance cleaning effectiveness.

Benefits:

  • It breaks down dirt and grime effectively
  • Helps to clean hard-to-reach areas
  • Ensures a deeper clean

7. Deodorizing Chemicals

Deodorizing chemicals neutralize unpleasant odors caused by mold, bacteria, or accumulated dust. These chemicals leave behind a fresh scent and help improve your home’s overall air quality.

How they work:

Deodorizing agents neutralize the molecules that cause bad odors, eliminating musty, stale, or chemical smells that sometimes come from an aircon unit. These chemicals ensure your aircon blows fresh, clean air after the wash.

Benefits:

  • Eliminates bad smells
  • Leaves aircon smelling fresh
  • Improves the overall air quality in your home

8. Enzyme Cleaners

Enzyme-based cleaners are natural, non-toxic cleaners that use enzymes to break down organic matter such as food, oils, and grease. These cleaners are particularly useful in environments where non-toxic, eco-friendly solutions are preferred.

How they work:

Enzyme cleaners use specific enzymes to target and break down organic debris. They are gentle on the environment and the aircon unit while effectively cleaning components like filters, coils, and fans.

Benefits:

  • Eco-friendly and non-toxic
  • Breaks down organic matter
  • Safe for households with children or pets

What to Do If Your Aircon Has Poor Air Quality

Aircon systems are central to modern life, especially in Singapore, where the tropical climate calls for cooling solutions. They offer a reliable way to cool your space, but did you know they could also affect the air quality inside your home or office? Poor air quality can cause discomfort, exacerbate allergies, and negatively impact your health. If you notice that the aircon in your home has poor air quality, it’s essential to take immediate action to rectify the issue.

Signs of Poor Air Quality from Your Aircon

Before diving into what actions you must take, let’s first understand how to spot poor air quality caused by your aircon. Common signs include:

  • Musty or Unpleasant Odor: A foul smell from the aircon is usually a sign of mold or bacteria growth inside the unit. This is especially common if your aircon unit has been left stagnant or serviced in a while.
  • Dusty or Dirty Air: If your aircon starts blowing dust or you notice more dust accumulating in your living space, it’s a clear sign that the filters or the ducts may need cleaning.
  • Increased Allergy Symptoms: If you or your family members start experiencing more allergic reactions, such as sneezing, coughing, or itchy eyes, it may be because the air circulating through your aircon contains allergens.
  • Weak or Insufficient Airflow: If your aircon’s airflow is weak or inconsistent, it could indicate a buildup of dirt or debris in the air filters or ducts, affecting its ability to properly filter air.
  • Higher Humidity Levels: Air conditioners are designed to remove humidity. If your aircon is not effectively cooling and the humidity levels in your home seem to be high, this could be due to a malfunctioning system.

If you notice any of these issues, it’s time to address the poor air quality of your aircon.

Steps to Fix Poor Air Quality in Your Aircon

1. Clean or Replace the Air Filters

The most common cause of poor air quality is dirty or clogged filters. Air filters trap dust, dirt, and other pollutants from entering your living space, but they stop doing their job effectively when they get clogged. Over time, this can result in poor air quality being circulated in your home.

What to do:

  • Check the air filters for dust and dirt buildup. If they appear dirty, remove and clean them according to the manufacturer’s instructions.
  • If cleaning doesn’t work, replace the air filters. Depending on usage, most filters should be replaced every 3-6 months.
  • High-efficiency particulate air (HEPA) filters are better at trapping smaller particles and improving air quality.

2. Clean the Coils and Drain Pan

Another important component to check is the air conditioner’s evaporator and condenser coils. These coils can accumulate dust and grime over time, leading to a decrease in the efficiency of your aircon. When the coils are dirty, they may not absorb or release heat properly, affecting air quality and the overall cooling performance.

What to do:

  • Turn off the aircon and carefully clean the coils using a coil cleaner, ensuring that you follow the manufacturer’s instructions.
  • Ensure the drain pan is free from any standing water, which can lead to mold and bacteria growth.
  • Clean the coils once or twice yearly to ensure your aircon works efficiently.

3. Check for Mold and Mildew Growth

If you notice a musty smell coming from your aircon, mold and mildew may be the culprits. Mold thrives in warm, moist environments, making aircon systems a perfect breeding ground, especially when the system is not regularly maintained.

What to do:

  • Inspect the evaporator coils and drainage pan for any visible signs of mold growth.
  • Use an aircon cleaner or mold remover to clean any moldy areas. You may also use vinegar and water for a more natural solution.
  • If the mold problem is severe, consider calling a professional technician to handle the cleaning process.
aircon technician cleaning out aircon filters
Aircondition service cleaning

4. Clean the Ducts

Aircon ducts can accumulate dirt, dust, and other debris, restricting airflow and negatively impacting air quality. If your aircon has poor airflow and you notice dust accumulating in your home, it may be time to clean the ducts.

What to do:

  • Turn off the aircon system before you begin cleaning.
  • You can use a vacuum with a long hose attachment to clean the ducts, or you may need a specialized brush.
  • Duct cleaning can be challenging, so if you feel unsure, it’s always a good idea to call a professional duct cleaning service to do a thorough job.

5. Maintain Proper Humidity Levels

Aircons are designed to cool the air and reduce humidity levels. If your aircon is not properly regulating the humidity, it can create a perfect mold and bacteria growth environment. High humidity can also make the air feel stuffy and uncomfortable.

What to do:

  • Ensure that your aircon is appropriately sized for the room. It may struggle to control humidity if it’s too large or too small.
  • You can also use a dehumidifier in conjunction with your aircon to further reduce moisture levels in the air, especially in areas with high humidity, like the bathroom or kitchen.
  • Regularly check the humidity level using a hygrometer to ensure it stays within a comfortable range of 40%-60%.

6. Ensure Proper Ventilation

Proper ventilation is key to maintaining good air quality in your home. If your aircon doesn’t have sufficient ventilation, stale air can accumulate, negatively impacting air quality.

What to do:

  • Ensure that the air intake and exhaust vents are free from blockages.
  • Keep windows open occasionally to allow fresh air to circulate throughout your home.
  • Consider installing additional vents or using exhaust fans to improve airflow in rooms where you use air conditioning the most.
Technician Doing Regular Aircon Servicing

7. Regular Maintenance and Servicing

Regular aircon maintenance is essential for running the system efficiently and maintaining good air quality. Scheduling regular servicing can prevent the buildup of dust, mold, and other contaminants that degrade air quality.

What to do:

  • Call a professional aircon service technician to perform an annual maintenance checkup. This includes cleaning the components, checking refrigerant levels, and ensuring the system runs efficiently.
  • Regular servicing can help identify problems before they get worse, ensuring the longevity of your aircon system.

When to Call a Professional

While homeowners can handle some of the tasks above, others are better left to professionals. If you’ve followed all the steps and your aircon still has poor air quality, it’s time to call in an expert. A certified aircon technician can diagnose any underlying issues and provide the necessary repairs or servicing.

Signs You Should Call a Professional:

  • Persistent bad odors that cannot be eliminated by cleaning.
  • Poor airflow or inconsistent cooling.
  • Visible mold or mold growth inside the aircon unit.
  • Difficulty maintaining humidity levels or cooling efficiency.

Final Thoughts

Maintaining good air quality in your home is essential for your health and well-being, and your aircon plays a crucial role. You can significantly improve the air quality by regularly cleaning your aircon filters, checking for mold, and ensuring proper ventilation. If the problem persists, it’s best to consult a professional aircon technician who can help resolve any issues and ensure your system is running efficiently. Regular maintenance is key to ensuring your aircon performs optimally and keeps the air clean and comfortable.