
Home repairs can be expensive. But the good news? You don’t always need a professional to fix every issue. With the right tools, materials, and know-how, many small jobs can be tackled at home, saving you money over time.
Whether you live in an HDB flat, a condo, or a landed home in Singapore, these five handyman hacks are practical, easy to learn, and budget-friendly. From quick plumbing fixes to basic electrical maintenance, these tips can help reduce your repair bills and extend the life of your home appliances and fittings.
Let’s dive into the top handyman hacks that will make a real difference this year.
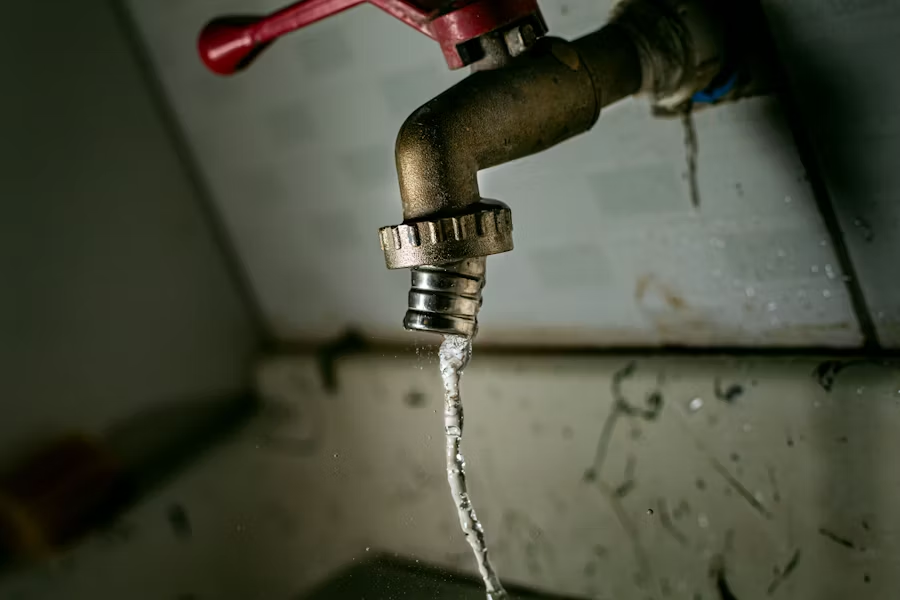
1. Fix Leaky Taps Without a Plumber
A dripping tap may seem minor, but over time, it can waste litres of water and spike your water bill. Hiring a plumber for such a small task may also cost you more than necessary.
Worn-out washers or O-rings are the most common cause of leaky taps. You can fix this yourself in less than 30 minutes.
What you need:
- Adjustable spanner
- Replacement washer or O-ring
- Screwdriver
- Teflon tape
How to do it:
- Shut off the water supply under the sink.
- Unscrew the tap handle and remove the cartridge.
- Replace the worn washer or O-ring.
- Wrap Teflon tape around the thread for a better seal.
- Reassemble the tap and turn the water back on.
Money saved: Up to $80–$150 per call-out.
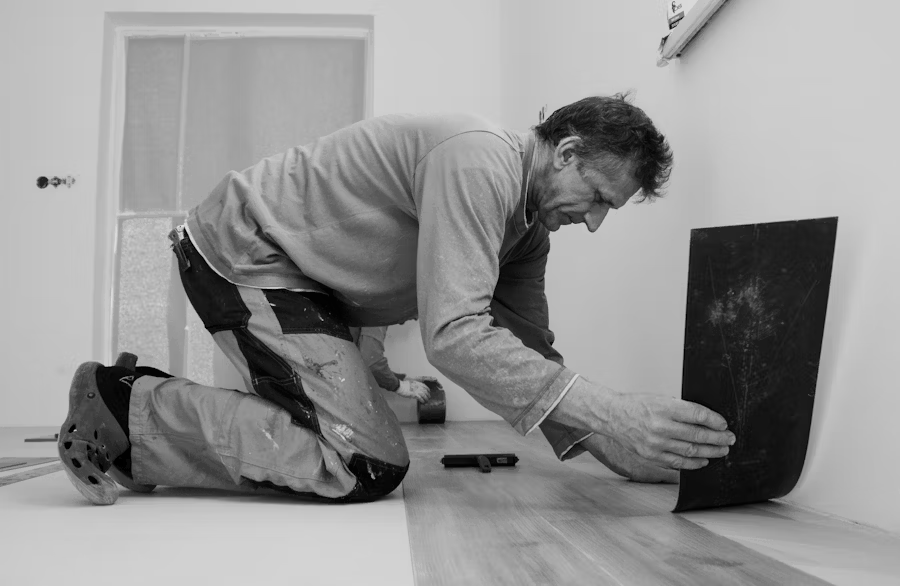
2. Patch Wall Cracks and Holes Yourself
Over time, homes develop small wall cracks or holes, often due to picture hooks, furniture bumps, or changes in humidity. Hiring a professional to fix it can be more expensive than necessary, especially for minor damage.
Patching drywall or concrete walls is easy with the right materials. It also improves the appearance of your home, especially if you’re planning to rent or sell.
What you need:
- Wall putty or filler
- Putty knife
- Sandpaper
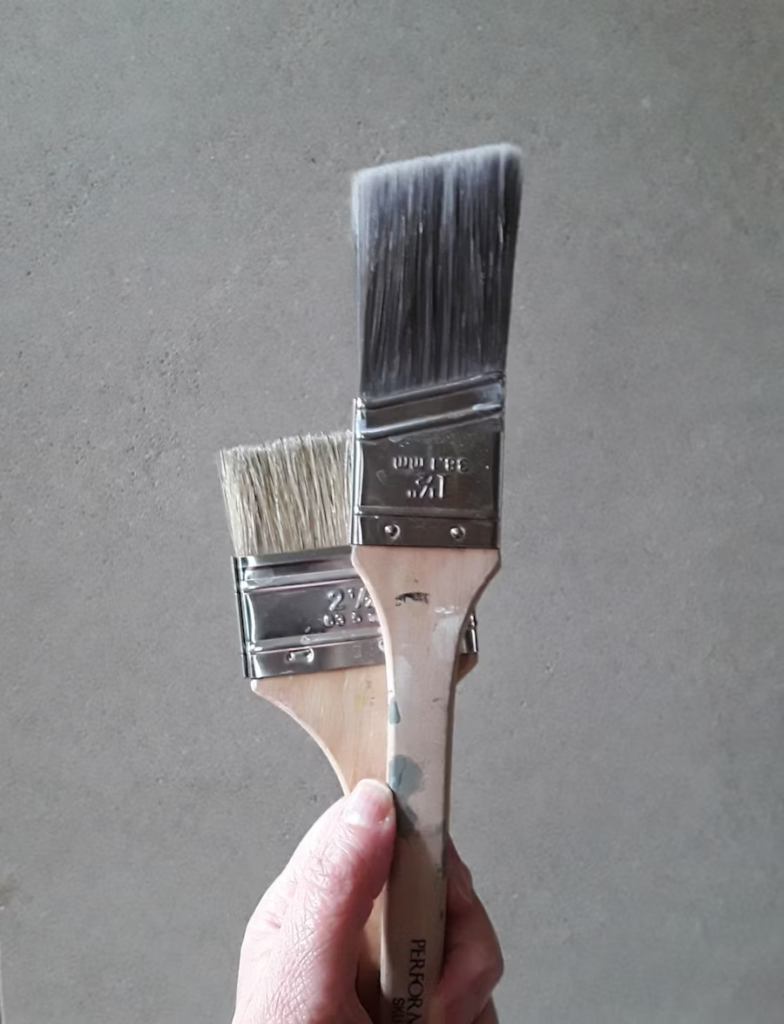
- Paint and brush (for touch-up)
How to do it:
- Clean the damaged area.
- Apply filler using the putty knife.
- Allow it to dry completely (approximately 2–6 hours).
- Sand it smooth.
- Paint over the repaired spot.
Pro tip: For larger holes, use a mesh patch before applying filler.
Money saved: $100–$300, depending on the extent of the damage.
3. Unclog Drains with Household Items
Blocked drains in the kitchen or bathroom are a common and annoying issue. Instead of calling for a plumber each time, you can clear simple clogs using items you already have at home.
What you need:
- Baking soda
- Vinegar
- Hot water
- A plunger or plumber’s snake
How to do it:
- Pour half a cup of baking soda down the drain.
- Add one cup of vinegar.
- Let the mixture fizz for 15 minutes.
- Flush with hot water.
- If the clog persists, use a plunger or snake.
Avoid using harsh chemicals like drain cleaners too often, they can damage your pipes over time.
Money saved: $80–$200 per plumber visit.
4. Replace Door Locks and Knobs on Your Own
Loose doorknobs or rusty locks not only look bad but can be a security risk. Many homeowners call a locksmith for simple hardware replacements, but this is a job most people can do themselves.
What you need:
- New door knob or lock set
- Screwdriver
- Drill (optional)
How to do it:
- Unscrew and remove the old lock or knob.
- Align and insert the new set.
- Tighten the screws and test the fit.
You can find quality replacement hardware at local hardware stores or online. This is especially useful for rental units, where locks need frequent updates.
Money saved: $100–$250 for locksmith service.
5. Install Shelf Brackets or Wall Mounts Yourself
Need more storage? Instead of paying for custom carpentry or handyman work, consider installing floating shelves or brackets yourself. It’s easier than it looks and utilises vertical space efficiently.
What you need:
- Brackets or shelf kit
- Drill
- Level
- Wall plugs and screws
- Measuring tape
How to do it:
- Measure and mark the location where the shelf will be placed.
- Use a level to make sure it’s straight.
- Drill holes, insert plugs, and secure brackets.
- Attach the shelf and double-check stability.
Start with lightweight items. Once confident, you can mount heavier shelves or even TVs.
Money saved: $150–$400, depending on project size.
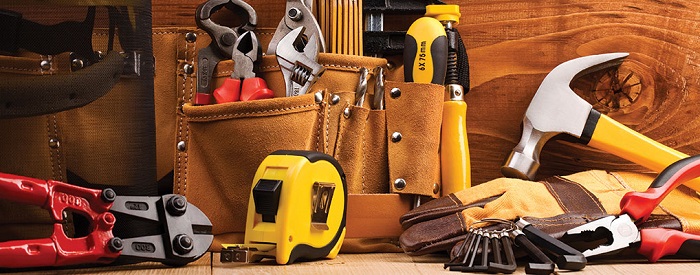
Bonus Tip: Create a Home Repair Kit
Every DIY-friendly home should have a basic repair kit. It saves time, reduces the need for last-minute hardware runs, and empowers you to fix things as they arise.
Starter kit suggestions:
- Screwdrivers (flathead and Phillips)
- Adjustable wrench
- Teflon tape
- Utility knife
- Power drill
- Hammer
- Measuring tape
- Wall filler
- Sandpaper
- Allen keys
- Duct tape
- Torchlight
- Gloves and safety glasses
Keep everything organised in a toolbox. Label your containers so you know what goes where.
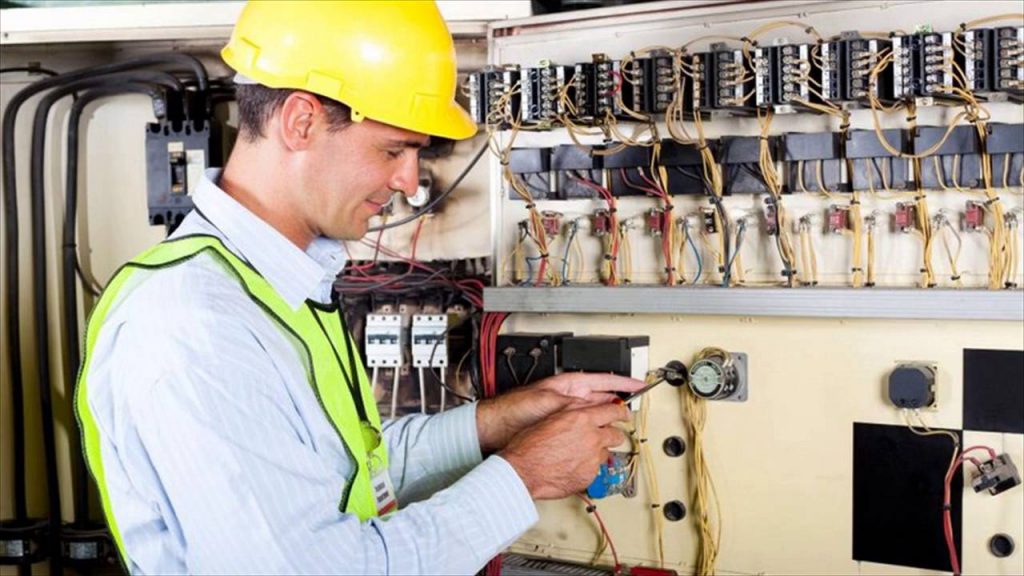
When to Call a Professional
Some jobs should not be DIYed. If you encounter any of the following, hire a licensed professional:
- Electrical rewiring
- Gas leaks
- Major plumbing issues
- Ceiling repairs
- Water damage behind walls
- Roof damage
- Aircon gas refilling
Doing these incorrectly can lead to serious injury, legal issues, or costly repairs.
Why These Hacks Matter in Singapore
Singapore’s warm and humid weather creates unique challenges — mould growth, metal corrosion, and drain clogs are more common. Rental property rules may also limit extensive renovations.
By knowing what you can fix on your own, you maintain your home efficiently without overspending. These handyman hacks are ideal for HDB dwellers, condo owners, and even landlords who manage multiple units.
Summary Table: Handyman Hacks vs Professional Costs
| Hack | DIY Tools Cost | Pro Service Cost | Savings |
| Fix leaky tap | <$20 | $80–$150 | High |
| Patch wall | <$25 | $100–$300 | High |
| Unclog drain | <$10 | $80–$200 | High |
| Replace locks | <$50 | $100–$250 | Moderate |
| Install shelf | <$60 | $150–$400 | High |
Final Thoughts
You don’t need to be a trained handyman to save on home maintenance. With the right tools and a little confidence, many small issues can be resolved safely and quickly.
Start with one project at a time. Build your skills, and you’ll soon find that DIY home repairs are not only cost-effective but empowering too.
For more serious work, always hire certified professionals. But for these five handyman hacks, roll up your sleeves and get started.


You must be logged in to post a comment.