
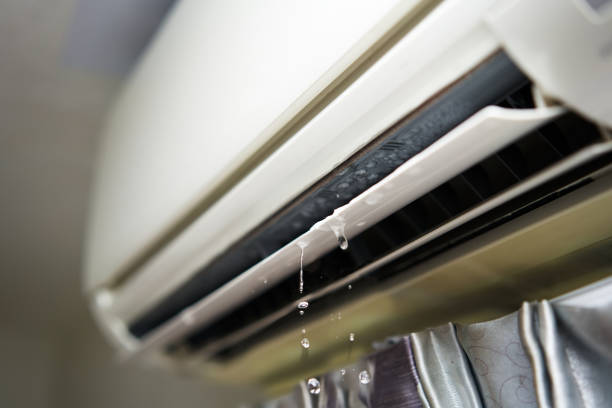
If you’ve ever walked into your living room only to find a suspicious puddle under your aircon, you’re not alone. Aircon water leakage is a common issue in Singapore, particularly given the humid weather and our heavy reliance on these cooling units in our HDBs, condos, and landed homes. But the good news? It’s completely preventable.
Here are the Top 7 ways to prevent your aircon from leaking water, before it turns into a costly mess.
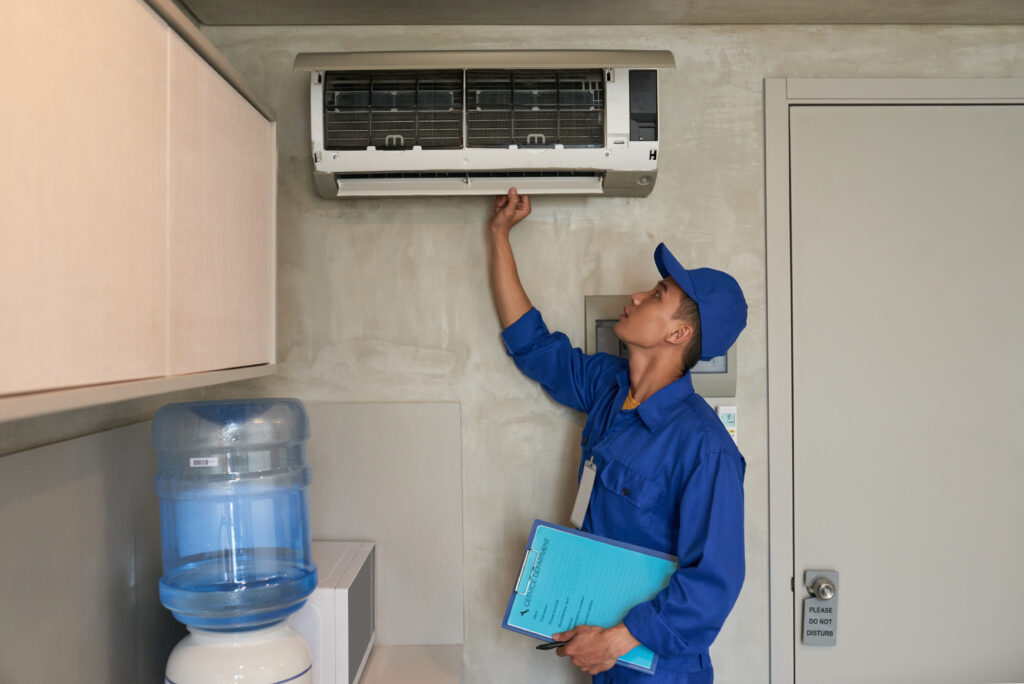
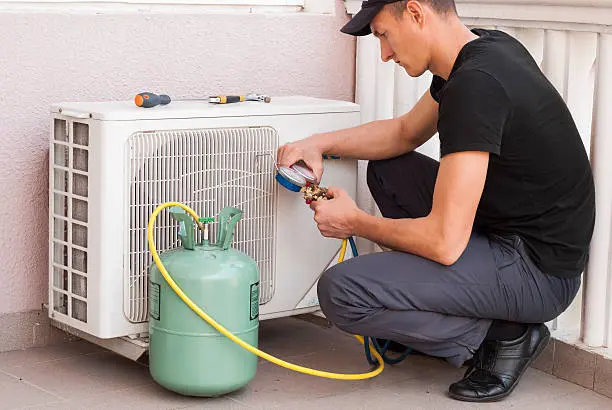
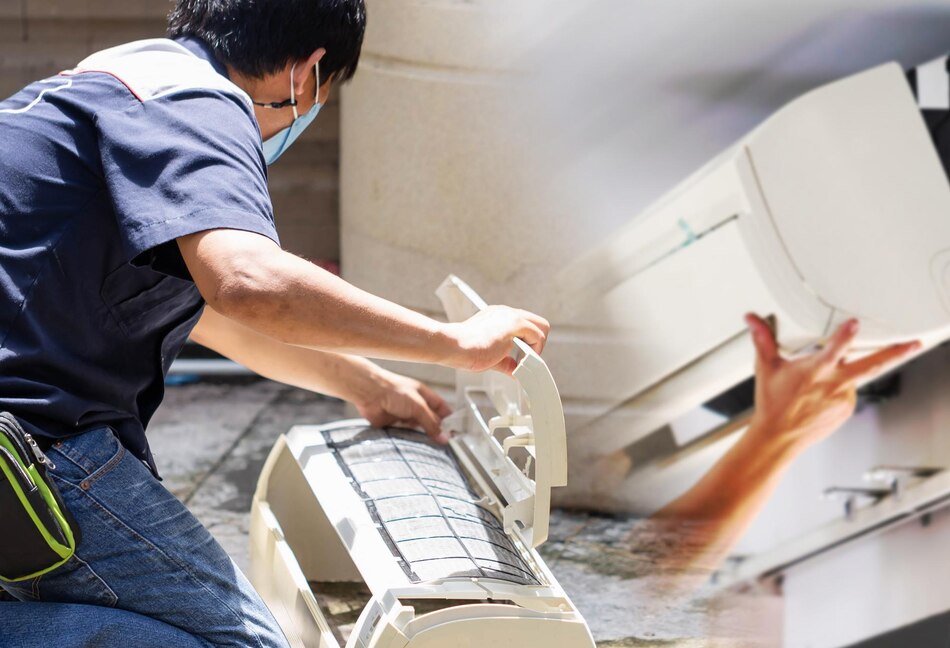
1. Schedule Regular Aircon Servicing
Just like your car needs regular servicing, so does your aircon. Most water leaks are caused by clogged drainage systems or dirty filters—issues that can be easily avoided with routine maintenance checks.
Recommended frequency for homes in SG:
- Light usage (e.g. bedroom units): every 6 months
- Heavy usage (e.g. living room units): every 3–4 months
Hire a licensed technician to conduct a thorough inspection and, if necessary, perform a chemical wash. Not only will it keep your aircon leak-free, but it’ll also improve cooling and save energy.
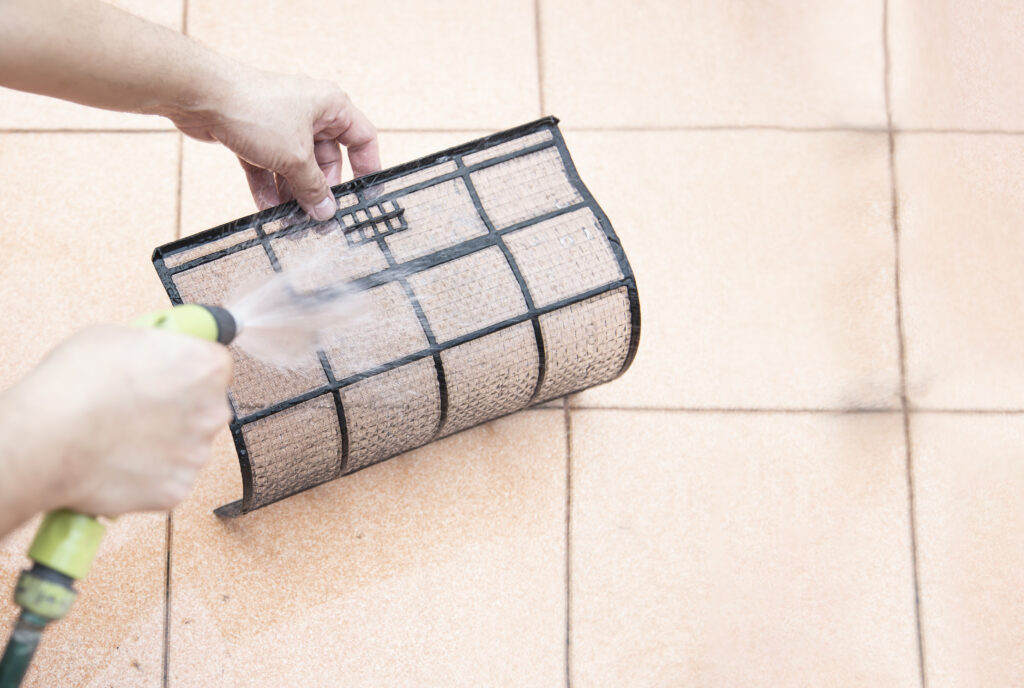
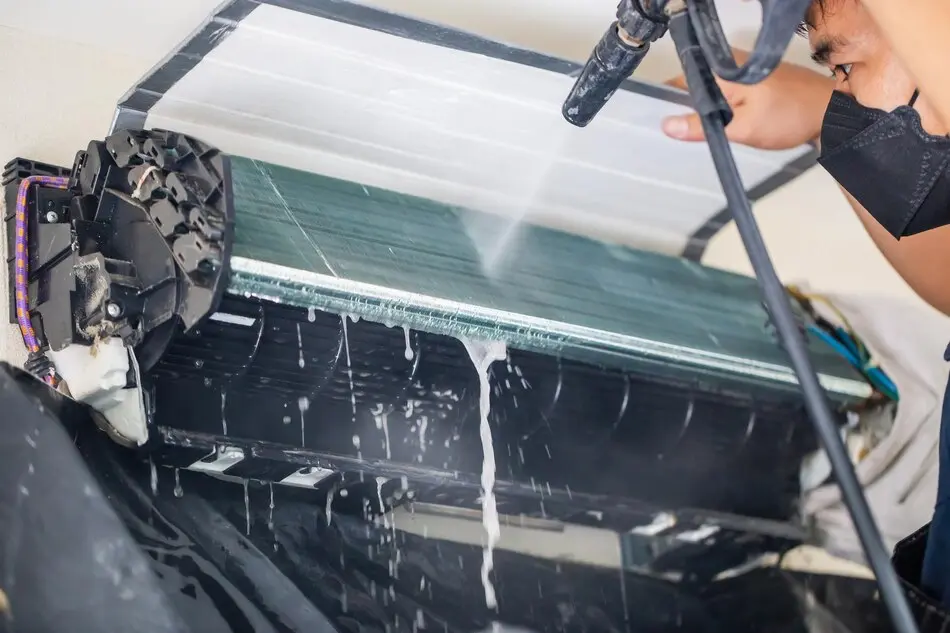
2. Clean or Replace Your Air Filters
Dirty air filters are one of the biggest culprits of aircon leaks. When filters are blocked, the evaporator coil can freeze up, and when it melts, it can cause a boom. Water overflow.
What to do:
Open the front panel, gently remove the filter, and wash it under lukewarm water. Let it dry completely before placing it back in its original position. If it’s too worn out or damaged, replace it.
Pro tip: Make this a monthly habit, especially if you live near construction sites or have pets.
3. Check the Drainage Pipe for Blockages
The drain pipe (also known as the condensate line) is responsible for carrying excess moisture from your aircon to a safe discharge point. A blocked pipe can cause water to back up and leak.
Signs your drain line is clogged:
- Gurgling sounds
- Musty smell
- Water dripping down the wall or casing
What to do:
Ask your technician to vacuum or flush the drainage pipe with compressed air or a special cleaning solution during servicing.
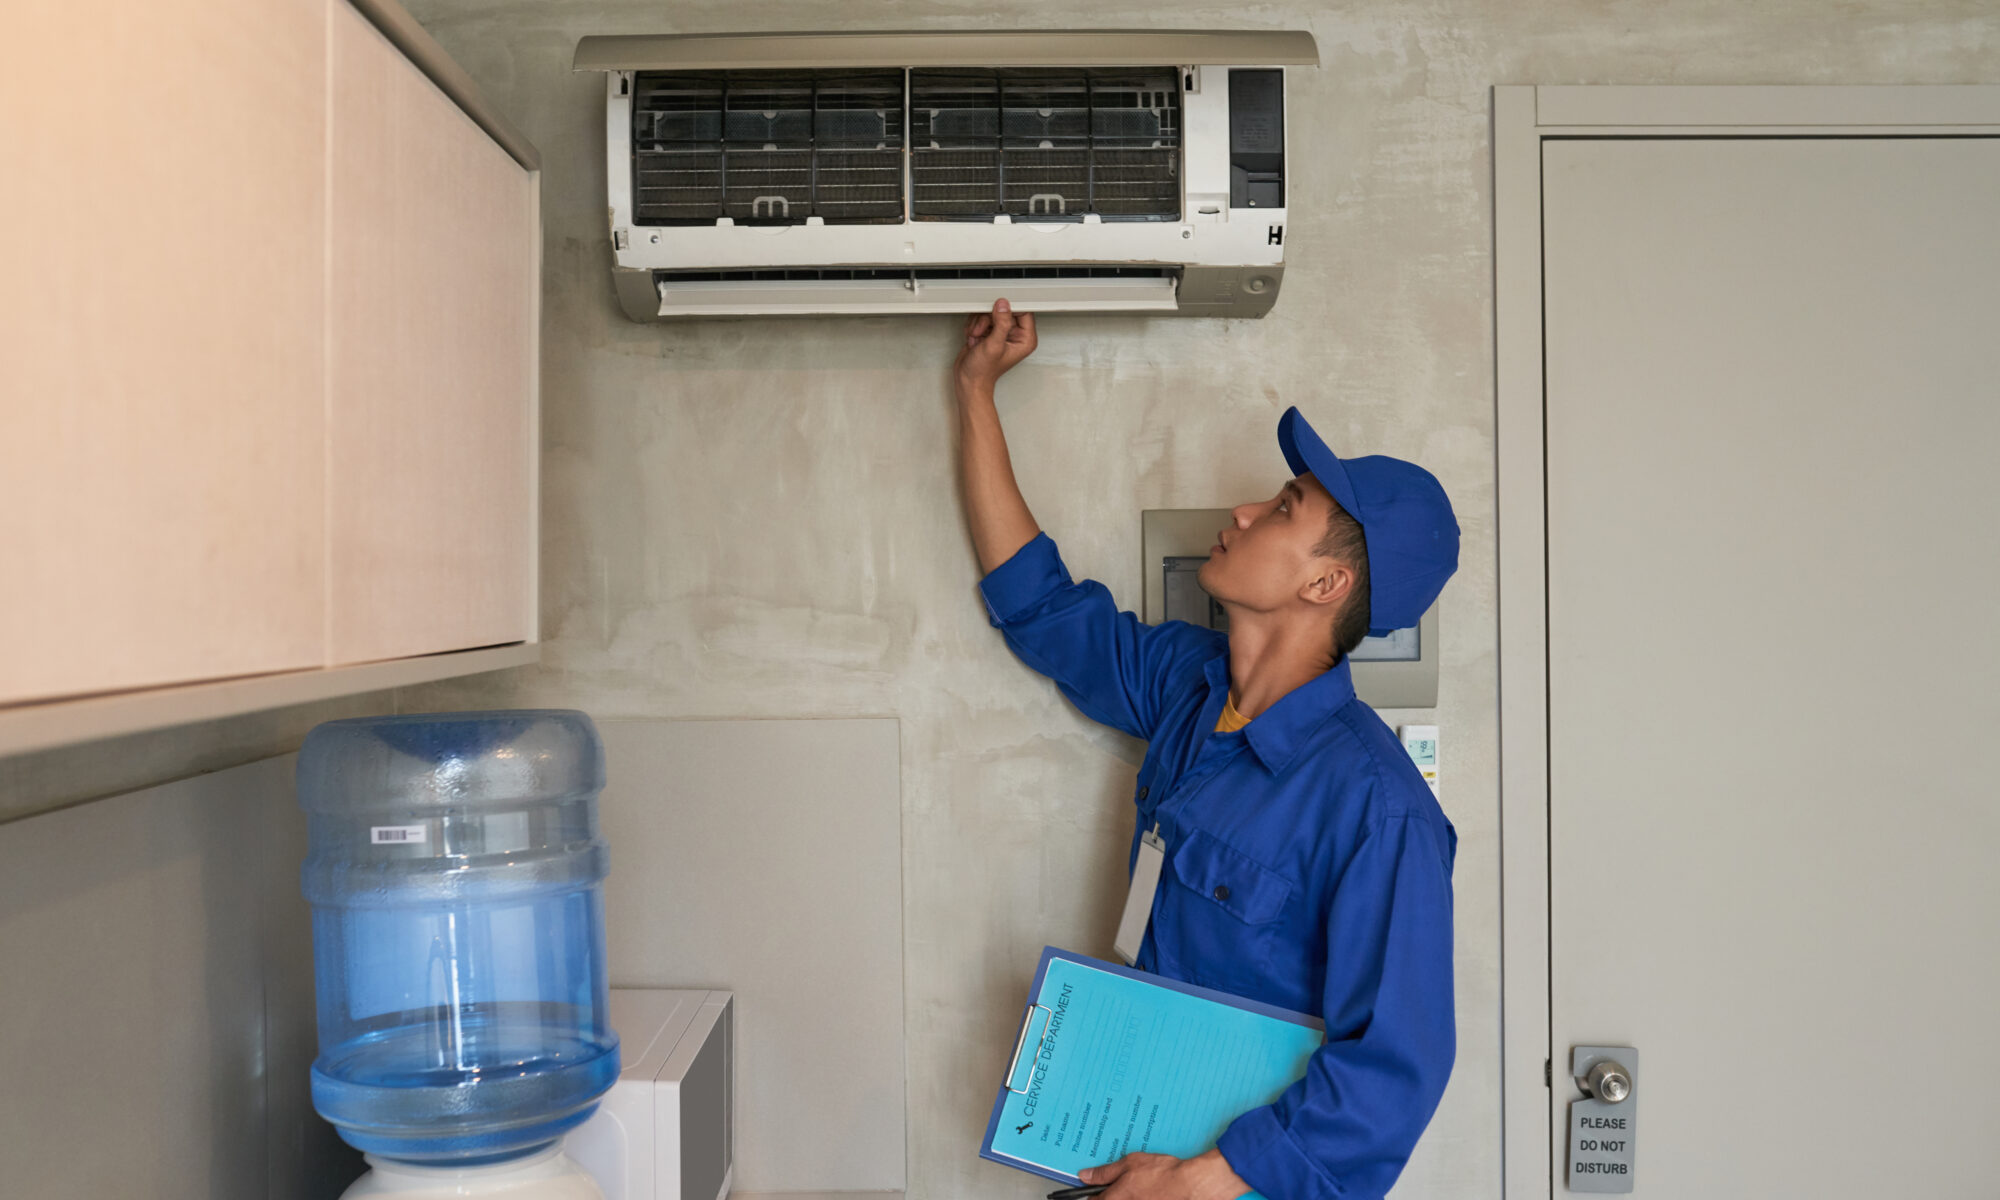
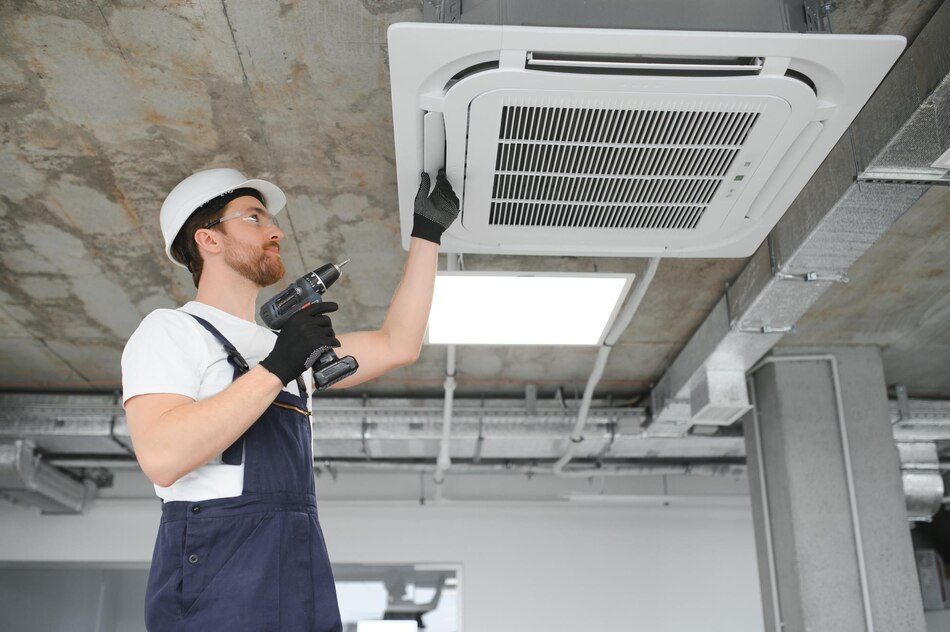
4. Make Sure Your Aircon Unit Is Properly Installed
An unevenly installed aircon can cause water to pool inside instead of draining out. This is especially common in older HDB units or makeshift renovations in resale flats.
Key things to check:
- The back of the unit should be slightly lower than the front
- There should be no sagging brackets or tilted angles
What to do:
Hire a BCA-certified technician to inspect the installation and adjust the tilt if needed.
5. Avoid Overcooling the Room
Setting your aircon to the lowest possible temperature all night might feel shiok, but it can increase condensation. This puts unnecessary pressure on the cooling coil and drainage system.
What to do:
Set it between 24°C and 26°C with the fan mode set to “auto.” This balances comfort and efficiency without risking leaks.
6. Monitor for Mould or Algae Build-Up
Mould and algae thrive in moist environments which is exactly what your aircon drainage system provides. If not cleared regularly, they can block your drain pipe, resulting in leakage.
How to prevent it:
- Pour a small cup of vinegar or mild bleach into the drain line every few months
- Ask your technician to include a mould treatment during deep cleaning
This is especially useful in homes with high humidity or poor ventilation.
7. Keep the Room Well-Ventilated
Good airflow helps reduce moisture build-up and keeps your aircon working more efficiently. When a room is too stuffy, condensation can increase, leading to a higher likelihood of water leakage.
What to do:
- Open windows before switching on the aircon
- Use a ceiling or standing fan for better circulation
- Avoid drying clothes indoors with the aircon on
Bonus Tip: Invest in a Water Leak Sensor
If you’re staying in a condo or have expensive flooring, consider installing a leak detection sensor under your indoor unit. It alerts you the moment water is detected so you can act fast.
Psst… if you’ve already completed the steps above and the leak persists, refrain from attempting any further DIY solutions. Call a licensed aircon servicing company (preferably one from our platform).
Final Thoughts
Living in a humid country like Singapore means our aircons do much heavy lifting. But leaks aren’t something you have to live with. With just a bit of effort and regular care, you can avoid major water damage, improve air quality, and make your home more comfortable year-round.
Prevention is often more cost-effective than repair, especially when it comes to water leaks.


You must be logged in to post a comment.