
Homeowners often focus on the visible aspects of their property, such as clean floors, fresh paint, and working lights. But some of the most expensive repairs stem from what gets ignored. Small maintenance issues, when left unchecked, can snowball into costly damage.
In Singapore, where humidity, rainfall, and dense urban living are common, neglecting home maintenance can lead to property devaluation, structural issues, or even health risks. Whether you’re living in an HDB flat, condo, or landed property, this article outlines common home maintenance tasks people forget, and why they shouldn’t.
- 1. Aircon Servicing and Filter Cleaning
- 2. Grout and Sealant Checks
- 3. Roof and Gutter Maintenance
- 4. Washing Machine Hose and Drain Checks
- 5. Water Heater Maintenance
- 6. Electrical Outlet and Wiring Inspections
- 7. Paint and Wall Checks
- 8. Pest Prevention
- 9. Window and Door Seal Inspections
- 10. Drainage and Floor Trap Cleaning
- 11. Fire Safety Equipment
- 12. Toilet Leaks and Water Efficiency
Why Routine Maintenance Matters
Think of your home like a car. It runs smoothly only with regular upkeep. Preventive maintenance helps avoid sudden breakdowns and expensive emergency repairs.
By regularly checking overlooked areas, you not only extend the life of your appliances and structures but also save on long-term costs. It’s easier (and cheaper) to maintain than to replace.
1. Aircon Servicing and Filter Cleaning
Aircon units are essential in Singapore’s climate. But too many homeowners skip regular servicing.
Dirty filters reduce airflow, strain the compressor, and lead to higher electricity bills. Worse, mould and bacteria can grow inside, affecting indoor air quality.
To maintain optimal performance, clean the filters on a monthly basis. Schedule professional servicing every 6 to 12 months. For heavy usage, consider quarterly servicing.
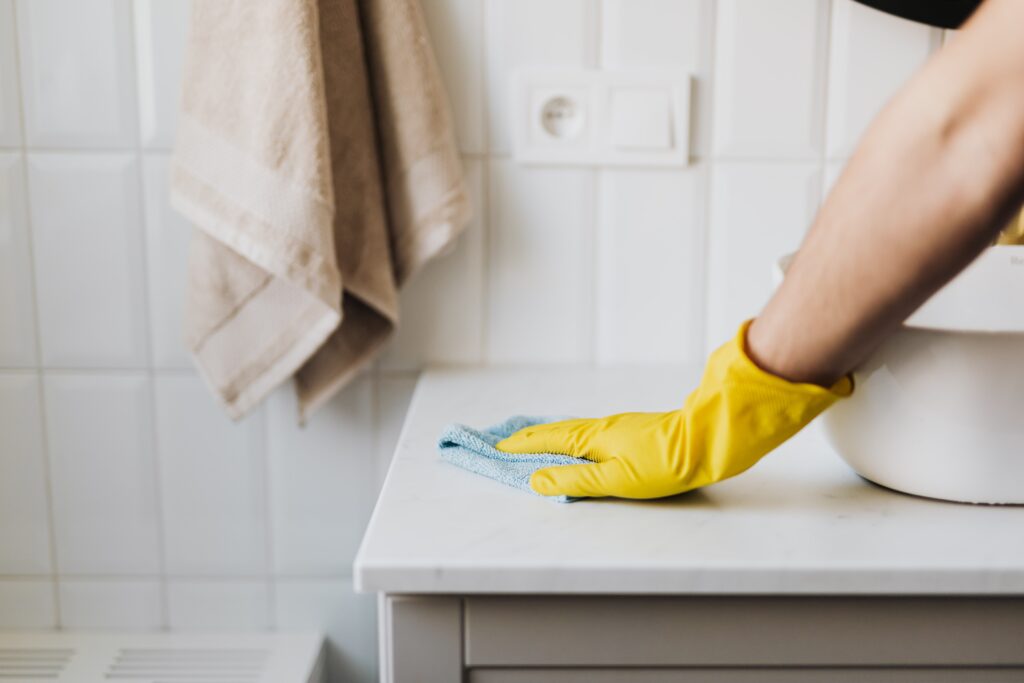
2. Grout and Sealant Checks
Bathrooms and kitchens often have silicone sealant or tile grout. Over time, these materials degrade due to moisture and wear.
Ignoring crumbling grout or loose seals can lead to hidden water damage. This affects cabinetry, flooring, and sometimes leaks into lower units (especially in HDB flats).
To maintain the integrity of the grout, regrout tiles or reseal joints every few years. Watch for dark spots, gaps, or mildew growth.
3. Roof and Gutter Maintenance
For landed homes or older maisonette-style HDB units, roof checks are critical. Clogged gutters and broken tiles lead to water seepage.
Many homeowners don’t realise that a blocked downspout can cause flooding during heavy rain. It also becomes a breeding ground for mosquitoes.
What to do: Clean gutters at least twice a year. After storms, check for loose tiles or roof debris. Engage a professional if heights are a concern for you.
4. Washing Machine Hose and Drain Checks
Washing machines often operate quietly in the background. However, worn hoses or clogged drains can cause flooding in your laundry area.
Rubber hoses degrade over time. Leaks often go unnoticed until major damage occurs.
What to do: Check hoses every 6 months for cracks or bulges. Replace every 3–5 years. Ensure the drainage pipe is clear and securely in place.
5. Water Heater Maintenance
Most homeowners forget to inspect their water heaters, until they suddenly stop working. In Singapore, storage-type heaters are common, and they collect sediment over time.
Unflushed tanks lead to rust buildup and reduce heating efficiency. Burst tanks can cause major water damage.
What to do: Flush tank-style heaters annually. Check pressure relief valves. For instant heaters, clean filters and test safety features.
6. Electrical Outlet and Wiring Inspections
Loose sockets or flickering lights may seem like minor issues. But they could signal deeper electrical problems.
Old wiring in ageing HDB flats is a fire risk. Overloaded sockets, especially with multi-plug adapters, are also dangerous.
What to do: Don’t ignore buzzing outlets or warm switches. Hire a licensed electrician for a full inspection every few years.
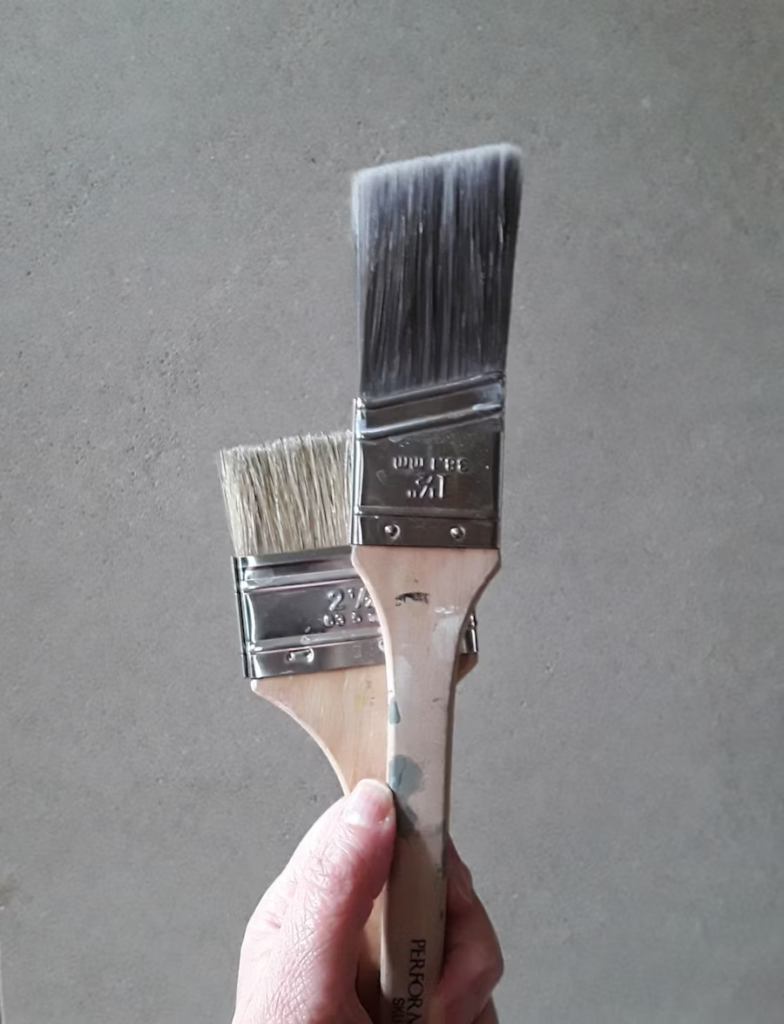
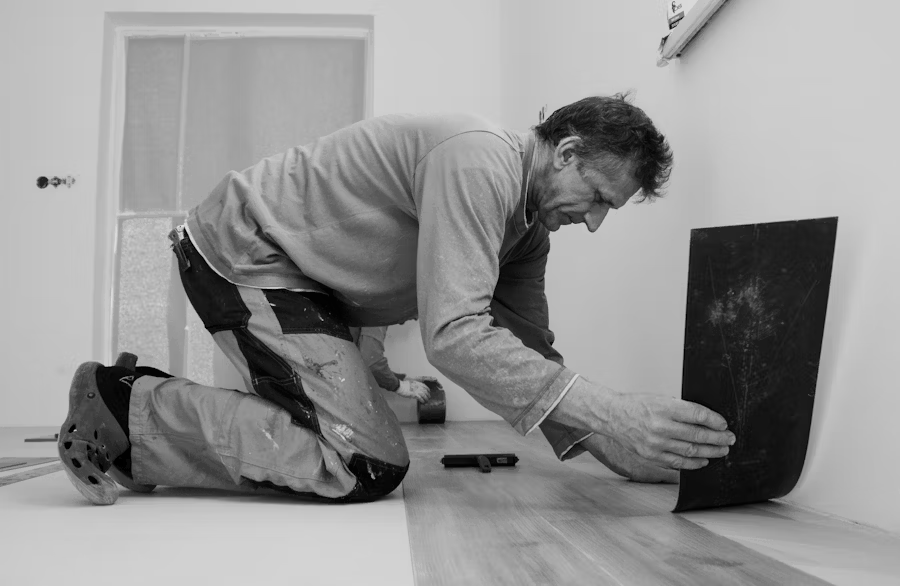
7. Paint and Wall Checks
Flaking paint or bulging walls could indicate water intrusion. Many brush it off as cosmetic, but it’s often a sign of deeper issues.
Peeling paint may mean roof leaks, wall seepage, or poor ventilation. These problems worsen over time, resulting in increased repair costs.
What to do: Repaint every 5–7 years. Choose mould-resistant paint for bathrooms and kitchens. Address moisture problems before painting.
8. Pest Prevention
Termites, ants, cockroaches, and lizards are common in Singapore. Pest issues often start small and escalate quickly.
Termite damage can remain hidden until wooden furniture or structures collapse. Rodents chew through wiring and contaminate food.
What to do: Conduct quarterly pest inspections. Use sealed containers for food. Seal cracks and maintain clean kitchens and bins.
9. Window and Door Seal Inspections
Worn-out window seals allow heat and moisture to enter. This drives up electricity bills and causes interior damage.
Poorly sealed doors and windows also allow pests and dust in. For those with air conditioning, energy loss is significant.
What to do: Check for drafts. Re-caulk or install new weather stripping as needed. Inspect sliding doors and hinges for misalignment.
10. Drainage and Floor Trap Cleaning
Blocked floor traps and drains are breeding grounds for cockroaches. In condos or HDB flats, clogged traps can cause unpleasant odours and slow down water flow.
Ignoring these can result in flooding, especially in kitchens and bathrooms.
What to do: Pour hot water down floor traps monthly. Use enzymatic drain cleaners. Clear hair and debris from bathroom drains regularly.
11. Fire Safety Equipment
Few homeowners check their smoke detectors or fire extinguishers—until an emergency strikes.
In high-rise units, fires spread quickly. Early detection is key to saving lives and property.
What to do: Test smoke detectors monthly. Replace batteries yearly. Keep at least one ABC-type fire extinguisher in the home.
12. Toilet Leaks and Water Efficiency
Leaky toilets waste gallons of water each day. The damage often goes unnoticed, either under the cistern or around its base.
Water bills increase, and moisture can seep into flooring or cabinetry, causing damage.
To check for silent leaks, add food dye to the tank. If colour seeps into the bowl without flushing, it’s leaking. Fix or replace faulty valves.
Long-Term Cost of Neglect
Neglecting these tasks may not seem serious at first. But the long-term costs can be staggering:
- Water damage from undetected leaks
- Fire from faulty wiring
- Mould growth that affects health
- Structural weakening due to pests or water intrusion
Being proactive helps prevent these issues and protects your home’s value.
Summary Table: Most Commonly Ignored Tasks and Their Risks
| Task | Risk If Ignored |
| Aircon servicing | High energy bills and/or poor air quality |
| Grout/sealant | Water damage and/or mould growth |
| Gutter cleaning | Roof leaks and/or flooding |
| Washing machine hoses | Floor flooding |
| Heater maintenance | Rust and/or tank explosion |
| Electrical checks | Fire risk |
| Paint/wall checks | Hidden leaks |
| Pest prevention | Furniture damage and/or contamination |
| Window seals | Energy loss and/or moisture buildup |
| Drain cleaning | Clogs and/or foul odour |
| Smoke detectors | Fire hazards |
| Toilet leaks | Water waste and/or damage |
Final Thoughts
A well-maintained home runs smoothly and safely. In Singapore’s densely populated living environments, early detection and regular maintenance are crucial. Don’t wait for a crisis. Create a home maintenance checklist and tackle it on a seasonal basis.
If you’re unsure or short on time, consider hiring part-time handyman services. Many platforms in Singapore offer affordable services with trained professionals for these tasks.
Being proactive today can save you thousands tomorrow.


You must be logged in to post a comment.