

Regular servicing of plumbing and electrical fixtures is essential for a safe and functional home. In Singapore’s humid climate, wear and tear can occur more quickly than expected. Leaks, faulty wiring, and malfunctioning appliances can disrupt daily life and result in costly repairs.
Knowing how often to service these systems can help prevent emergencies, extend their lifespan, and ensure your home operates efficiently. This guide outlines recommended servicing schedules, common warning signs, and explains why preventive maintenance is a worthwhile investment.
- 1. Why Regular Servicing Matters
- 2. Recommended Servicing Frequency
- 3. Factors That Affect Servicing Frequency
- 4. Signs You Need Immediate Servicing
- 5. Benefits of Preventive Maintenance
- 6. DIY vs. Professional Servicing
- 7. Choosing the Right Service Provider
- 8. Suggested Annual Maintenance Schedule
- 9. Cost of Servicing in Singapore
1. Why Regular Servicing Matters
Plumbing and electrical systems work behind the scenes, but any failure can cause serious inconvenience or damage.
Plumbing problems, such as pipe leaks, clogged drains, or low water pressure, can cause damage to walls, floors, and other household items. Electrical faults such as short circuits or loose wiring can pose fire hazards and damage appliances.
Regular servicing:
- Prevents costly breakdowns
- Improves safety for residents
- Maintains energy and water efficiency
- Extends fixture lifespan
2. Recommended Servicing Frequency
Plumbing Fixtures
- Water heaters: Inspect annually. Check for corrosion, leaks, and thermostat performance.
- Pipes and joints: Inspect every 1–2 years for leaks, rust, or blockages.
- Taps and faucets: Service once a year to replace worn washers or seals.
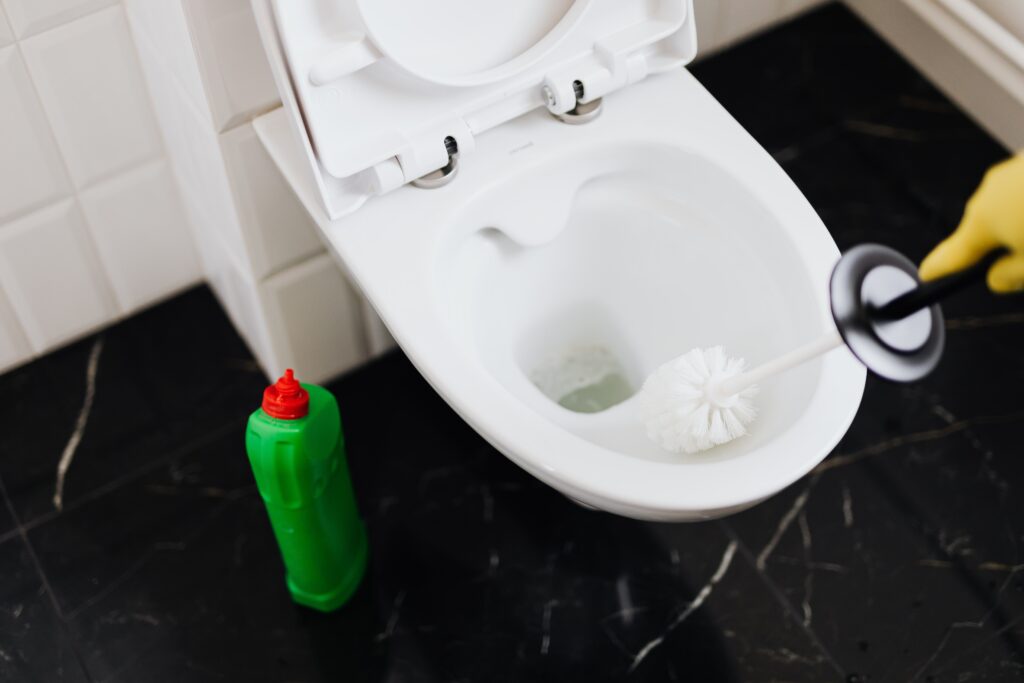
- Toilets: Inspect flushing mechanisms and tank seals every 6–12 months.
- Floor traps and drains: Clean every 3–6 months to prevent blockages.
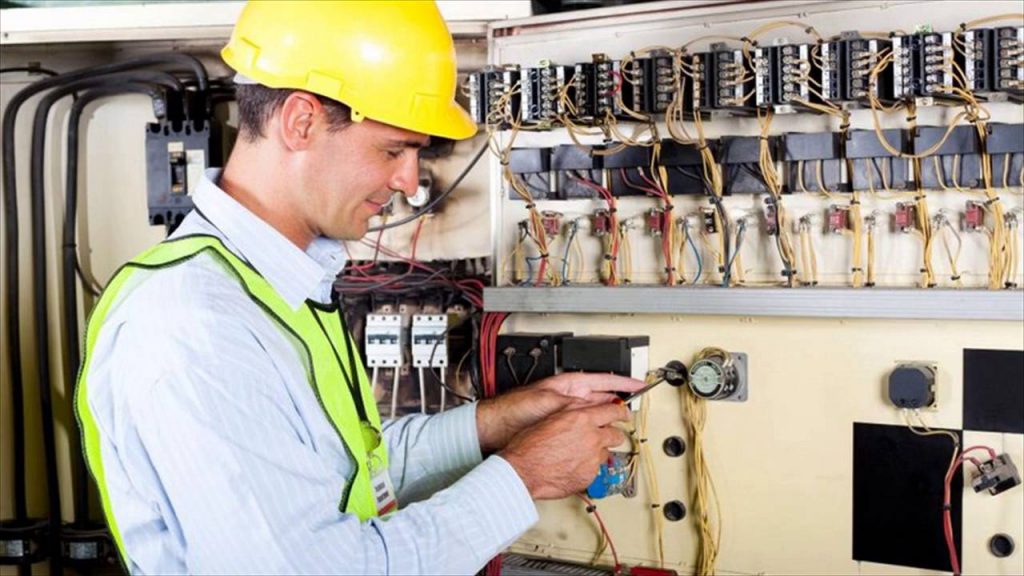
Electrical Fixtures
- Circuit breakers: Test every 6 months to ensure proper tripping during faults.
- Wiring inspection: Arrange professional checks every 5 years or sooner if you notice problems.
- Light fixtures: Clean and check connections annually to avoid overheating.
- Power outlets: Inspect every 1–2 years for loose connections or burn marks.
- Aircon: Service every 3–6 months, depending on usage, to ensure electrical safety and efficiency.
3. Factors That Affect Servicing Frequency
The proper servicing schedule depends on several factors:
- Age of the property: Older homes may require more frequent checks.
- Usage levels: Heavy use of water heaters, washing machines, or kitchen appliances increases wear.
- Environmental conditions: High humidity and salt exposure (in coastal areas) can speed up corrosion.
- Previous maintenance history: Homes with irregular servicing may develop issues sooner.

4. Signs You Need Immediate Servicing
Sometimes, problems appear between scheduled maintenance checks. Watch for these warning signs:
Plumbing:
- Unexplained high water bills
- Water stains on walls or ceilings
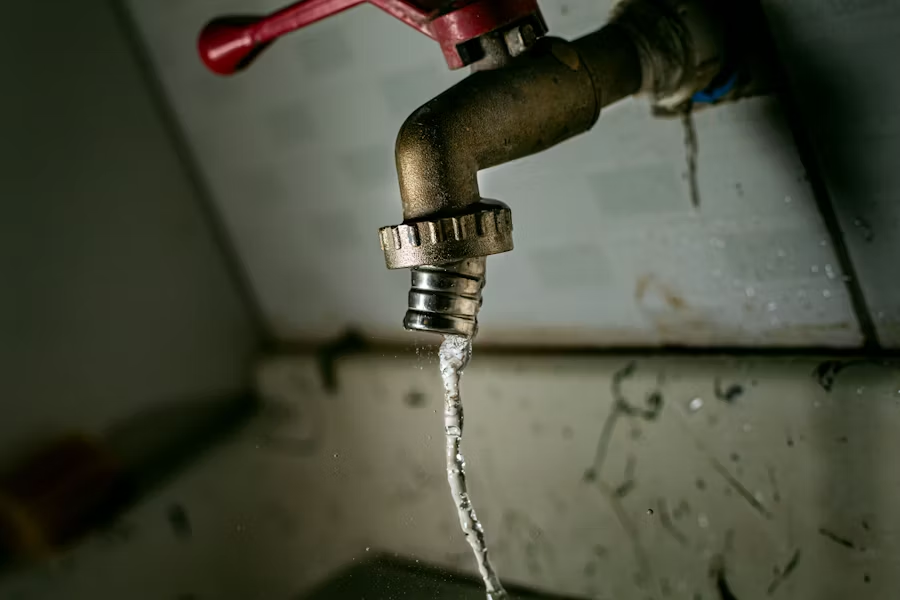
- Persistent dripping or running taps
- Slow-draining sinks or foul odours from drains
Electrical:
- Flickering or dimming lights
- Burning smells from outlets
- Frequent tripping of circuit breakers
- Buzzing or crackling sounds from switches
Ignoring these signs can lead to costly damage and safety risks.
5. Benefits of Preventive Maintenance
Regular servicing offers long-term benefits:
- Cost savings: Early detection prevents expensive emergency repairs.
- Improved safety: Reduces fire hazards and water damage risks.
- Better performance: Fixtures work more efficiently, resulting in lower utility bills.
- Longer lifespan: Prevents premature wear and replacement.
6. DIY vs. Professional Servicing
While some minor maintenance tasks can be done by yourself, many require the services of a licensed professional.
DIY tasks:
- Cleaning floor traps and sink strainers
- Replacing tap washers
- Changing light bulbs
- Resetting circuit breakers after a power trip
Professional servicing:
- Checking concealed wiring or plumbing
- Installing or repairing water heaters
- Fixing persistent leaks or electrical faults
- Comprehensive system inspections
For safety, avoid handling high-voltage electrical work or pressurised water systems unless qualified.
7. Choosing the Right Service Provider
When hiring plumbers or electricians in Singapore, look for:
- Licensing: PUB-licensed plumbers for water-related work and EMA-licensed electricians for electrical tasks.
- Experience: Contractors with proven track records in residential servicing.
- Transparent pricing: Clear quotations with no hidden fees.
- Warranty: Coverage for parts and labour gives peace of mind.
8. Suggested Annual Maintenance Schedule
| Fixture/System | Suggested Frequency |
| Water Heater | Yearly Inspection |
| Pipes & Joints | Every 1–2 years |
| Faucets & Taps | Yearly check |
| Toilets Every | 6–12 months |
| Floor Traps & Drains | Every 3–6 months |
| Circuit Breakers | Every 6 months |
| Wiring | Every 5 years |
| Light Fixtures | Yearly Check |
| Power Outlets | Every 1–2 years |
| Aircon | Every 3–6 months |
9. Cost of Servicing in Singapore
Prices vary depending on the scope of work and contractor experience:
- Plumbing checks: From $50 to $150 for inspection and minor repairs.
- Electrical inspection: From $80–$200, depending on the property size.
- Aircon servicing: From $40 per unit for basic cleaning.
Bundled maintenance packages can help reduce costs by servicing multiple fixtures simultaneously.
Final Thoughts
Regularly servicing your plumbing and electrical fixtures keeps your home safe, efficient, and comfortable. Most plumbing components should be checked at least once a year, while electrical systems require periodic inspections to avoid hazards.
By following a consistent maintenance schedule and working with licensed professionals, you can prevent costly breakdowns and extend the lifespan of your home systems.


You must be logged in to post a comment.