5 Handyman Hacks That Will Save You Money This Year

running water out of a tap

Home repairs can be expensive. But the good news? You don’t always need a professional to fix every issue. With the right tools, materials, and know-how, many small jobs can be tackled at home, saving you money over time.

Whether you live in an HDB flat, a condo, or a landed home in Singapore, these five handyman hacks are practical, easy to learn, and budget-friendly. From quick plumbing fixes to basic electrical maintenance, these tips can help reduce your repair bills and extend the life of your home appliances and fittings.

Let’s dive into the top handyman hacks that will make a real difference this year.

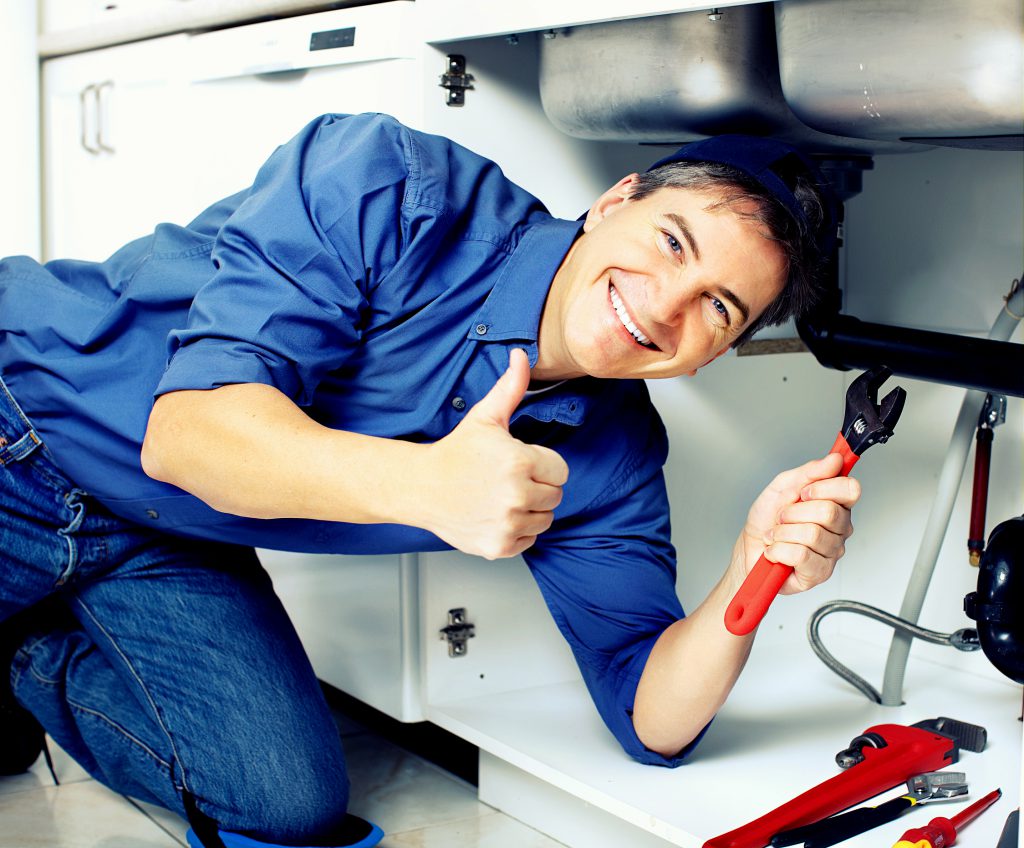
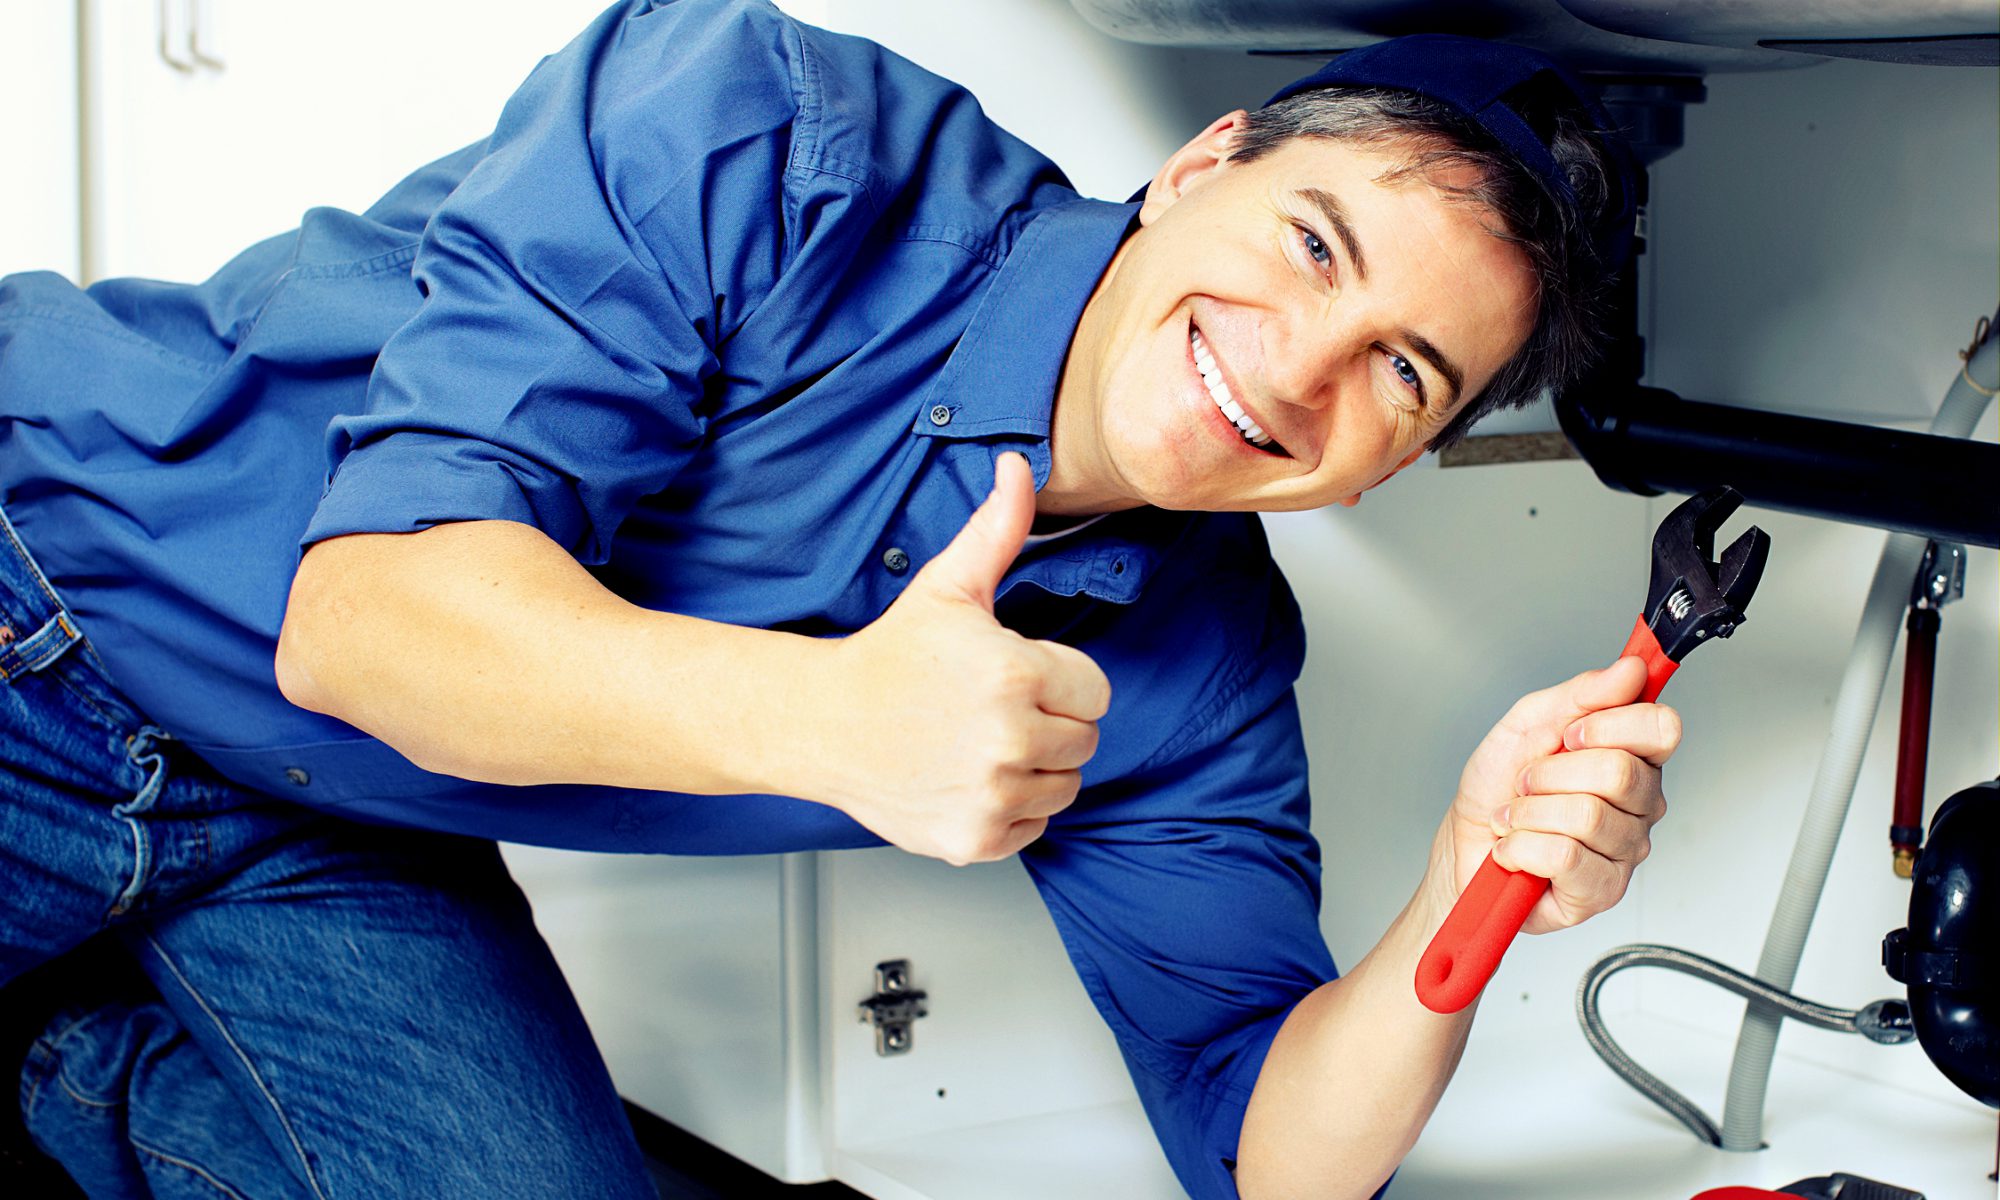
1. Fix Leaky Taps Without a Plumber

A dripping tap may seem minor, but over time, it can waste litres of water and spike your water bill. Hiring a plumber for such a small task may also cost you more than necessary.

Worn-out washers or O-rings are the most common cause of leaky taps. You can fix this yourself in less than 30 minutes.

What you need:

  • Adjustable spanner
  • Replacement washer or O-ring
  • Screwdriver
  • Teflon tape

How to do it:

  • Shut off the water supply under the sink.
  • Unscrew the tap handle and remove the cartridge.
  • Replace the worn washer or O-ring.
  • Wrap Teflon tape around the thread for a better seal.
  • Reassemble the tap and turn the water back on.

Money saved: Up to $80–$150 per call-out.

2. Patch Wall Cracks and Holes Yourself

Over time, homes develop small wall cracks or holes, often due to picture hooks, furniture bumps, or changes in humidity. Hiring a professional to fix it can be more expensive than necessary, especially for minor damage.

Patching drywall or concrete walls is easy with the right materials. It also improves the appearance of your home, especially if you’re planning to rent or sell.

What you need:

  • Wall putty or filler
  • Putty knife
  • Sandpaper
  • Paint and brush (for touch-up)

How to do it:

  • Clean the damaged area.
  • Apply filler using the putty knife.
  • Allow it to dry completely (approximately 2–6 hours).
  • Sand it smooth.
  • Paint over the repaired spot.

Pro tip: For larger holes, use a mesh patch before applying filler.

Money saved: $100–$300, depending on the extent of the damage.

3. Unclog Drains with Household Items

Blocked drains in the kitchen or bathroom are a common and annoying issue. Instead of calling for a plumber each time, you can clear simple clogs using items you already have at home.

What you need:

  • Baking soda
  • Vinegar
  • Hot water
  • A plunger or plumber’s snake

How to do it:

  • Pour half a cup of baking soda down the drain.
  • Add one cup of vinegar.
  • Let the mixture fizz for 15 minutes.
  • Flush with hot water.
  • If the clog persists, use a plunger or snake.

Avoid using harsh chemicals like drain cleaners too often, they can damage your pipes over time.

Money saved: $80–$200 per plumber visit.

4. Replace Door Locks and Knobs on Your Own

Loose doorknobs or rusty locks not only look bad but can be a security risk. Many homeowners call a locksmith for simple hardware replacements, but this is a job most people can do themselves.

What you need:

  • New door knob or lock set
  • Screwdriver
  • Drill (optional)

How to do it:

  • Unscrew and remove the old lock or knob.
  • Align and insert the new set.
  • Tighten the screws and test the fit.

You can find quality replacement hardware at local hardware stores or online. This is especially useful for rental units, where locks need frequent updates.

Money saved: $100–$250 for locksmith service.

5. Install Shelf Brackets or Wall Mounts Yourself

Need more storage? Instead of paying for custom carpentry or handyman work, consider installing floating shelves or brackets yourself. It’s easier than it looks and utilises vertical space efficiently.

What you need:

  • Brackets or shelf kit
  • Drill
  • Level
  • Wall plugs and screws
  • Measuring tape

How to do it:

  • Measure and mark the location where the shelf will be placed.
  • Use a level to make sure it’s straight.
  • Drill holes, insert plugs, and secure brackets.
  • Attach the shelf and double-check stability.

Start with lightweight items. Once confident, you can mount heavier shelves or even TVs.

Money saved: $150–$400, depending on project size.

Bonus Tip: Create a Home Repair Kit

Every DIY-friendly home should have a basic repair kit. It saves time, reduces the need for last-minute hardware runs, and empowers you to fix things as they arise.

Starter kit suggestions:

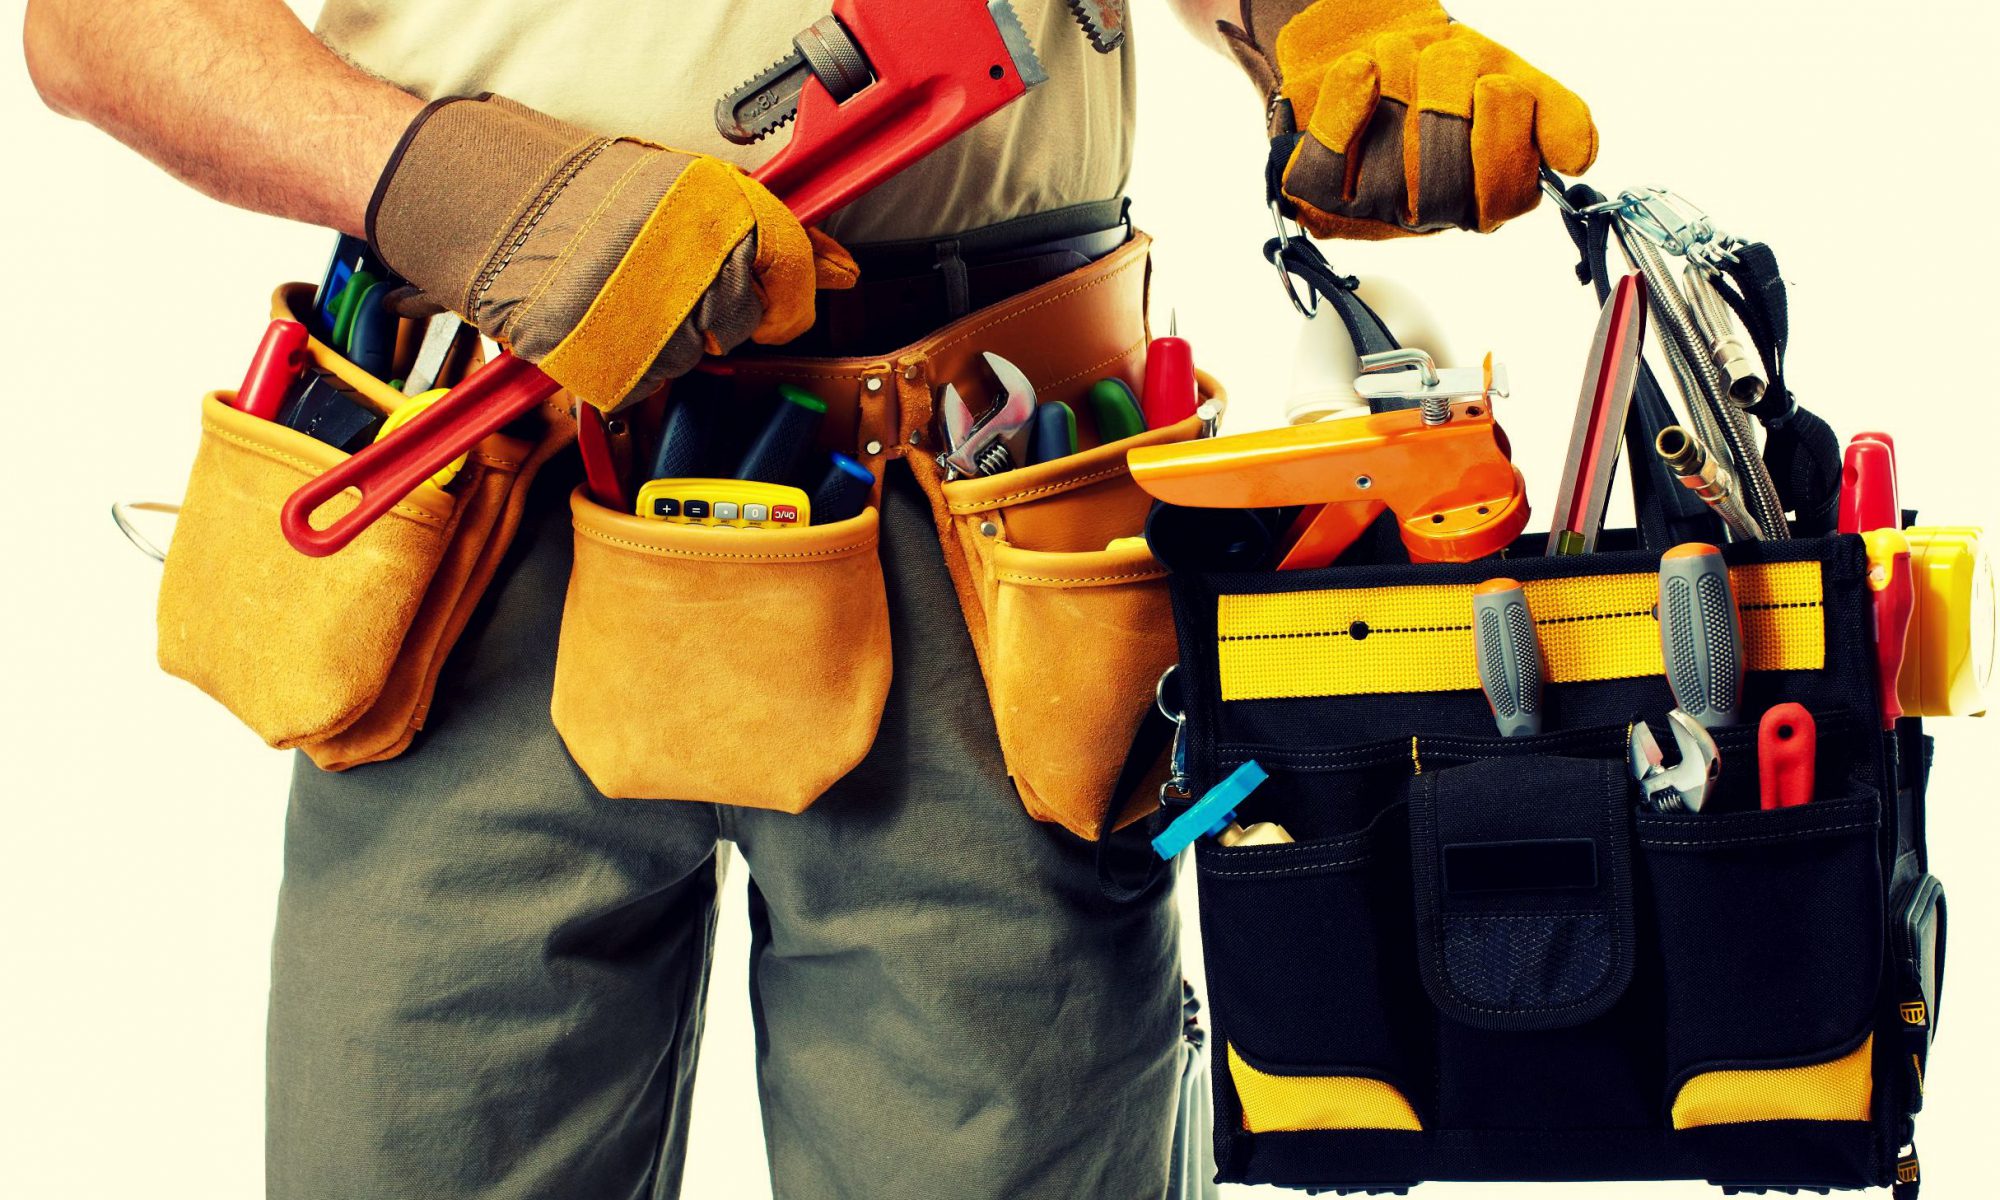
  • Screwdrivers (flathead and Phillips)
  • Adjustable wrench
  • Teflon tape
  • Utility knife
  • Power drill
  • Hammer
  • Measuring tape
  • Wall filler
  • Sandpaper
  • Allen keys
  • Duct tape
  • Torchlight
  • Gloves and safety glasses

Keep everything organised in a toolbox. Label your containers so you know what goes where.

When to Call a Professional

Some jobs should not be DIYed. If you encounter any of the following, hire a licensed professional:

  • Electrical rewiring
  • Gas leaks
  • Major plumbing issues
  • Ceiling repairs
  • Water damage behind walls
  • Roof damage
  • Aircon gas refilling

Doing these incorrectly can lead to serious injury, legal issues, or costly repairs.

Why These Hacks Matter in Singapore

Singapore’s warm and humid weather creates unique challenges — mould growth, metal corrosion, and drain clogs are more common. Rental property rules may also limit extensive renovations.

By knowing what you can fix on your own, you maintain your home efficiently without overspending. These handyman hacks are ideal for HDB dwellers, condo owners, and even landlords who manage multiple units.

Summary Table: Handyman Hacks vs Professional Costs

HackDIY Tools CostPro Service CostSavings
Fix leaky tap<$20$80–$150High
Patch wall<$25$100–$300High
Unclog drain<$10$80–$200High
Replace locks<$50$100–$250Moderate
Install shelf <$60$150–$400High

Final Thoughts

You don’t need to be a trained handyman to save on home maintenance. With the right tools and a little confidence, many small issues can be resolved safely and quickly.

Start with one project at a time. Build your skills, and you’ll soon find that DIY home repairs are not only cost-effective but empowering too.

For more serious work, always hire certified professionals. But for these five handyman hacks, roll up your sleeves and get started.

Most Neglected Home Maintenance Tasks That Cost You Big

professional fixing a home's flooring

Homeowners often focus on the visible aspects of their property, such as clean floors, fresh paint, and working lights. But some of the most expensive repairs stem from what gets ignored. Small maintenance issues, when left unchecked, can snowball into costly damage.

In Singapore, where humidity, rainfall, and dense urban living are common, neglecting home maintenance can lead to property devaluation, structural issues, or even health risks. Whether you’re living in an HDB flat, condo, or landed property, this article outlines common home maintenance tasks people forget, and why they shouldn’t.

Why Routine Maintenance Matters

Think of your home like a car. It runs smoothly only with regular upkeep. Preventive maintenance helps avoid sudden breakdowns and expensive emergency repairs.

By regularly checking overlooked areas, you not only extend the life of your appliances and structures but also save on long-term costs. It’s easier (and cheaper) to maintain than to replace.

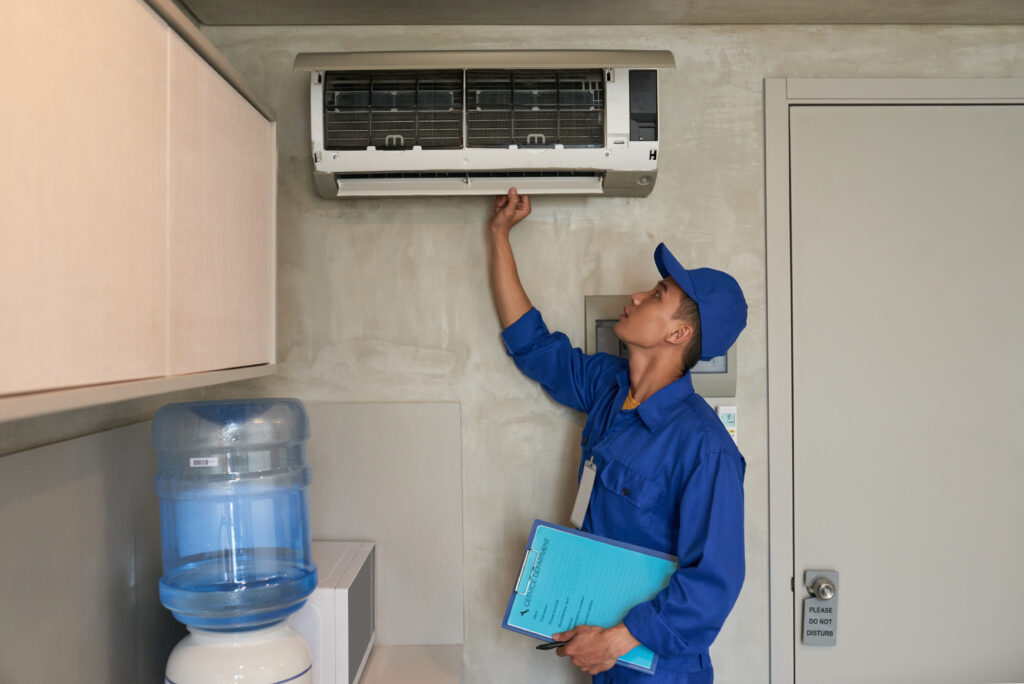
1. Aircon Servicing and Filter Cleaning

Aircon units are essential in Singapore’s climate. But too many homeowners skip regular servicing.

Dirty filters reduce airflow, strain the compressor, and lead to higher electricity bills. Worse, mould and bacteria can grow inside, affecting indoor air quality.

To maintain optimal performance, clean the filters on a monthly basis. Schedule professional servicing every 6 to 12 months. For heavy usage, consider quarterly servicing.

2. Grout and Sealant Checks

Bathrooms and kitchens often have silicone sealant or tile grout. Over time, these materials degrade due to moisture and wear.

Ignoring crumbling grout or loose seals can lead to hidden water damage. This affects cabinetry, flooring, and sometimes leaks into lower units (especially in HDB flats).

To maintain the integrity of the grout, regrout tiles or reseal joints every few years. Watch for dark spots, gaps, or mildew growth.

3. Roof and Gutter Maintenance

For landed homes or older maisonette-style HDB units, roof checks are critical. Clogged gutters and broken tiles lead to water seepage.

Many homeowners don’t realise that a blocked downspout can cause flooding during heavy rain. It also becomes a breeding ground for mosquitoes.

What to do: Clean gutters at least twice a year. After storms, check for loose tiles or roof debris. Engage a professional if heights are a concern for you.

4. Washing Machine Hose and Drain Checks

Washing machines often operate quietly in the background. However, worn hoses or clogged drains can cause flooding in your laundry area.

Rubber hoses degrade over time. Leaks often go unnoticed until major damage occurs.

What to do: Check hoses every 6 months for cracks or bulges. Replace every 3–5 years. Ensure the drainage pipe is clear and securely in place.

5. Water Heater Maintenance

Most homeowners forget to inspect their water heaters, until they suddenly stop working. In Singapore, storage-type heaters are common, and they collect sediment over time.

Unflushed tanks lead to rust buildup and reduce heating efficiency. Burst tanks can cause major water damage.

What to do: Flush tank-style heaters annually. Check pressure relief valves. For instant heaters, clean filters and test safety features.

6. Electrical Outlet and Wiring Inspections

Loose sockets or flickering lights may seem like minor issues. But they could signal deeper electrical problems.

Old wiring in ageing HDB flats is a fire risk. Overloaded sockets, especially with multi-plug adapters, are also dangerous.

What to do: Don’t ignore buzzing outlets or warm switches. Hire a licensed electrician for a full inspection every few years.

image of paint brushes

7. Paint and Wall Checks

Flaking paint or bulging walls could indicate water intrusion. Many brush it off as cosmetic, but it’s often a sign of deeper issues.

Peeling paint may mean roof leaks, wall seepage, or poor ventilation. These problems worsen over time, resulting in increased repair costs.

What to do: Repaint every 5–7 years. Choose mould-resistant paint for bathrooms and kitchens. Address moisture problems before painting.

8. Pest Prevention

Termites, ants, cockroaches, and lizards are common in Singapore. Pest issues often start small and escalate quickly.

Termite damage can remain hidden until wooden furniture or structures collapse. Rodents chew through wiring and contaminate food.

What to do: Conduct quarterly pest inspections. Use sealed containers for food. Seal cracks and maintain clean kitchens and bins.

9. Window and Door Seal Inspections

Worn-out window seals allow heat and moisture to enter. This drives up electricity bills and causes interior damage.

Poorly sealed doors and windows also allow pests and dust in. For those with air conditioning, energy loss is significant.

What to do: Check for drafts. Re-caulk or install new weather stripping as needed. Inspect sliding doors and hinges for misalignment.

10. Drainage and Floor Trap Cleaning

Blocked floor traps and drains are breeding grounds for cockroaches. In condos or HDB flats, clogged traps can cause unpleasant odours and slow down water flow.

Ignoring these can result in flooding, especially in kitchens and bathrooms.

What to do: Pour hot water down floor traps monthly. Use enzymatic drain cleaners. Clear hair and debris from bathroom drains regularly.

11. Fire Safety Equipment

Few homeowners check their smoke detectors or fire extinguishers—until an emergency strikes.

In high-rise units, fires spread quickly. Early detection is key to saving lives and property.

What to do: Test smoke detectors monthly. Replace batteries yearly. Keep at least one ABC-type fire extinguisher in the home.

12. Toilet Leaks and Water Efficiency

Leaky toilets waste gallons of water each day. The damage often goes unnoticed, either under the cistern or around its base.

Water bills increase, and moisture can seep into flooring or cabinetry, causing damage.

To check for silent leaks, add food dye to the tank. If colour seeps into the bowl without flushing, it’s leaking. Fix or replace faulty valves.

Long-Term Cost of Neglect

Neglecting these tasks may not seem serious at first. But the long-term costs can be staggering:

  • Water damage from undetected leaks
  • Fire from faulty wiring
  • Mould growth that affects health
  • Structural weakening due to pests or water intrusion

Being proactive helps prevent these issues and protects your home’s value.

Summary Table: Most Commonly Ignored Tasks and Their Risks

TaskRisk If Ignored
Aircon servicing High energy bills and/or poor air quality
Grout/sealantWater damage and/or mould growth
Gutter cleaningRoof leaks and/or flooding
Washing machine hosesFloor flooding
Heater maintenance Rust and/or tank explosion
Electrical checksFire risk
Paint/wall checks Hidden leaks
Pest preventionFurniture damage and/or contamination
Window sealsEnergy loss and/or moisture buildup
Drain cleaningClogs and/or foul odour
Smoke detectorsFire hazards
Toilet leaksWater waste and/or damage

Final Thoughts

A well-maintained home runs smoothly and safely. In Singapore’s densely populated living environments, early detection and regular maintenance are crucial. Don’t wait for a crisis. Create a home maintenance checklist and tackle it on a seasonal basis.

If you’re unsure or short on time, consider hiring part-time handyman services. Many platforms in Singapore offer affordable services with trained professionals for these tasks.

Being proactive today can save you thousands tomorrow.

DIY Safety Precautions: What You Must Know Before Starting Repairs

DIY repairs are popular among homeowners in Singapore. They can save money and offer a sense of satisfaction. But without proper safety measures, even small tasks can become dangerous. Whether you’re fixing a leaky faucet, painting a wall, or drilling into tiles, understanding basic safety is crucial.

This guide outlines the essential DIY safety precautions you must follow before beginning home repairs. It’s especially relevant for HDB and condo homeowners who might not have access to professional tools or extensive experience.

Why DIY Safety Matters

Every year, many minor accidents happen at home during do-it-yourself repair work. Slips, electric shocks, and falling from ladders are among the most common injuries. Some may seem harmless, but could lead to long-term consequences.

In Singapore, with tight spaces in HDB and condominium units, one wrong move could damage nearby fixtures or disturb neighbours. Practising safety helps protect you, your family, and your property.

1. Assess the Task Realistically

Before diving in, ask yourself:

  • Do I possess the necessary tools and skills?
  • Could this task expose me to live wires or plumbing risks?
  • Will I disturb structural elements or shared building systems?

Some tasks, such as changing a light bulb or tightening a door hinge, are low-risk. However, others, such as rewiring a socket or fixing ceiling leaks, may be best left to licensed professionals in Singapore.

When in doubt, consult a certified professional, such as a handyman or technician.

2. Read Instructions Carefully

This might sound basic, but skipping the manual or YouTube tutorial can result in mistakes or injury. Many tools and appliances come with specific guidelines for safe usage. Never assume that all drills or wrenches work the same way.

Even common DIY items, such as wall anchors or adhesive hooks, have load limits. Check the material you’re working on — drywall, tile, or concrete may each require different anchoring methods.

3. Always Wear Proper Safety Gear

Wearing the right gear can prevent most injuries. Keep the following essentials in your home toolbox:

  • Gloves: Protect your hands from sharp objects or chemicals.
  • Safety goggles: Shield your eyes from dust, paint, or flying debris.
  • Dust mask: Prevent inhalation of fine particles during sanding or cleaning.
  • Covered footwear: Avoid wearing flip-flops when using heavy tools.
  • Ear plugs: If you’re using noisy power tools, protect your hearing.

In tight Singapore apartments, flying debris or a dropped tool can easily ricochet and cause harm. Suit up even for “quick fixes.”

4. Power Tools: Know Before You Plug In

Power tools are efficient but can be dangerous if misused. Here’s what to keep in mind:

  • Check cords for frays or exposed wiring.
  • Ensure the socket and voltage match the tool’s requirements.
  • Keep hands and hair away from moving parts.
  • Use tools with a proper grip and control.

If you’re drilling into a wall in your HDB flat, use a stud finder to avoid hitting electrical lines or water pipes. Many homes in Singapore have concealed wiring, a wrong drill point could cause a blackout or flooding.

Handyman services are easily available for windows-installation works.
Handyman getting the windows sealed and checking for their perfect alignment

5. Work in a Well-Lit, Well-Ventilated Space

Poor lighting increases the risk of accidents. Ensure your workspace is bright enough, especially when working with sharp tools or chemicals. If natural light is insufficient, use a portable LED light.

When painting, using glue, or working with strong cleaning agents, always open windows or switch on the exhaust fan. Toxic fumes can accumulate rapidly in enclosed areas, such as bathrooms or storage rooms.

6. Secure the Area and Inform Others

If you’re doing repairs at home, make sure pets and children are kept away. Inform family members to avoid the space while you’re working.

In small homes or HDB flats, accidental collisions are a common occurrence. A family member may trip over cords or tools left lying around. Always keep your working area tidy and tools organised.

7. Avoid Overreaching or Improvised Climbing

Need to reach something high up? Use a sturdy ladder, not a wobbly stool or stack of boxes. Overreaching or trying to stretch on your toes is a common cause of DIY-related injuries.

Place the ladder on a flat surface and ensure it’s locked into position. If possible, have someone hold it for added stability.

8. Unplug and Switch Off

Before working with electricity, turn off the power at the main switch. Don’t rely on simply flipping the switch off. This includes:

  • Changing light fixtures
  • Fixing switches
  • Replacing plug sockets

Electricity-related tasks are some of the most hazardous. If you’re unsure of how to isolate power safely, do not attempt it.

9. Store Tools Safely After Use

Once done, clean and store tools immediately. Leaving them out is dangerous, especially in homes with kids or pets.

Sharp tools, paint, and solvents should be kept in a locked cabinet or stored out of reach to prevent accidents. Always unplug power tools before storing them to prevent electrical hazards.

10. Know When to Call a Professional

Some jobs are simply not worth the risk. If your DIY task involves:

  • Plumbing that connects to the building’s main water line
  • Structural changes
  • Electrical rewiring
  • Aircon servicing
  • Pest control

… it’s time to call in a licensed professional in Singapore.

DIY has its limits. Professional services may cost more upfront, but they often save you from costlier mistakes down the line.

Final Thoughts

DIY home repairs can be satisfying and cost-effective, but they must be done responsibly. In Singapore, where homes are compact and systems are interlinked, extra caution is essential. Always assess risks, wear proper gear, and know your limits.

Whether you’re hanging a shelf or replacing a faucet, safety should always come first. When unsure, leave it to a licensed handyman or technician. A safe home is a happy home.

Guide To Cleaning Contracts in Singapore – What To Know

Whether you’re managing a household, a commercial space, or a condominium, hiring cleaning services often comes with the question: Should you sign a cleaning contract?

In Singapore, where both residential and commercial cleaning demands are high, cleaning contracts are more than just paperwork; they are a vital part of the business. They are legal agreements that protect both clients and service providers, ensure quality, and define responsibilities. But not all contracts are created equal.

Why Cleaning Contracts Are Common in Singapore

Singapore’s high-density urban environment, combined with fast-paced lifestyles, means that many homeowners and businesses rely on external cleaning services.

Whether you live in an HDB flat, condo, or manage a retail unit or office space, cleaning contracts offer peace of mind. They also bring:

  • Service consistency: Cleaning is performed regularly without the need to book an appointment each time.
  • Cost efficiency: Bundle rates are often cheaper than one-off services.
  • Legal clarity: You’ll know exactly what’s covered, and what isn’t.

What’s Typically Included in a Cleaning Contract?

Most contracts, whether for part-time maids, office cleaners, or condo maintenance, include:

1. Scope of Work

This clearly defines the tasks that the cleaning crew will perform. For example:

  • Dusting, vacuuming, mopping
  • Toilet disinfection
  • Window cleaning
  • Kitchen degreasing
  • Trash removal

Check if deep cleaning, upholstery, or external window work is included, especially if you live in a high-floor HDB or condo unit.

2. Frequency of Service

Contracts typically specify the frequency of cleaning, which can be daily, weekly, bi-weekly, or monthly. In office settings, daily cleaning is the norm, while homes may prefer weekly sessions.

3. Duration and Renewal Terms

Most cleaning contracts in Singapore range from 3 months to 2 years. Some come with auto-renewal clauses. Always read the fine print to avoid unexpected commitments.

4. Rates and Payment Terms

Prices can vary depending on frequency, size of premises, and scope of work.

  • A standard HDB weekly cleaning contract might cost between $250 and $400 per month.
  • Office and condo cleaning rates differ based on square footage and staffing needs.

Be sure the contract outlines:

  • Hourly or flat rates
  • Overtime policies
  • Payment due dates
  • Late payment penalties

Residential vs. Commercial Cleaning Contracts

The key differences lie in scope, regulations, and workforce.

Residential Cleaning Contracts

These are often for homeowners who hire part-time maids or deep cleaning services for general upkeep. Most residential contracts include:

  • Kitchen, toilet, and bedroom cleaning
  • Ironing and laundry
  • Fridge or oven cleaning (optional)

Look for licensed providers approved by the Ministry of Manpower (MOM) or the National Environment Agency (NEA).

Commercial Cleaning Contracts

These are designed for:

  • Offices
  • Malls
  • Clinics and F&B outlets
  • Industrial facilities

They often include:

  • Floor polishing
  • High-touch surface sanitation
  • Waste disposal (including biohazard or grease traps in F&B settings)

Commercial contracts typically include provisions for replacement staff, liability insurance, and workplace safety protocols.

part-time cleaner in singapore ready to your house

Things to Look Out For Before Signing a Cleaning Contract

Not all contracts are transparent. Some come with hidden costs or vague responsibilities. Before you sign, make sure to check:

1. Licensing and Insurance

Cleaning companies in Singapore are required to hold valid business licenses. Ask if they are NEA licensed and have public liability insurance.

For condo or office cleaning, this is crucial in the event of property damage or injury.

2. Trial Period or Flexibility

A good provider will offer a trial period (e.g., 1 month) before committing to a longer-term contract. Avoid providers that insist on long contracts without any exit clause.

3. Replacement Policy

What happens if the cleaner goes on leave or resigns? A solid contract should include provisions for replacement cleaners within a fixed time.

4. Supplies and Equipment

Does the service provider bring their cleaning solutions and tools? Or is the client expected to provide them?

In commercial contracts, providers usually bring industrial-grade equipment. However, for residential jobs, especially those involving part-time maids, some clients prefer to supply their products to maintain familiarity and hygiene.

Pros of Having a Cleaning Contract

  • Predictable costs
  • Time-saving: No need to keep booking or reminding
  • Consistency in results
  • Professional accountability
  • Priority during peak demand seasons (e.g., before Chinese New Year)

Cons of a Cleaning Contract

  • Less flexibility if you only need occasional help
  • Cancellation penalties can apply
  • You may not get the same cleaner every time (unless specified)

Typical Prices of Cleaning Contracts in Singapore

Type of Cleaning Frequency Price Range (SGD)
Part-time maid (HDB): Weekly (3 hrs) $250–$400/month
Condo cleaning (common areas): Daily $1,200–$3,500/month
Office (small-medium): Weekdays$800–$2,500/month
Post-renovation cleanup: One-time $200–$500 per session

When to Consider Signing a Cleaning Contract

  • If you run a business and need regular, professional-level cleaning.
  • If your household has children, pets, or elderly, cleanliness is a top priority.
  • If you’ve had inconsistent results with freelance or ad-hoc cleaners.
  • If you want peace of mind and reduced mental load from managing cleaning.

Final Thoughts

Cleaning contracts in Singapore can simplify life for both homeowners and business operators. But not all contracts are created equal. Always read the terms carefully, clarify grey areas, and choose providers with a good reputation.

Whether you’re in an HDB flat in Punggol, a condo in Tampines, or managing a shop in Orchard Road, a reliable cleaning contract can ensure a hygienic, stress-free environment — without the hassle of constantly micro-managing.

How to Sanitize High-Touch Surfaces Effectively at Home

pretty girls with cleaning solutions

In Singapore’s dense urban landscape, where shared spaces and close living quarters are common, especially in HDB flats and condominiums, keeping your home clean isn’t enough. You need to ensure it’s sanitized, especially when it comes to high-touch surfaces.

High-touch areas refer to the parts of your home that people frequently come into contact with — think light switches, door handles, taps, remote controls, and even fridge doors. Germs thrive on these surfaces, and without proper sanitation, they can spread rapidly among household members.

Here’s how you can effectively sanitize high-touch surfaces at home, with simple tools and methods that fit into your daily routine. Additionally, we’ll discuss what to use, how often to clean, and when to consider professional assistance.

Why Sanitising High-Touch Surfaces Matters

You might clean your home regularly, but that doesn’t always mean it’s germ-free. Germs, bacteria, and viruses, including the flu and stomach bugs, can linger on surfaces for hours, even days.

In Singapore’s tropical climate, humidity can also encourage the growth of mould, mildew, and bacteria. If you live with children, elderly parents, or immunocompromised individuals, it becomes even more critical to maintain a hygienic environment.

Here’s what can happen if you skip sanitizing:

  • Higher chances of cold and flu transmission
  • Increased risk of foodborne illnesses
  • Spread of germs from communal areas to personal spaces
  • Trapped bacteria in enclosed aircon environments
  • Accumulation of grime and allergens over time

What Are High-Touch Surfaces?

You might be surprised at how many spots you and your family touch throughout the day. Here’s a non-exhaustive list of surfaces that should be sanitized regularly:

Around the house:

  • Door handles (main doors, bedrooms, bathrooms)
  • Light switches
  • Remote controls
  • Stair railings (if you live in a maisonette)
  • Table surfaces and countertops
  • Cabinet and drawer handles
  • Keys and keypads (mainly digital locks)

Kitchen:

  • Fridge handles
  • Microwave buttons
  • Stove knobs
  • Sink taps
  • Dining table and chairs

Bathroom:

  • Tap handles
  • Toilet flush buttons
  • Showerheads and handles
  • Soap dispensers

Electronics:

  • Mobile phones
  • Tablets and laptops
  • Game controllers
  • TV remotes
  • Aircon remotes

Cleaning vs. Sanitizing

Many people think wiping a surface makes it clean enough. But there’s a difference between cleaning and sanitizing:

  • Cleaning removes dirt, dust, and debris.
  • Sanitizing reduces the number of germs to a safe level.
  • Disinfecting kills most germs and viruses on a surface.

For high-touch surfaces, aim to sanitize and disinfect after cleaning.

part time helper cleaning table

How Often Should You Sanitize?

It depends on usage, but here’s a basic guide:

SurfaceSuggested Frequency
Door handlesDaily
Light switchesDaily
Mobile devices1–2 times per day
Kitchen surfacesAfter each use
Bathroom tapsDaily
Remote controlsEvery 2–3 days
Work deskDaily

What Products Should You Use?

In Singapore, you can find a variety of household-safe sanitizers and disinfectants. Look for products with an alcohol content of at least 60–70%, or active ingredients such as quaternary ammonium compounds (quats).

Here are some suitable options:

  • Isopropyl alcohol (70% for electronics and remotes)
  • Diluted bleach solutions (1:49 ratio, approved by NEA)
  • Antibacterial sprays or wipes (Dettol, Clorox, or local brands)
  • DIY solution: Mix 1 cup water, 1 cup white vinegar, and a few drops of tea tree oil or lemon essential oil (Note: Avoid vinegar on stone surfaces)

Always test a new product on a small surface area before using it extensively.

Step-by-Step: How to Sanitize High-Touch Surfaces

Step 1: Wear Gloves

This protects your skin from harsh chemicals and prevents the transfer of bacteria back onto surfaces.

Step 2: Clean First

Use a damp cloth or gentle detergent to wipe off visible dirt and grime. Sanitizing a dirty surface won’t be effective.

Step 3: Apply Disinfectant

Spray or wipe your disinfectant directly onto the surface. Let it sit for the required contact time—usually about 3 to 5 minutes—to effectively kill germs.

Do not wipe it off immediately. Give it time to work.

Step 4: Air Dry or Wipe

Let the surface air dry if possible. If you need to wipe it down (e.g., electronics), use a clean, dry microfiber cloth.

Tips for Specific Areas

For Electronics:

Use alcohol wipes or a cloth dampened with 70% isopropyl alcohol. Don’t oversaturate, and avoid getting liquid into ports or openings.

For Kitchen Counters:

Avoid harsh chemicals in food-prep areas. Use food-safe sanitizers or natural options like vinegar-based solutions.

For Bathrooms:

Use bleach-based cleaners or mould-removing sprays. Singapore’s humidity makes bathrooms a hotspot for bacteria and mildew.

When to Hire Professional Help

If you’ve had a COVID-19 case at home, are caring for someone unwell, or simply don’t have the time, hiring a part-time cleaner trained in disinfection protocols can be a smart move.

Many local services offer add-ons, such as steam cleaning or UV disinfection. Just ensure the company follows NEA-recommended disinfection guidelines.

Eco-Friendly Options

Prefer green cleaning? Try these alternatives:

  • White vinegar + water: Cuts through grease and bacteria
  • Hydrogen peroxide: Safe and effective for most surfaces
  • Essential oils (tea tree, eucalyptus, lemon): Antimicrobial and fragrant

These are safe for homes with kids or pets and reduce exposure to harsh chemicals.

Final Thoughts

High-touch surfaces are often overlooked, but they play a critical role in maintaining your home’s health. In a high-density city like Singapore, where external exposure is high—from lifts and public transport to hawker centres—it’s essential to minimize the germs you bring home.

With simple routines, safe products, and a little consistency, you can effectively maintain a sanitised, safe, and stress-free home.

How to Manage Pet Hair and Odors in the Home

dog lying down in bed

Having a pet brings joy, companionship, and a sense of comfort. But along with the tail wags and cuddles comes something less pleasant, pet hair and odours. If you’re living in a compact HDB flat or condominium in Singapore, you might feel like no matter how much you clean, there’s always fur on the floor or that tell-tale smell lingering in the air.

This guide provides practical steps on how to manage pet hair and odours effectively, ensuring your home remains fresh, clean, and guest-ready. Whether you’re a cat lover, a dog parent, or raising a family of rabbits, these tips will help you stay ahead of the mess.

Why Pet Hair and Odors Are Hard to Control

In Singapore’s humid climate, odours tend to linger longer. Combine that with smaller living spaces and the use of enclosed air conditioning, and you’ve got a recipe for pet smells to linger in the air. Add daily shedding from your furry friends, and keeping the home hair-free becomes a regular battle.

Carpets, curtains, and fabric furniture absorb odours quickly, while fur floats and settles on every surface it can find. Without a system in place, things can accumulate quickly.

Tip #1: Groom Your Pet Regularly

Prevention starts with your pet. Regular grooming reduces the amount of hair that ends up around your home. For dogs and cats that shed excessively, aim to brush them at least twice a week.

  • Choose the right brush for your pet’s coat type, slicker brushes work well for thick coats, while rubber curry brushes are great for short-haired pets.
  • Schedule grooming sessions at home or with a professional pet groomer, especially if your pet has long or double coats.
  • Wipe your pet down after walks or toilet breaks to reduce odours and dirt buildup.

In Singapore, where most homes don’t have backyards, brushing your pet near a window or in the bathroom helps contain loose fur.

Tip #2: Invest in a Good Vacuum Cleaner

Not all vacuums are made equal. Look for vacuums that come with:

  • HEPA filters: These help trap tiny particles of dander and allergens.
  • Pet hair attachments: Tools like rubber nozzles or brush heads help remove fur from upholstery.
  • Strong suction power: Essential for carpets, rugs, and fabric furniture.

Vacuum at least 2–3 times a week, especially if your pet sheds heavily. If you have multiple pets, daily vacuuming might be necessary.

For Singapore homes with tile or laminate flooring, a robot vacuum with anti-hair tangle technology can be a great investment.

Tip #3: Wash Pet Bedding and Toys Often

Pet bedding and soft toys can trap much odour over time. Wash them at least once every one to two weeks.

  • Use hot water cycles and mild pet-safe detergents.
  • Air dry under the sun when possible. Sunlight helps kill bacteria and removes lingering smells.
  • Clean food and water bowls daily to prevent mould and buildup.

For those living in flats without access to a balcony, use a dehumidifier to speed up indoor drying and prevent that musty smell.

Tip #4: Clean Soft Furnishings and Curtains

Fabrics trap odours fast. Even if your pet doesn’t jump on the sofa, their scent can cling to the fabric through proximity or airflow.

  • Steam clean upholstery and curtains every two months.
  • Use fabric-safe sprays that neutralise odours, not just mask them.
  • If possible, opt for machine-washable cushion covers and curtains for easy maintenance.

Singapore’s tropical weather also means mildew can form if curtains aren’t aired out regularly. Clean and dry them thoroughly.

image of a house plant

Tip #5: Use Air Purifiers or Deodorisers

An air purifier with a carbon filter helps remove pet smells, dander, and even allergens from the air. For optimal results, place it in high-traffic areas, such as the living room or near your pet’s sleeping spot.

If you don’t have one, consider these alternatives:

  • Activated charcoal pouches to naturally absorb odours.
  • Baking soda bowls placed discreetly in the corners of rooms.
  • Essential oil diffusers (lavender, eucalyptus), but ensure oils are pet-safe.

Avoid using strong chemical air fresheners. Some can irritate pets or even be toxic to them.

Tip #6: Mop Your Floors the Right Way

Even if your floors appear clean, pet dander and oils can still accumulate on them.

  • Mop weekly using pet-safe floor cleaners.
  • Add a small amount of white vinegar to your mop water to neutralise odours.
  • Focus on areas where your pet spends time, such as near their bed, litter box, or play area.

For HDB homes with ceramic tiles or vinyl flooring, a steam mop can sanitise without the use of chemicals.

Tip #7: Regular Litter Box or Toilet Cleanup

For cat owners, a dirty litter box is often the primary culprit when it comes to unpleasant odours.

  • Scoop at least once a day.
  • Change the litter completely every week.
  • Wash the tray thoroughly with warm water and a mild soap.

For dog owners using pee pads or dog toilets, rinse and clean these daily to prevent bacteria buildup.

Place odour-absorbing materials, such as baking soda or charcoal, near pet toilets to keep the air fresh.

Tip #8: Check for Hidden Accidents

Sometimes, your pet may leave behind a small accident you don’t notice until it smells. Do a quick check under furniture, behind doors, and in corners.

Use UV blacklight torches to detect urine stains invisible to the naked eye. Clean these areas with enzymatic cleaners designed to break down organic matter.

Tip #9: Keep Your Pet’s Diet in Check

Believe it or not, your pet’s diet can influence how strong their natural odour is.

  • Feed them high-quality pet food that’s appropriate for their breed and age.
  • Avoid table scraps that can cause gas or digestive issues.
  • Ensure they receive regular dental care as bad breath can also affect the smell of your home.

If odour issues persist despite grooming and cleaning, consult a vet to rule out underlying health problems.

Tip #10: Establish a Weekly Cleaning Routine

Create a checklist and set aside time each week to do the following:

  • Groom your pet
  • Vacuum and mop floors
  • Wash pet beds and blankets
  • Clean food/water bowls and litter areas
  • Wipe down surfaces your pet touches often

Having a routine keeps your home cleaner and reduces stress during unexpected visits from guests.

Final Thoughts

Managing pet hair and odours is all about consistency. In Singapore, where space is limited and ventilation can be tricky, a little effort goes a long way. With the right tools and habits, you can enjoy your furry companion without sacrificing a clean, fresh-smelling home.