
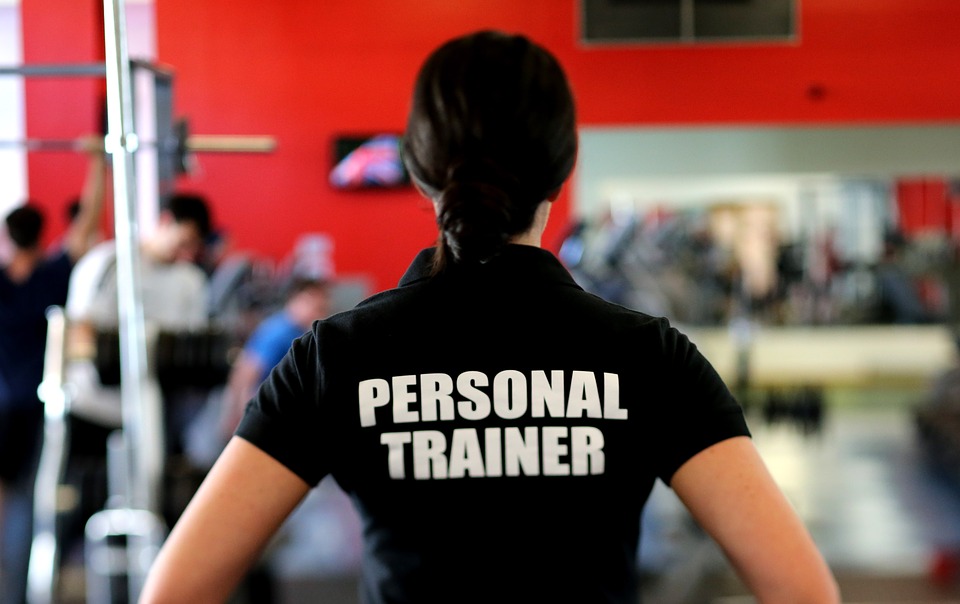
Searching for a personal trainer in Singapore? Before you hire a trainer—especially one you find on social media or through an informal listing—this is a must-read guide on how fitness scams actually work in Singapore and how you can protect yourself from being cheated.
In recent years, more residents have reported being scammed by freelance personal trainers, with cases especially affecting young mothers, elderly clients, and condo residents. These scams often involve upfront payments, fake professionalism, and trainers who disappear after collecting money.
Below, we break down a real scam case that went viral on Reddit, why it is happening, and why you should always book your personal training through a registered Singapore company like StringsSG instead of unlicensed freelancers.
🔍 What’s Happening: Rise of Personal Trainer Scams in Singapore
The fitness industry in Singapore is growing rapidly, especially the search for:
- personal trainer Singapore
- female personal trainer
- postpartum personal trainer
- personal trainer for elderly clients
- personal trainer near you
Unfortunately, scammers take advantage of this demand.
Because personal training is not heavily regulated, freelance trainers can operate without certification, licensing, or accountability. Many use attractive pricing and false credentials to lure clients into long-term packages, then disappear after collecting payment.
🧵 A Real Scam Case: Viral Reddit Post Exposes a Repeat Offender
A widely shared post on r/askSingapore documented a shocking scam involving a freelance trainer who targeted young mothers and elderly residents.
🚩 How the Scam Worked
1. Fake Professionalism & Fake Expertise
The trainer acted very professional during the free trial and claimed to specialise in post-pregnancy recovery. He showed a CV that looked legitimate and reassuring.
2. Selling High-Value Discounted Packages
He pushed aggressively for a 1-year plan, eventually convincing victims to sign up for a 6-month, 70-session package costing $3,500. The price seemed attractive compared to typical personal trainer rates in Singapore ($80–$120 per session).
3. Disappearing After Getting Payment
After two sessions, he:
- Cancelled at the last minute
- Sent 4am cancellation messages
- Avoided all attempts to reschedule
- Delayed or ignored refund requests
Another elderly aunty in the same condo experienced the exact same issue.
4. Multiple Victims, Same Trainer
Victims eventually found:
- A Facebook post about the same scammer
- A WhatsApp group with 15+ victims
- Losses ranging from $500 to $3,500 per person
5. No Real Consequences
Even after:
- Filing police reports
- Filing Small Claims Tribunal cases
- Summoning the trainer to court
…he simply ignored everything. Victims were told the matter was “civil,” leaving many without recourse.
This exposes a major problem: freelance trainers can vanish without accountability, and victims have almost no protection.
❗ Why Freelance Personal Trainers Are a High-Risk Choice
Hiring a personal trainer in Singapore should be safe—but freelancers create serious risks:
1. Zero Accountability
Freelancers can change their phone number, Instagram handle, or business name overnight. If you paid upfront, your money is gone.
2. No Refund or Replacement
If a freelance trainer disappears:
- No customer service
- No alternative trainer
- No service recovery
- No enforcement
You’re completely on your own.
3. No Safety or Certification Checks
Freelancers may not have:
- Valid certifications
- Experience with postpartum or elderly training
- Injury-prevention knowledge
- First-aid training
- Professional liability coverage
This can be dangerous for vulnerable groups.
4. They Target Vulnerable Clients
Scammers often choose:
- New mothers recovering from pregnancy
- Elderly clients
- Condo residents
- People unfamiliar with typical personal trainer rates
These groups are easier to pressure into long packages.
🛡️ How to Protect Yourself When Hiring a Personal Trainer in Singapore
Here are the steps every consumer should follow:
✔️ 1. Book Only Through Singapore-Registered Companies
This is the #1 way to avoid scams.
Legitimate companies provide:
- Verified trainers
- Replacement trainers
- Transparent contracts
- Refund policies
- Secured payments
- Professional accountability
- Service recovery if anything goes wrong
Freelancers cannot offer any of this.
✔️ 2. Avoid Paying Large Amounts Upfront to Freelancers
If someone pushes for a 6-month or 1-year plan at a huge “discount,” that is a red flag.
✔️ 3. Check Certifications & Business Legitimacy
Look for:
- CPR/first-aid certification
- Fitness training certifications (ACE, NASM, ASCA, etc.)
- Actual business registration
- Real reviews and client outcomes
✔️ 4. Choose Platforms With Secure Payments
Avoid transfers to personal bank accounts unless you trust the organization.
⭐ Why Booking With StringsSG Is the Safest Choice
To safeguard clients from freelance scams, StringsSG operates as a fully registered Singapore company with a vetted, trusted team of personal trainers.
When you book with StringsSG, you get:
✔️ Certified personal trainers
All trainers meet our qualification standards and undergo background checks.
✔️ Specialists for every need
Including:
- Post-pregnancy recovery
- Elderly fitness
- Weight loss
- Strength training
- Female personal trainers
✔️ Secure payment & proper contracts
No trainer will ever request cash or private transfers.
All payments go through StringsSG for accountability and protection.
✔️ Guaranteed sessions & replacements
If your trainer falls sick, travels, or leaves the company, you get a replacement instantly—no cancellations, no ghosting.
✔️ Transparent, fair personal trainer rates
Our pricing is clear, upfront, and competitive.
This structure eliminates 100% of the scam issues that happen with freelancers.
🏁 Final Thoughts: Protect Yourself and Choose a Trusted Personal Trainer in Singapore
The rise of freelance personal trainer Singapore scams is alarming, especially for young mothers and elderly clients who simply want safe, reliable fitness guidance.
Freelance trainers often:
- Operate without accountability
- Push for large upfront payments
- Disappear after collecting money
To avoid being scammed, always hire your personal trainer through a Singapore-registered company that provides real protection, real customer service, and verified professionals.
If you’re looking for a trustworthy personal trainer near you, StringsSG offers:
- Certified personal trainers
- Fair pricing
- Postpartum and elderly specialists
- Female personal trainers
- Transparent contracts
- Full consumer protection
Your health, safety, and money deserve nothing less.


You must be logged in to post a comment.