
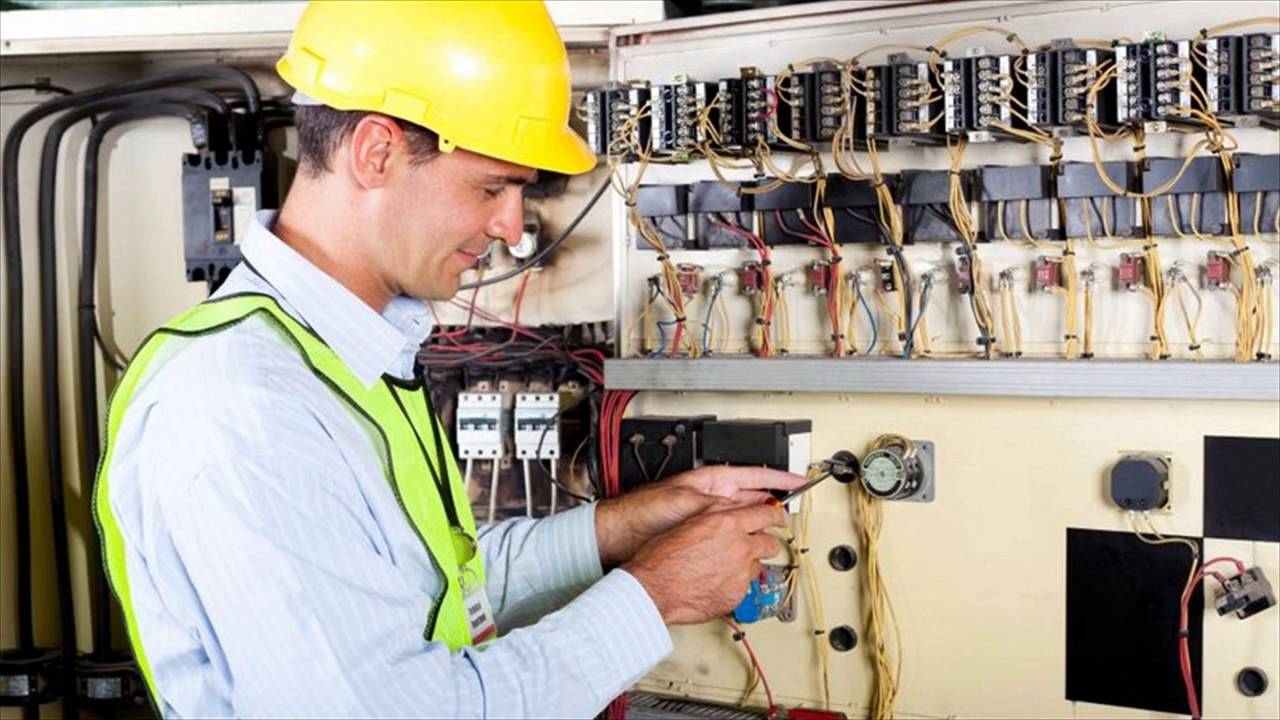
If you’re living in an HDB flat, condo, or landed property, you’ve needed electrical help at some point. Whether it’s faulty wiring, installing a new ceiling fan, or upgrading your lighting, hiring a licensed electrician in Singapore is essential.
But how much does it cost? And what exactly are you paying for? Let’s break it down.
- 1. Electrician Services in Singapore
- 2. Average Cost of Electrician Services in Singapore
- 3. Why Do Electricians Cost So Much?
- 4. HDB vs Condo vs Landed Homes
- 5. Emergency or After-Hours Electrician? Expect to Pay More
- 6. How to Know If You're Being Overcharged
- 7. Should You DIY or Always Call a Pro?
- 8. Tips to Save Money on Electrical Work
- 9. Finding a Reliable Electrician in Singapore
1. Electrician Services in Singapore
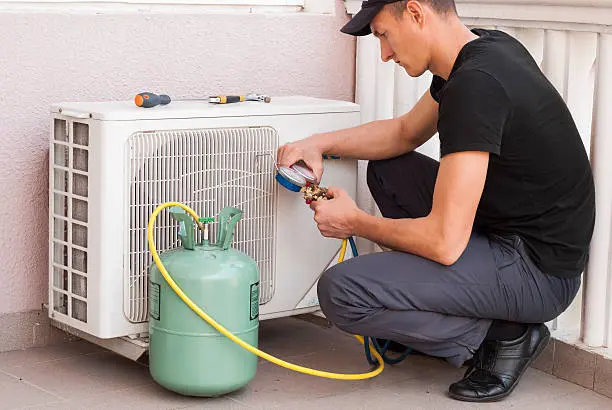
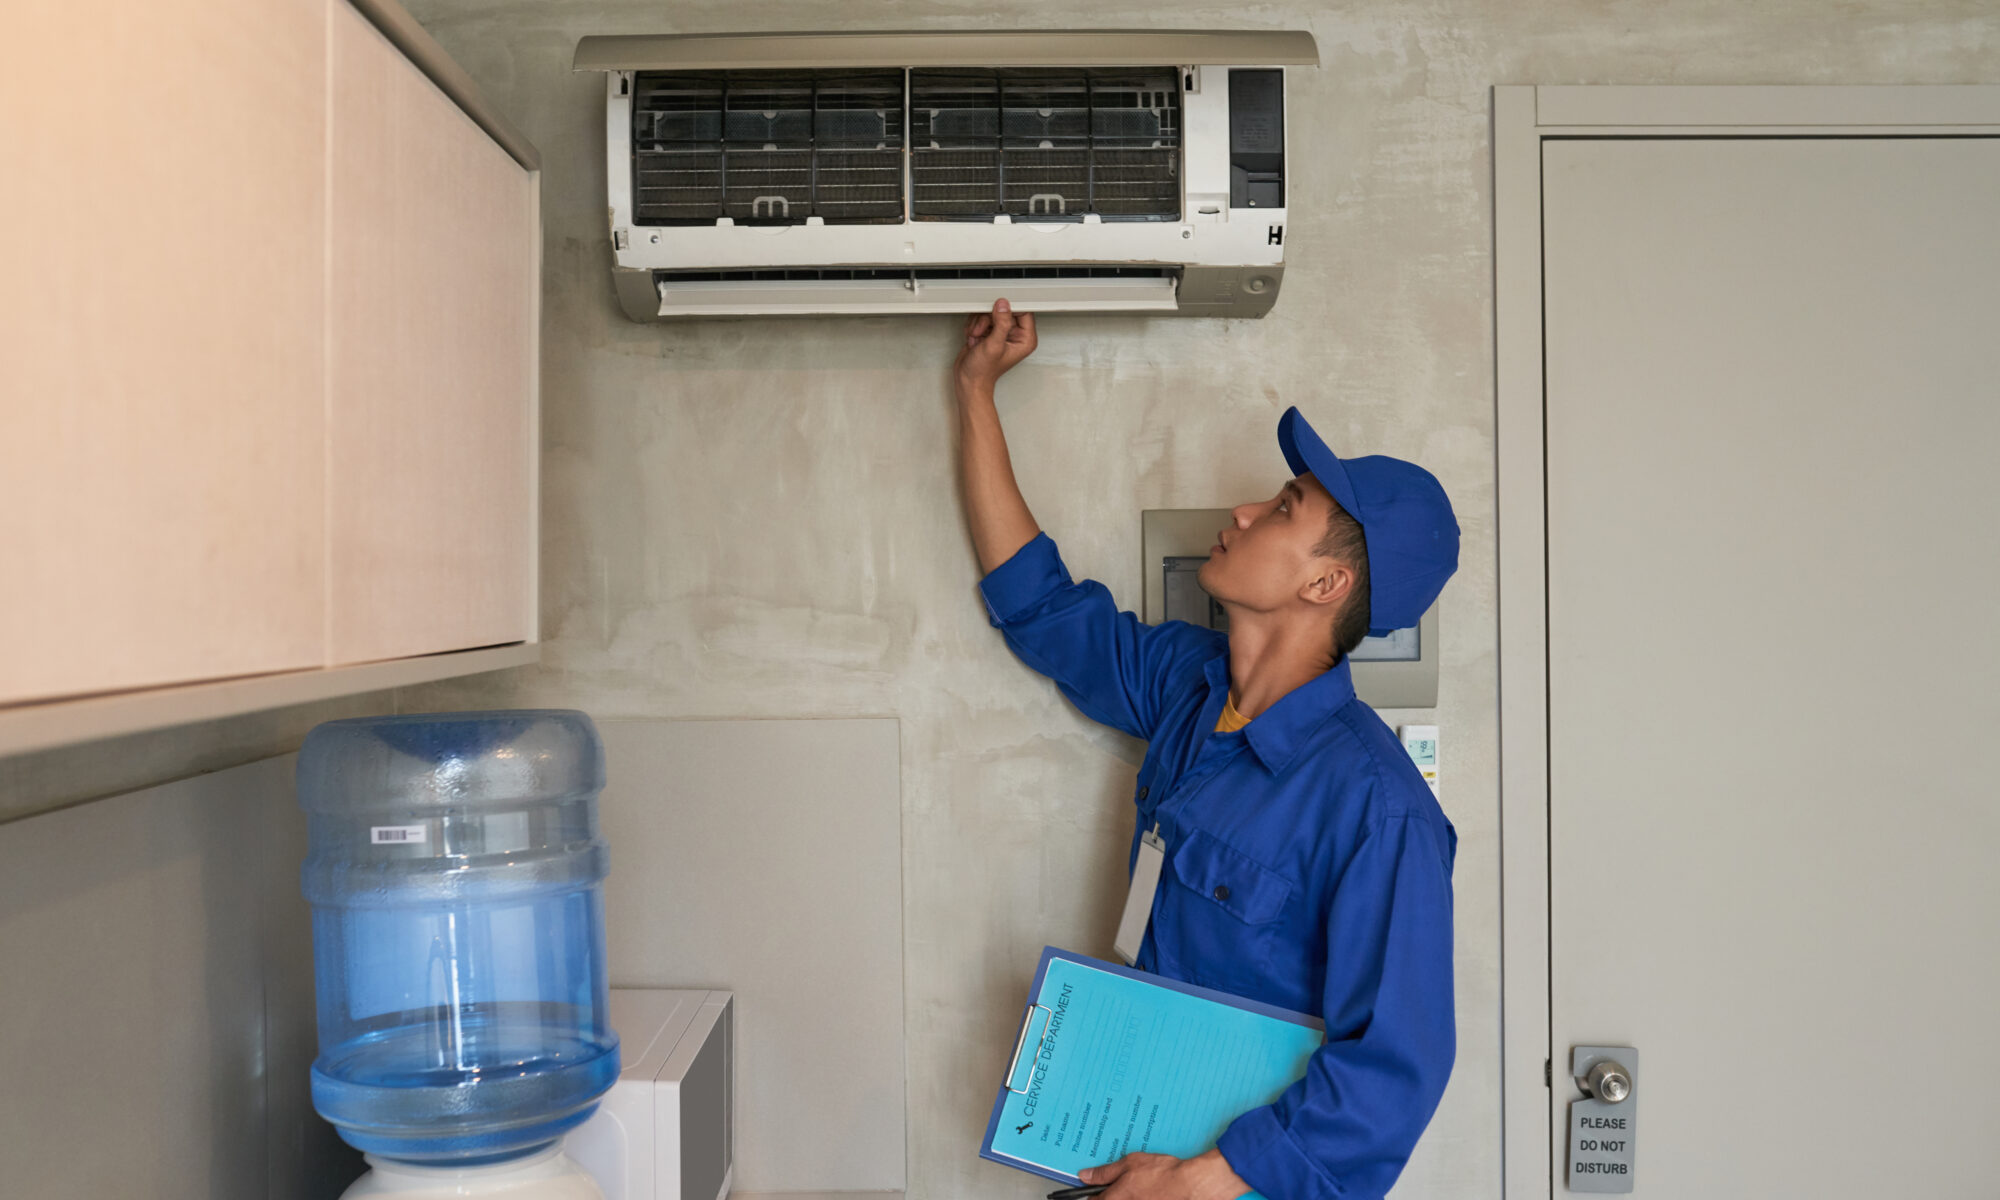
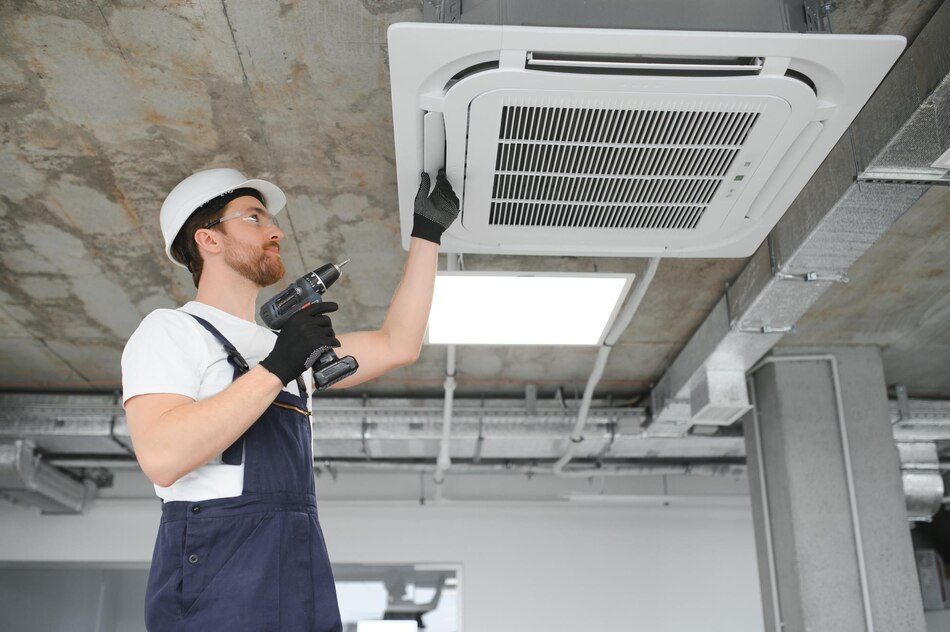
Electricians are skilled professionals who handle everything from basic installations to complex rewiring jobs. Here’s a quick list of standard services:
- Power socket installation and replacement
- Light fixture installation
- Ceiling fan setup
- Switch and circuit breaker repair
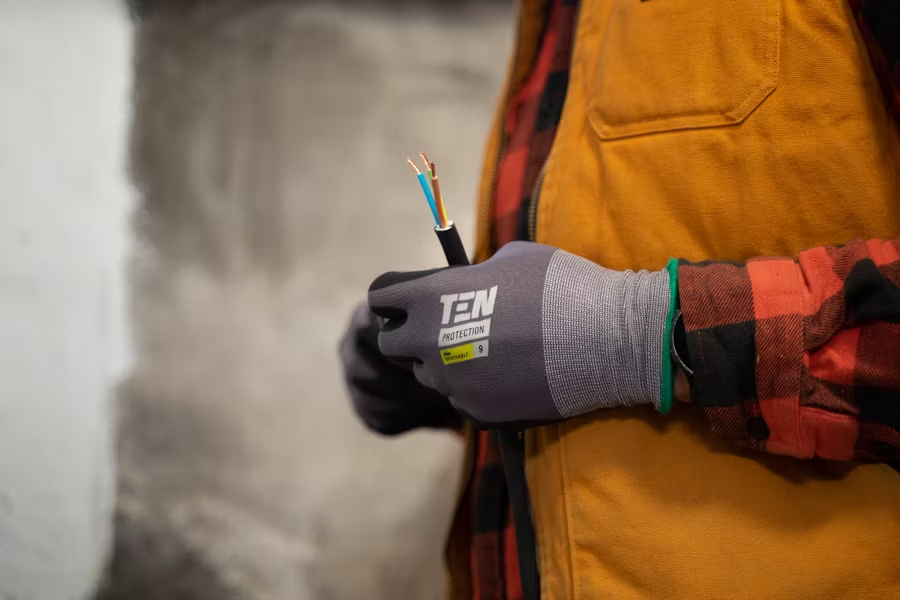
- Rewiring of old flats
- Troubleshooting power failures
- Installation of water heater or appliances
- Electrical inspection for home renovation
Each job requires technical know-how and compliance with Singapore’s building and safety codes.
2. Average Cost of Electrician Services in Singapore
Electrician charges depend on the complexity of the job, materials used, and property type (HDB, condo, or landed).
Here’s a rough guide:
| Service | Estimated Cost (SGD) |
| Replace power socket | $50–$90 |
| Install ceiling fan | $80–$150 |
| Troubleshoot power trip | $60–$120 |
| Replace light fixture | $40–$100 |
| Switch installation | $40–$80 |
| Complete HDB rewiring (3-room) | $2,500–$4,000 |
| Full condo rewiring | $3,000–$5,500 |
Note: Prices may vary depending on time of day (after-hours/emergency), material quality, and additional labour required.
3. Why Do Electricians Cost So Much?
Some homeowners are surprised by the cost of hiring an electrician. But here’s what you’re paying for:
- Expertise & Certification: Only certified electricians are allowed to do electrical work in Singapore. They must be trained, tested, and licensed by EMA.
- Safety & Compliance: Faulty installations can be dangerous. You’re paying for peace of mind.
- Tools & Equipment: Quality tools and materials don’t come cheap.
- Insurance & Warranty: Many reliable electricians offer warranties on their work and are insured in case of mishaps.
4. HDB vs Condo vs Landed Homes
Ever wondered if the cost between a HDB and Condo differ? Well, yes. Here’s why:
- HDB Flats usually have standardised layouts, making jobs quicker.
- Condos may require coordination with MCST or management before works can begin.
- Landed Properties are larger and may involve more complex rewiring.
The more complicated the job, the higher the cost.
5. Emergency or After-Hours Electrician? Expect to Pay More
If your power trips in the middle of the night or you experience a blackout on a Sunday, you’ll need emergency services.
Emergency electrician callouts often cost 1.5 to 2 times more than regular appointments. This covers transport, overtime, and availability.
6. How to Know If You’re Being Overcharged
Here are a few ways to make sure you’re paying a fair price:
- Get at least three quotes from different electricians.
- Check their license and experience.
- Look at Google reviews or testimonials.
- Ask if the price includes materials, labour, and transport.
Transparent pricing is key. Watch out for hidden fees, such as “last-minute charges” or vague material costs.
7. Should You DIY or Always Call a Pro?
It’s tempting to install a new light switch yourself, but in Singapore, doing unauthorised electrical work is illegal and unsafe.
Only licensed electricians are permitted to undertake most electrical work, particularly tasks involving power sockets or circuit breakers.
For small tasks, such as changing a light bulb, go ahead. For anything else, call a pro.
8. Tips to Save Money on Electrical Work
- Bundle services: Need to install multiple lights or switches? Get them done together for better rates.
- Off-peak hours: Schedule work during weekdays instead of weekends or holidays.
- Use your materials: If you have already bought a ceiling fan, pay for labour.
9. Finding a Reliable Electrician in Singapore
You can find reputable electricians via:
- Online home services platforms (like StringsSG)
- Neighbourhood contractors
- Referrals from friends and family
Always choose someone licensed by EMA. If they can’t produce their license number, that’s a red flag.
10. Final Thoughts
Paying for a reputable electrician ensures safety, high-quality work, and fewer future problems. Think of it as an investment in your home.
Cutting corners with cheap or unlicensed electricians may lead to more expensive repairs, or worse, safety hazards.


You must be logged in to post a comment.