
An aircon chemical overhaul is a more intensive version of chemical cleaning, designed for heavily clogged or underperforming units. It involves complete dismantling of the system and deep-cleaning each component individually using specialized chemicals.
Here are the 9 essential steps followed by professionals during a chemical overhaul:
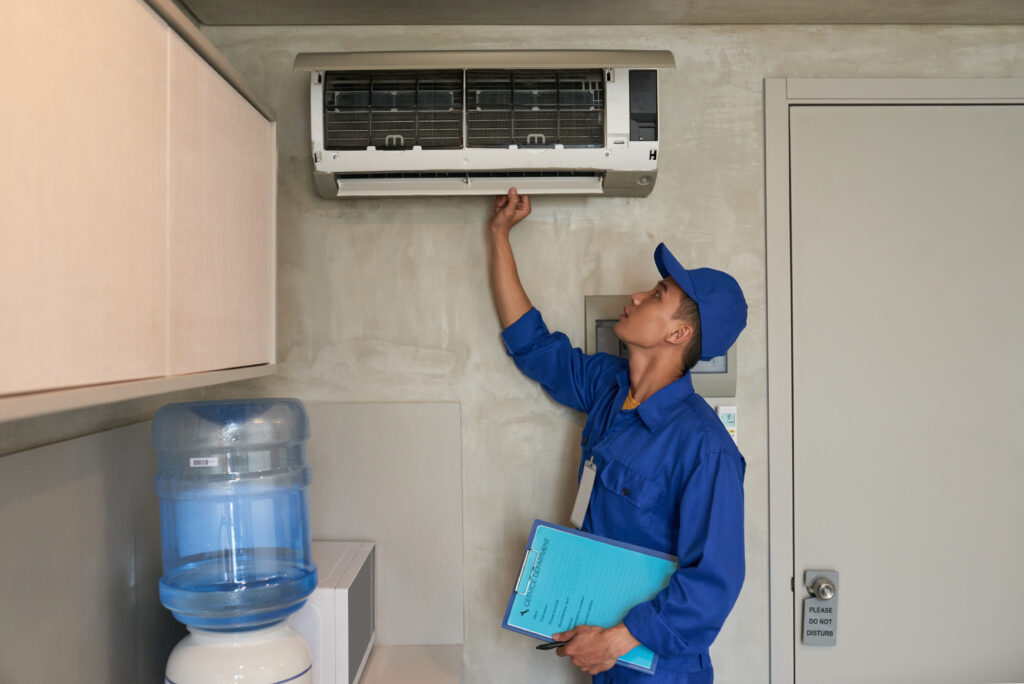
1. Inspection and Preparation
The process begins with a careful inspection of the aircon unit:
- The technician checks the cooling efficiency, noise levels, airflow, and visible dirt accumulation.
- Protective sheets are laid out to cover your flooring and nearby furniture to prevent any water or chemical splashes during the overhaul.
- The electrical power to the unit is safely turned off.
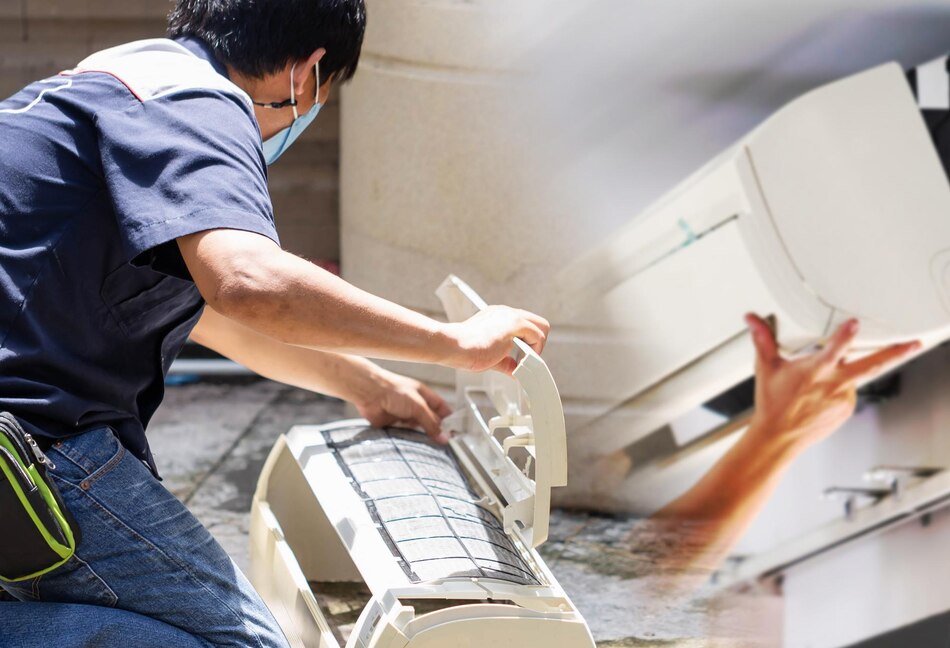
2. Full Dismantling of the Aircon Unit
In a chemical overhaul, the entire fan coil unit (FCU) is removed from the wall:
- The technician disconnects the electrical connections and drainage pipe.
- The aircon casing, fan blower, and evaporator coil are separated completely from the indoor wall.
- This allows complete access to internal components that are usually unreachable during a standard wash.
🛠️ This step requires experience and should only be done by trained professionals to avoid damage.
3. Disassembly of Components
With the unit taken down, all internal parts are carefully dismantled for separate cleaning:
- Evaporator coil (cools the air)
- Blower wheel (circulates air)
- Drain pan (collects condensation)
- Fan motor and casing
Delicate components such as the PCB (circuit board) are safely covered or removed before chemical treatment.
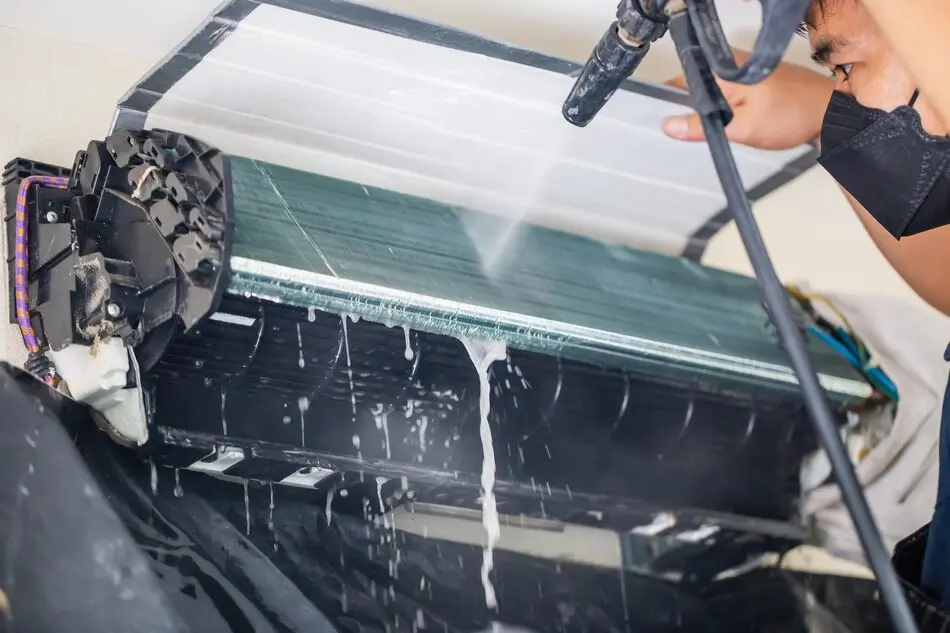
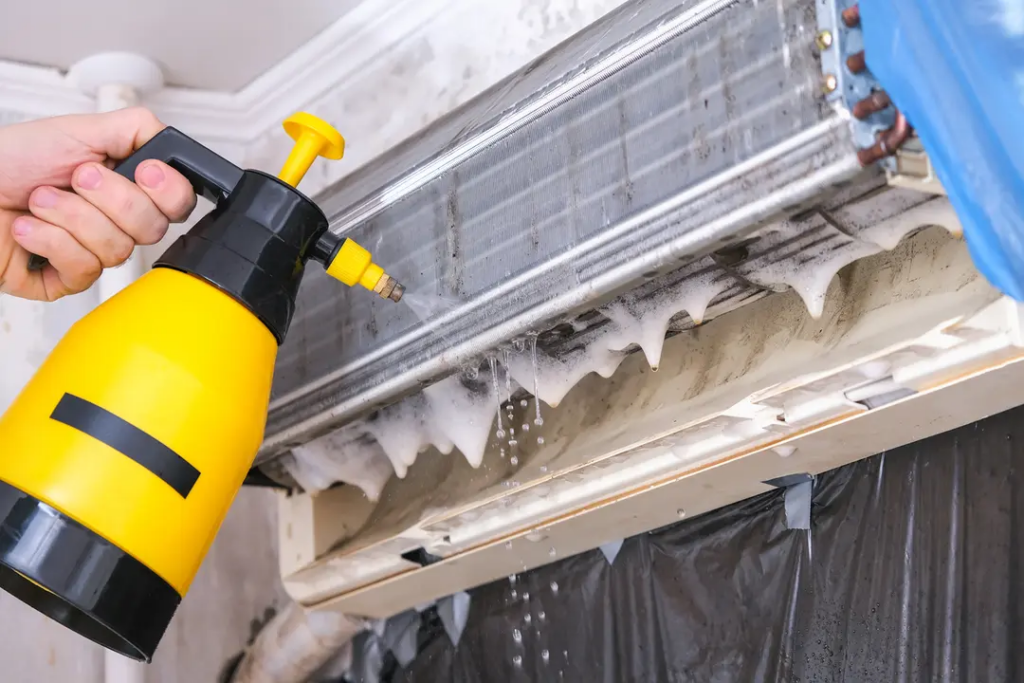
4. Intensive Chemical Cleaning
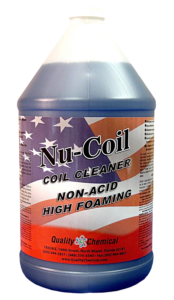
Each part is soaked or sprayed with a high-strength chemical solution designed to:
- Break down grease, mold, and hardened dirt
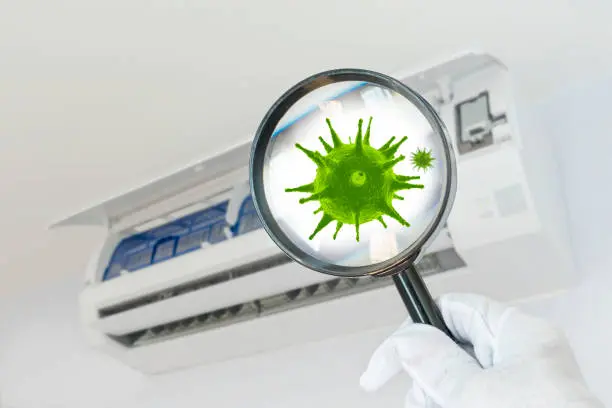
- Eliminate bacteria, dust mites, and allergens
- Restore original airflow and cooling performance
Components are then rinsed thoroughly with water to remove chemical residues and allowed to dry completely.
5. Drainage System Flushing
A clogged drainage pipe is a leading cause of water leakage:
- The technician flushes the drainage system using a pressure pump or manual method to remove clogs.
- Algae, slime, and mineral buildup are cleared, ensuring smooth water flow during operation.
⚠️ Severely blocked pipes may require additional service and charges.
6. Outdoor Condenser Servicing
The outdoor unit, often neglected, is thoroughly cleaned:
- Fins and coils are brushed or vacuumed to remove leaves, dirt, and dust.
- A light water jet may be used to clean the fan and exterior.
- Condenser cleaning improves heat dissipation and reduces the compressor’s workload.
7. Lubrication of Fan Bearings
After cleaning, fan bearings and motor components are lubricated to ensure smooth rotation and reduce friction:
- This helps eliminate humming or squeaky noises.
- Prevents premature wear and tear of moving parts.
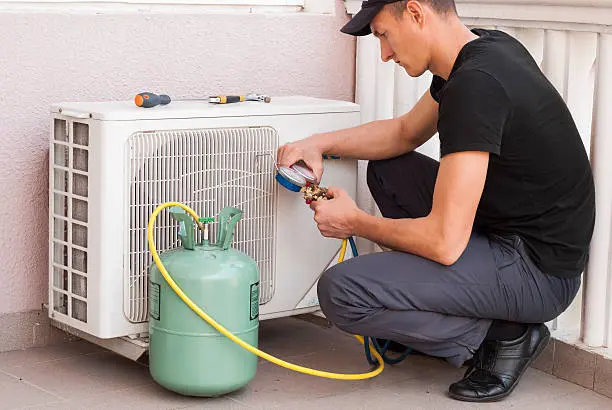
8. Refrigerant Gas Level Check
Using pressure gauges, the technician checks the refrigerant gas level:
- If it’s too low, your aircon won’t cool effectively.
- If a leak is suspected, further testing may be required.
- Gas top-up is usually charged separately and done only if needed.
9. Reinstallation and Performance Testing
Once all parts are cleaned and dried:
- The unit is reassembled and securely mounted back on the wall.
- All electrical and drainage connections are reattached.
- A final test is conducted to ensure:
- Cold air is blowing properly
- Drainage is smooth
- The unit is quiet and vibration-free
You’ll immediately notice improved cooling, reduced noise, and cleaner-smelling air.
Why Opt for a Chemical Overhaul Over Regular Servicing?
| Chemical Wash | Chemical Overhaul |
|---|---|
| Partial cleaning | Full disassembly |
| Keeps unit clean | Restores like-new performance |
| Less time-consuming | Longer duration (60–90 mins) |
| For light-to-moderate dirt | For heavily clogged or old units |


You must be logged in to post a comment.