

Whether you’re a homeowner or a tenant, keeping your living space in good condition is essential. Over time, wear and tear can occur, leading to the need for various repair or maintenance tasks. Handyman services are in high demand in Singapore as people look for reliable solutions to fix and maintain their homes.
These services cover everything from minor fixes to larger installations, ensuring that you can keep your property in prime condition.
1. Plumbing Services
Plumbing issues are among the most common reasons homeowners call a handyman. Leaky faucets, clogged drains, and running toilets are frequent issues that need to be addressed quickly to avoid further damage.
What to Expect:
- Leaky faucets and pipes: Leaks waste water and increase your utility bills, making them essential to fix immediately.
- Clogged drains: Kitchen sinks, bathtubs, and toilets can get blocked due to debris buildup or grease, leading to slow drainage or complete blockages.
- Toilet repairs: A constantly running toilet can lead to water wastage, while other issues like malfunctioning flush systems can disrupt daily life.
Why It’s Important: Addressing plumbing problems early prevents water damage and higher repair costs later on. It’s best to hire a professional handyman to handle the complexities of plumbing systems.
2. Electrical Services
Electrical issues are one of the most dangerous problems that can occur in a home. Whether it’s faulty wiring, tripped circuit breakers, or malfunctioning outlets, electrical problems should be addressed immediately for safety reasons.
What to Expect:
- Circuit breaker issues: Tripped breakers can indicate overloading, which could lead to electrical fires if not managed properly.
- Outlets and switches: Broken outlets or flickering lights can signal underlying wiring issues that should be repaired by a licensed electrician.
- Ceiling fans and light fixtures: Installing or repairing fans and lighting fixtures is a common handyman request.
Why It’s Important: Handling electrical work requires technical expertise, as improper repairs can result in dangerous accidents or fire hazards. A professional handyman ensures safety and compliance with building codes.
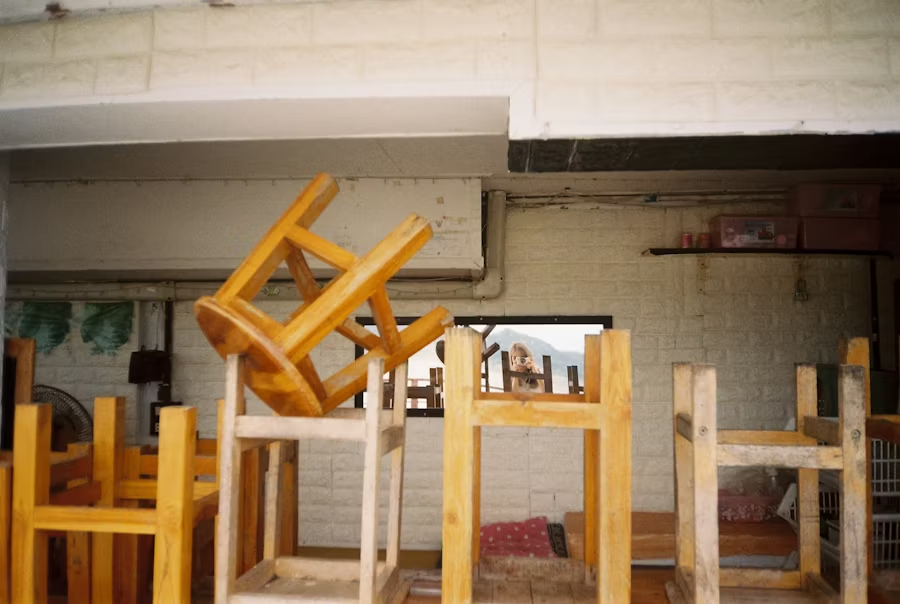
3. Furniture Assembly
Many homeowners, especially those who have purchased flat-pack furniture from places like IKEA, require assistance with furniture assembly. The process can be time-consuming and tricky, especially for large pieces like wardrobes, beds, and bookcases.
What to Expect:
- Flat-pack furniture: Assembling furniture can be frustrating, particularly when the instructions are unclear, or the parts are difficult to fit.
- Large furniture: Some furniture requires special tools, like a power drill, to assemble correctly. Professionals can complete the job quickly and efficiently.
Why It’s Important: Improper assembly can lead to furniture instability, affecting both aesthetics and functionality. A handyman can save time and ensure that furniture is put together correctly.
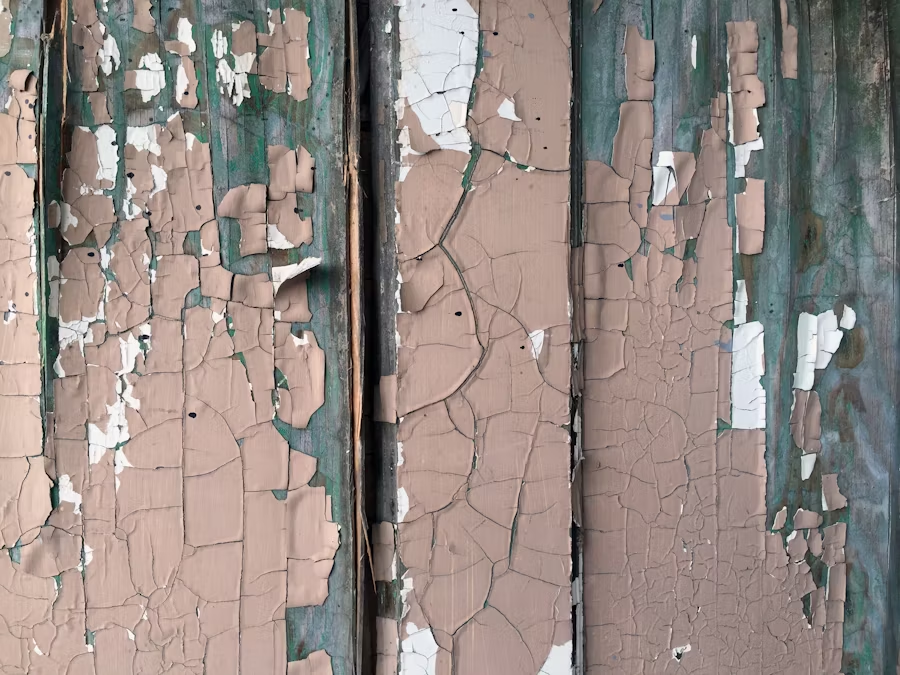
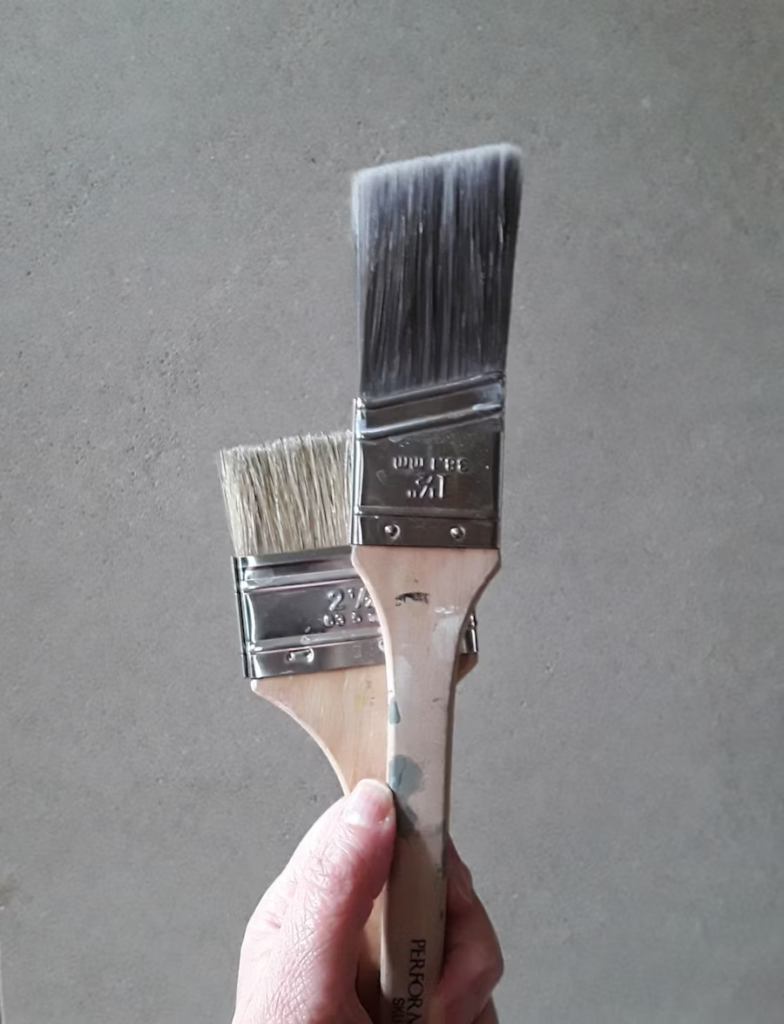
4. Painting and Touch-Ups
Whether you’re looking to refresh your walls or give a new coat of paint to your home, painting services are in high demand. A fresh coat of paint can brighten up a room, make a small space feel larger, or add a modern touch to an old design.
What to Expect:
- Interior painting: Repainting walls, doors, and trim to update your home’s look or cover up scuff marks and stains.
- Exterior painting: Handyman services are often requested to touch up the exteriors of homes or to repaint surfaces like fences or doors.
- Touch-ups: A handyman can assist with small touch-ups around the house where paint has chipped or faded.
Why It’s Important: A proper paint job not only improves aesthetics but also protects surfaces from wear and tear, especially in areas prone to moisture, like bathrooms.
5. Door and Window Repairs
Doors and windows are essential components of any home. However, over time, wear and tear can affect their function, appearance, and security. Common issues that prompt handyman services include sticky doors, broken locks, or cracked windows.
What to Expect:
- Replacing or repairing locks: Broken or faulty locks can compromise your home’s security. A handyman can replace or repair them quickly.
- Fixing broken window panes: Broken or cracked windows need to be replaced promptly to avoid further damage.
- Fixing misaligned doors: If doors are sticking, a handyman can realign them to ensure smooth operation.
Why It’s Important: Well-maintained doors and windows ensure your home remains secure, energy-efficient, and aesthetically pleasing. Prompt repairs can also prevent more costly replacements.
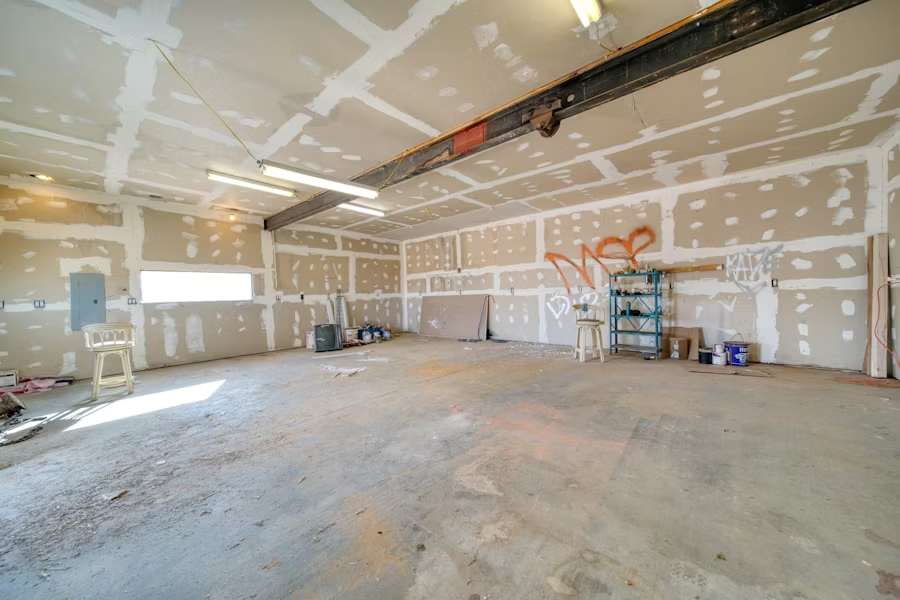
6. Drywall and Ceiling Repairs
Over time, drywall or ceiling damage is inevitable. Whether caused by leaks, impacts, or age, the need for drywall and ceiling repairs is common. Repairing holes, cracks, or water stains can restore the appearance and functionality of your home.
What to Expect:
- Small cracks or holes: These can appear over time, especially in high-traffic areas. A handyman can patch up holes, smooth out surfaces, and apply a fresh coat of paint to restore the area.
- Water stains: Water damage from leaks can leave stains on ceilings and walls. Repairing these stains often involves both fixing the leak and restoring the drywall or ceiling.
Why It’s Important: If left unattended, holes or cracks in walls and ceilings can lead to further damage, mold, and energy inefficiency. A quick repair can preserve your home’s structural integrity and appearance.
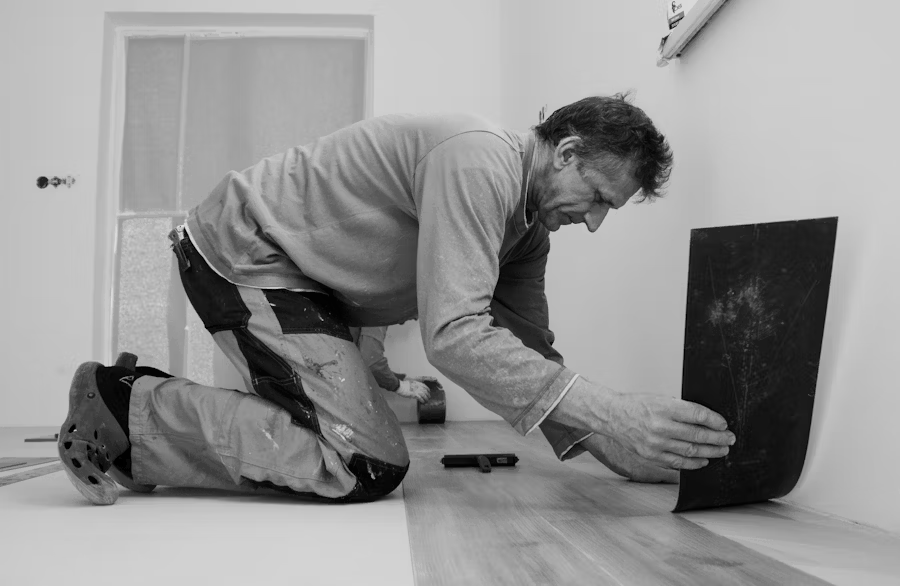
7. Tile Installation and Repair
Tiles are commonly used in bathrooms, kitchens, and flooring, but they can become loose or cracked over time. Tile installation and repair is another service that homeowners frequently request, particularly when renovating their kitchens or bathrooms.
What to Expect:
- Tile repairs: Cracked or broken tiles can be easily replaced with new tiles, making the space look fresh again.
- New tile installation: Installing tiles for flooring, backsplashes, or countertops is a common project that requires a professional to ensure proper alignment and sealing.
Why It’s Important: Proper tile installation ensures durability and aesthetic value. Broken tiles should be repaired promptly to prevent further damage or safety hazards.

8. Smart Home Installations
With the rise of smart home technology, many homeowners seek assistance with installing devices like smart thermostats, security cameras, and smart lighting systems. A handyman can help with setting up these gadgets and ensuring that everything functions properly.
What to Expect:
- Installing smart devices: Setting up new gadgets, including connecting them to Wi-Fi, pairing them with other devices, and ensuring they work as intended.
- Smart home integration: A handyman can help integrate multiple smart home devices for seamless control via apps or voice commands.
Why It’s Important: A properly set-up smart home system improves convenience, security, and energy efficiency. A professional installation ensures that the devices work correctly and integrate smoothly.
Final Thoughts
Handyman services are essential for keeping your home in top condition. From plumbing repairs to furniture assembly, a professional handyman can help with a variety of tasks that ensure your home remains safe, comfortable, and functional. Whether you need assistance with small fixes or larger projects, hiring the right expert for the job is crucial.
By understanding the most commonly requested handyman services in Singapore, you can make informed decisions about what to address in your home. These services not only improve the overall quality of your living space but also save you time and money in the long run. So, if you have any household issues, don’t hesitate to reach out to a trusted handyman to get the job done right.


You must be logged in to post a comment.