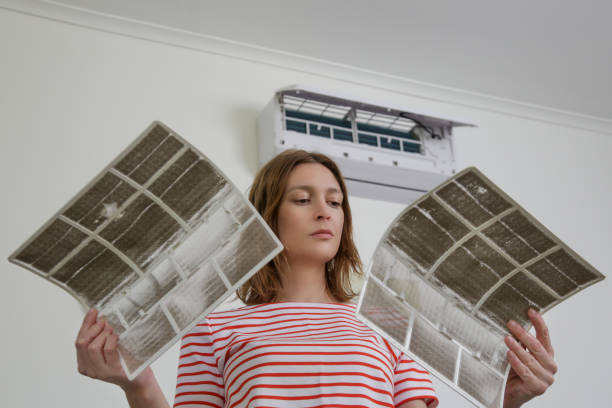
Air conditioning filter or an “aircon filter”, is an essential component of any air conditioning system. Available in various types and materials, the primary function of these aircon filters is to improve the indoor air quality by capturing and removing particles of different airborne pollutants like dust, animal fur, mold spores, pollen etc. thereby keeping the air healthy. By doing this, the filters also keeps the aircon protected as it filters out various particles and contaminants present in the air that passes through it.
Aircon Filters, impacts your indoor air quality and hence it’s important to know the types, understand it’s maintenance, know it’s installation and replacement costs.
Table of Contents
How To Clean The Aircon Filters Yourself
Note: As the AC unit and the type of filter is not same in every household, please remember to consult your HVAC system’s user manual for specific instructions and safety precautions before starting to clean the filters. This is a must as the entire process of cleaning the filters might vary as per it’s respective type.
Tools and Materials Needed for self cleaning of the Filters
- Screwdriver
- Vacuum cleaner with a brush attachment
- Mild detergent or mild soap
- Warm water
- Clean cloth or sponge
- A well-ventilated area for drying

Steps to follow to Clean Aircon Filters:
- Turn Off the AC: The HVAC system might get damaged and also to ensure your own safety, the air conditioner must be turned off before starting to clean or attempting to remove the filter.
- Identify the location of the Air Filter: The location of the air filter depends on your AC unit. Usually the filter is found at the point where the return air duct enters the air handler. The filter may be located behind the air handler, grill openings or cover. Keep a screwdriver handy as sometimes, you might need to use a screwdriver to open the access panel.
- Gently Remove the Filter: Care should be taken while removing the filter to avoid any kind of damage on it during removal. You should handle the filter gently and slide the filter out of its housing. Some needs to be lift up for it’s removal from the housing.
- A thorough Vacuum Cleaning: A vacuum cleaner with a brush attachment will be needed for this step. The filter needs to be vacuum cleaned thoroughly so that all the accumulated dust particles and debris can be removed from both sides of the filter. This process might get a bit dirty, so ideally, the entire surface should be covered before starting to vacuum the filter.
- Prepare a Cleaning Solution: Take a big container or a bucket, and mix a solution of warm water and a small amount mild detergent. You can also use a mild soap.
- Immerse the Filter in the Cleaning Solution: Gently place the filter in the prepared cleaning solution in a way that it is fully immersed. Soak the filter for about 15 minutes. This will help to loosen and clean out any trapped dirt and grease.
- Gently Scrub the Filter: Once the filter is soaked completely for 10-15mins, it’s time for scrubbing. Take a sponge or a soft cloth and gently scrub the filter on both sides to remove any stubborn stains or dirt. However, extra care should be taken in this step, as excessive pressure might cause damage to the filter.
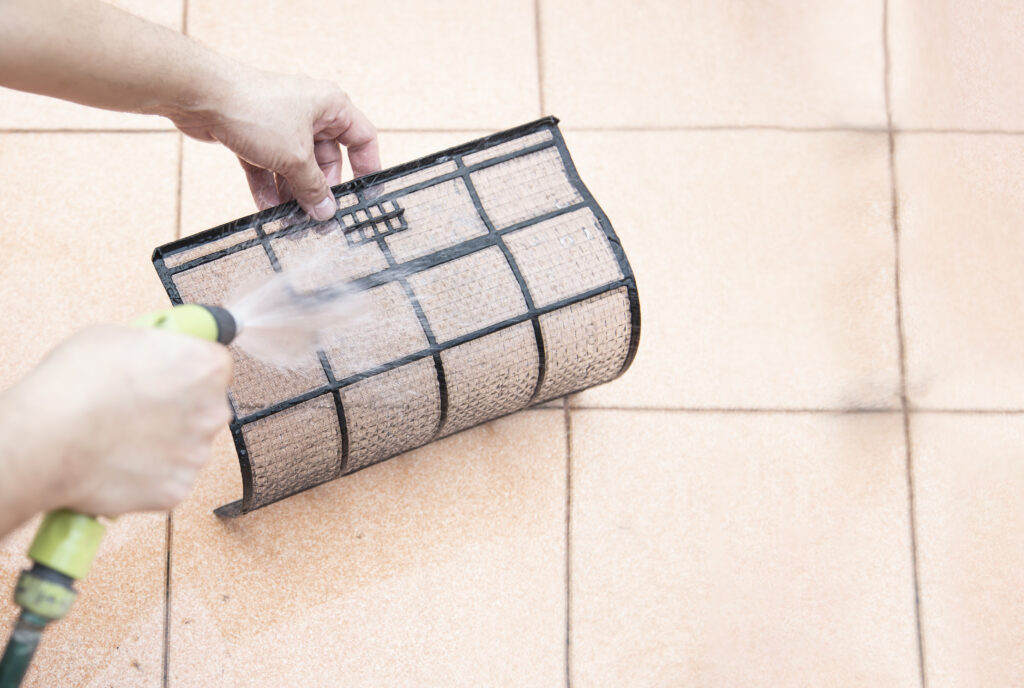
- Rinse Thoroughly: The next step is to rinse off the soap or detergent from the filter with clean water. It is advised to rinse with lukewarm water, until all detergent residues are removed and the water runs clear.
- Air Dry the Filter: After the wash, it is important dry out the filter completely before reinserting it into the AC unit. If it’s not thoroughly dried before placing it back, it may lead to mold growth. So thoroughly shake off the excess water first and then allow the filter to air dry completely. Try to place it in an area where there is sunlight and air circulation for faster drying.
- Reinstall the Filter: Once the filter is completely dry, very gently place it back into its housing. Most filters have arrows on them which should be pointing in the direction of the unit. Follow the airflow direction indicator to ensure the filter is placed properly and is oriented correctly.
- Turn On the AC: Once the filter is reinstalled into it’s housing, you can turn on the aircon and check it’s functioning. It is better to keep the air conditioner on for the next half an hour and monitor its performance to ensure that there is no problem in it’s functioning.

Function of Air Filters
1. Improves Air Quality :
Air Filters, filters out the various airborne harmful particles, and thereby helps to purify the air. This is especially important for a healthy environment is extensively important for mankind and specially for people with some respiratory conditions like asthma, COPD, any allergies etc.
2. Protects HVAC System :
Air filters prevent particles of different airborne pollutants from entering and accumulating within the HVAC system. These air filters, keeps your HVAC unit running smoother and longer by stopping the airborne particles from entering various components of it like the coils, air handler, ductwork etc. This makes your HVAC system’s job easier, extends the lifespan of the system and reduces the need for frequent maintenance and repair. It literally is the key to having a healthy HVAC system.
3. Energy Efficiency :
Clean air filters also increases the energy efficiency. Clean air filters allow for better airflow through the HVAC system, which results in increased energy efficiency. A dirty air filter or a clogged one, makes the system work harder, to maintain the desired temperature. This extra effort leads to higher energy consumption and scales up the utility bills of the household.
4. Removes Odors And Gaseous Pollutants :
Another function of air filter is that it helps to remove odors and gaseous pollutants.
5. Comfort :
A well functioning filter, helps to maintain a soothing indoor temperature by controlling the humidity levels and thus providing a comfortable life.
Note : Depending on the type of filter and the amount of it’s usage, you should clean the aircon filters as a part of regular maintenance routine of the aircon filters. Regular Maintenance is very important for a clean and healthy air conditioner and the frequently of cleaning the filters depends on it’s usage amount. Some needs a cleaning every one to three months and some might need a more frequent attention specially during the months it’s usage is high.
It get’s easier to remember if you mark your calender with a note to clean the filter every 3 months gap.
If you follow these steps and do a regular maintenance, you can ensure that your HVAC system will operate efficiently and provide a clean and healthy indoor air.
Types of A/C Filters & Replacement Cost
1. Fiberglass Filters
These are inexpensive and disposable filters that are often used in residential settings. They are best for capturing large particles but may not be as effective at removing smaller contaminants.
Cost: $20 each
2. Pleated Filters
Made of polyester or cotton paper, pleated filters offer better filtration efficiency than fiberglass filters. They can capture smaller particles, making them a good choice for maintaining air quality.
Cost: $20 each
3. HEPA Filters (High Efficiency Particulate Air)
High Efficiency Particulate Air (HEPA) filters are known for their exceptional filtration capabilities, trapping even tiny particles. They are ideal for allergy sufferers and those who require the highest air quality.
Cost: $20 to $200 each
4. Electrostatic Filters
These filters use static electricity to attract and trap particles. They are washable and reusable, providing long-term cost savings.
Cost: $10 to $100 each
5. Washable Filters
Some filters are designed to be washable and reusable, reducing the ongoing cost of filter replacement. Washable filters are typically made of materials like foam or electrostatic materials. They require regular cleaning to maintain their effectiveness.
Cost: $20 to $100 each
| Air conditioning filters may be small components of your cooling system, but their impact on indoor air quality, energy efficiency, and overall performance cannot be underestimated. Regular maintenance and choosing the right filter for your needs are crucial steps in ensuring a healthy, comfortable, and energy-efficient indoor environment. So, the next time you enjoy the cool breeze from your AC, remember to thank the unsung heroes – your air conditioning filters. |


You must be logged in to post a comment.